When you click on links to various merchants on this site and make a purchase, this can result in this site earning a commission. Affiliate programs and affiliations include, but are not limited to, the eBay Partner Network.
TBH, those are the ones that always scare me when I'm looking for powertrain stuff. The junkyard offers are generally so crazy low that any running, driving car makes so much more sense to just sell private party for way more.
I definitely get there are some people out there that could care less about the money and just want a car gone ASAP, I've just never had the guts to try taking big parts from one if I couldn't figure out why it was there.
Yeah, I do hope that this one runs fine. But if it doesn't, I still have the case for fabricating all the custom mounts. I can always go pull another 4t80e from any of the other models it came in, and swap the diff in order to keep the FDR.
A Northstar has definitely been done in a 5th gen (and as such would fit in a 2nd gen W). There was a guy on the old mymonte board that did it probably 15 years ago. Sounded pretty different with the loud exhaust he had on it. I'd never heard a N* with anything other than stock exhaust before.
I did feel a bit bad for the guy. After a few years he was trying to sell it for whatever reason and couldn't get any takers. Last I remembered seeing, he was down to like $2k and still not so much as a nibble. Certainly to be expected, but still hate to see it happen.
That answers my question lol.
Pretty cool. Shame that board and info isn't around any more to check out. And even more of a shame the guy was selling it. But I also understand the no takers aspect. It's a modified car. Even though it is a running and modified car, some people are concerned if they are buying someone's headache OR if there is custom fab issues to tend to for maintenance. Then there are those who lover the modified stuff and would jump at that. I'm sure if it wasn't for a loud exhaust, the car would have been a bit of a sleeper.....
Got the 3800 and 4t65e out of the donor car. I was way faster at it this time vs. the Aurora. Things to note: 1. I just unbolted the AC compressor and set it asside 2. I had to remove the brake master from the booster 3. I removed the oil filter neck to get more space on the passenger's side 4. This engine didn't have the lift points like the one in my daily does. I used the dog bone mounts on the front, and the rear exhaust manifold as my lift points. No cracking of the exhaust manifold that I noticed. 5. Get a two ton jack. A one ton doesn't have the length for this job. I messed up the front bumper of the donor pretty bad, but I don't car about it.
Engine/trans and subframe pulled into the garage. I know the subframe is aluminium, but it was even lighter than I expected.
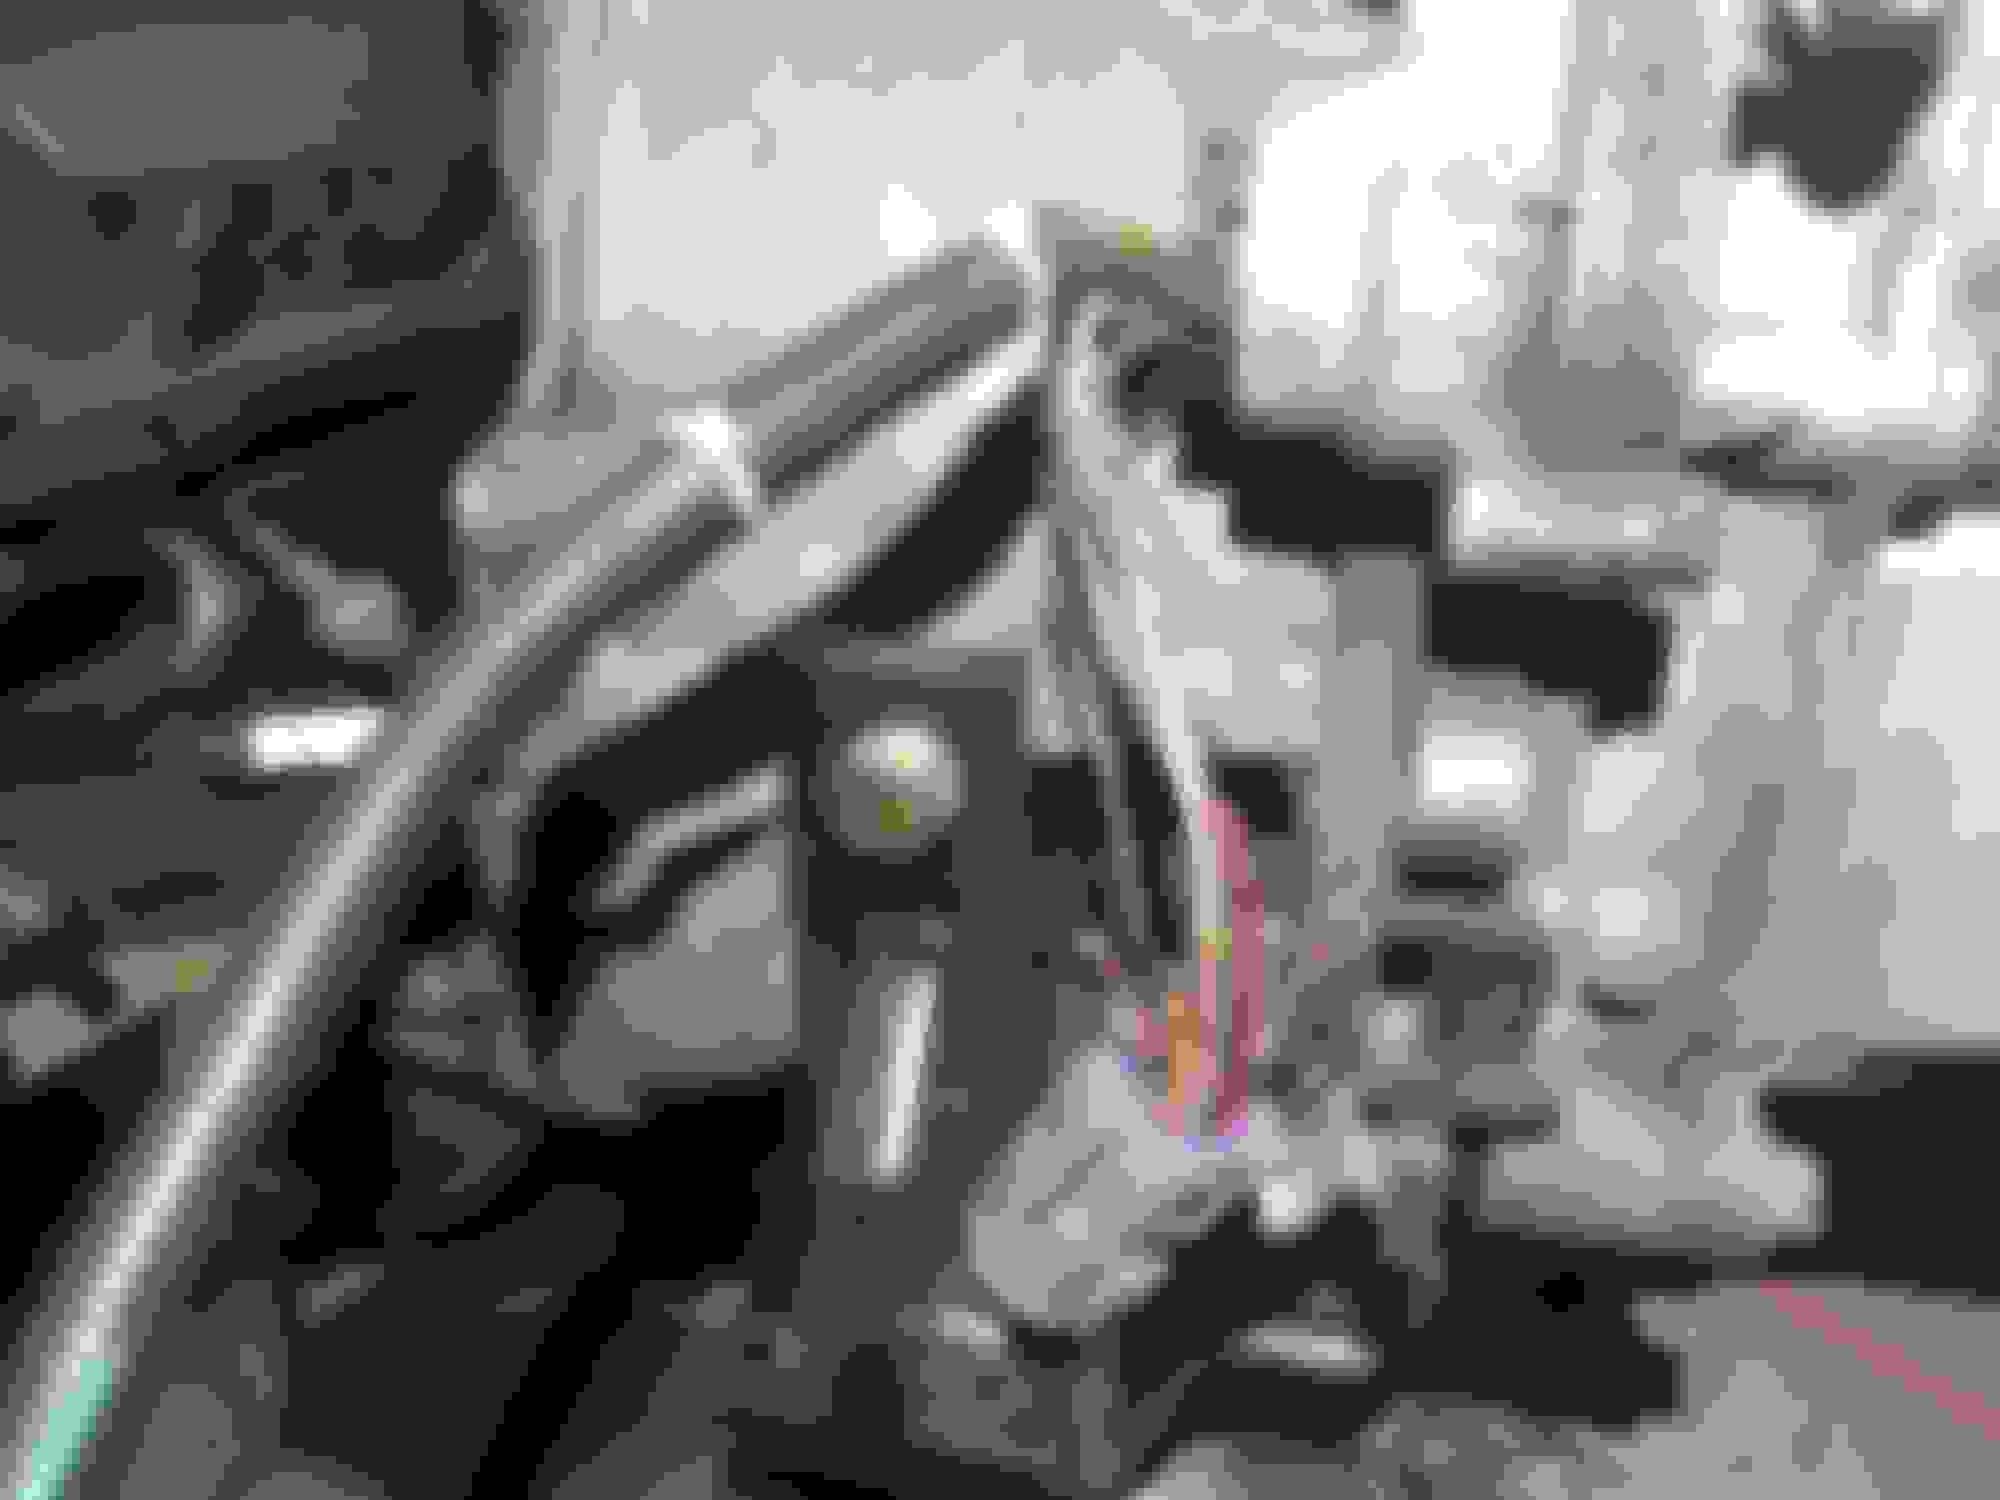
This is the rear knock sensor, which has to be relocated
I believe this is the boss the other forums talked about relocating it to. It's the only place near cylinder two that I can see to drill and tap for it.
Just like the LS4, the 3800 has the right lower bell housing bolt hole on the engine block that needs to be cut off
I used a dremel, cut half way through, then hit it with a hammer.
First test fit was a success
That one ear on the engine block is the only clearancing needed.
In order to reuse the stock engine mount bracket, I cut off that one section, so it now clears the 4t80e
Size comparison. 4t65e on the left, 4t80e on the right
That one bellhousing bolt that needs to be drilled out is number 5. The bellhousing will only get bolts in holes 3,4, and 5. 2 and 6 are dowel pins, and 1 goes unused because of the ear being cut off.
Sadly, the rumors about the 3800 flexplates being dimpled for the four bolt converter pattern seems to be false. I'm going to have a machine shop drill those four holes, and hopefully there's enough clearance to put one in the empty space above the weight there.
I left off today in the middle of making the diff to engine brace, then I'll be waiting for supplies to start making the mounts. Which I'll be making out of 1/2 inch steel.
I got the diff cover to engine block brace finished. I used 2x2x.120" angled steel for it. This was kind of difficult. I had to shape the metal to fit in the space, and I couldn't quite get the holes drilled in the exact right location. That will be a recurring theme here. I had several iterations of this brace, and eventually settled on this one. I primed then painted it with some black engine paint I had laying around.
After getting that brace done, I could move onto making the engine/trans mounts. I lifted them up with the hoist, and slid the subframe underneath, on top of the hoist legs. I measured some things, and came up with some sketches for mounts, of which there will be four. I'm reusing the following mounting locations: engine to subframe, forward mount on the 4t80e, and drivers side mount on the 4t80e along with the stock trans mount location on the subframe. I'm also just eyeballing these basically. I'm not trying to be super precise. So far I've used one piece of 1.5x36x.5" steel for two of the four mounts. My basic little welder did a decent job at welding the half inch thick steel, although I'm not an expert by any stretch of the imagination, so it could have done terribly. Here are pictures of my progress.
I had to do a tiny bit of clearancing for this mount.
I'm currently awaitng my next paycheck for more material, and I was also stuck on the drivers side transmission mount for a bit. The whole assembly is, I believe, significantly lower/closer to the subframe with the mounts I've fabricated. This made it difficult to fit a half inch piece of metal under the two bolt holes I'll be using on the drivers side of the trans. What I did to fix this was put spacers under the two mounts. A .120" spacer under the passenger side engine mount, and a .360" spacer under the forward mount to level the trans.
Before adding the spacers:
Also, remember to support your CV axles, or the boot will slip off, especially on used axles.
Another update for you guys, to let you know I'm still working on this project.
I originally planned to make four mounts, but decided to just go with three for now. The one I decided against making was the one that anchored the diff to the subframe. Other than that, the mounts are fabricated. One still needs to be painted, but I'll have to wait on the weather for that. Winter has kind of delayed this project.
I just dropped off the torque converter and flexplate at a local machine shop. The shop I'm going through just charges an hourly rate of 60$ an hour. So it should cost no more than 60$ for me to get the flexplate redrilled.
I also got the rear knock sensor relocated today. I bought a 1/4" NPT tap, then drilled and tapped the hole for it just behind my diff to engine block brace. Which I had to clearance slightly. (see picture below)
After I get the flexplate back, the engine and trans are going back in the R&D car. I'll probably test it without the trans controller and shifter. Just move the gear selector on the transmission by hand, and drive around the block in low gear. I need to make sure it functions properly, before I put the whole thing in my daily, and get it tuned.
As I'm transfering the swap over to my daily, there are a few things that need to be addressed. I'll be replacing crucial hardware, such as the torque converter, and flexplate bolts with ARP hardware. As well as the passenger axle, and axle nuts. The passenger axle, which I pulled from a Cadillac, is too worn to be used. The only reason I still got it was to get the mounts made. I'm just going to get a new axle, as opposed to another used one.
This side project of a transmission swap is finally coming to an end. I ran a lot of errands today. My first one was stopping by the summit racing store here in Arlington Texas to pick up two different fittings for the transmission cooler (links below). I won't be running a cooler temporarily. What I plan on doing is making a roughly 3.5 ft -6AN line going between the two fittings on the transmission. You could call it a cooler bypass. I do plan on before I really start testing this setup, putting in a full cooler setup, including a mechanical thermostat, cooler, and filter.
Rear Trans Fitting (the new fittings extended neck is slightly longer than the old fitting, so I'll have to see if it leaks. If it does, I'll just trim the neck back until it fits)
I got the flexplate back from the machine shop a few days ago. It cost me 60$ to have the four holes drilled, and a small amount of the weight on the flexplate clearanced, so a socket would fit over the fourth bolt.
Other errands I ran today included stopping by Autozone like three times. I had a really hard time finding flexplate bolts that wern't expensive, and would take several days to arrive in the mail. ZZP sells OEM torque to yield bolts for 40$, and Intense Racing sells ARP bolts for 20$. But, seeing as I was hoping to get the engine and trans back in the car today, I didn't want to wait on those. I ended up measuring the old flexplate bolts (5/16-18 x ~5/8"), and ordering a
off Amazon, which will push the install back to Sunday. For the final install though, I definitely want to switch to those ARP bolts.
I did manage to get the right torque converter bolts from Autozone, as well as oil, cheap ATF, and an oil neck gasket. (I removed the oil neck back when I took the engine out to give be more room)
Another thing I got while at Autozone, was a crankcase breather. (spectre performance pt# 42859) It's a push in breather, so I drilled out the oil cap from the R&D car, and installed it there. I could've gotten the breather ZZP sells, which is a way easier twist in replacement for the oil cap. But the Autozone one was half the cost. Also, the reason I got a breather was I doubt the stock PCV system can keep up with a turbo system, but also, cause I half accidentally deleted the stock PCV sytem. During my throttle body porting, I used JB Weld to seal off a bunch of holes in the throttle body, one of which was the outlet for the PCV system into the intake.
One final bit of info for this update. While searching for threadlocker on Amazon, i found a unique type of threadlocker from Permatex. Usually red threadlocker would be used on things like flexplate bolts. But the one things about red threadlocker, is that the instructions for removal state heat above I think 450 degrees F may be required. I found that Permatex make an
, which claims to hold like red, but doesn't need heat for removal. On the back of the package it specifically mentions using this product on flywheel(flexplate) bolts, axle nuts, transmission mounting bolts, etc.
I'm trying to include as many pictures as I can for people following this as a guide, but I almost forgot about links to products I'm using. Let me know if theres a link you think I should include/missed.
Small update, but big progress. That giant trans is in. I worked almost all day on it. Getting the wires for the controller soldered on, and plugging the trans drain. I've only ever seen the one 4T80e transmission pan, mine. It had a rubber plug instead of a bolt, which I thought was odd. But after draging the trans around on the concrete floor, the plug ripped. Oops. I took out what was left, and it looks like there may used to have been a bolt, but the material the threads were in is pretty much gone now. Either way, I went and picked up a pack of bypass caps, which are just big rubber plugs basically. And used one to plug the transmission drain hole. I also reinforced that with some blue rtv. Finally I disasembled the front end of the car, hoisted the trans up, and worked it in. The biggest problem I had getting the trans in there, was that AC system canister thing next to the PCM.
Nice stuff! That had to feel good having the trans seated!
Curious, the drain pan on the trans.... Why not weld a nut on the pan and set it up for an actual bolt in drain plug?
 11-09-2019, 11:59 PM