
6th Gen ('00-'05): Quad-Beam Retrofit


Thread Starter


Joined: Aug 2016
Posts: 37

i completed my quad beam retrofit a few weeks ago along with rewiring my headlights and adding a new headlight switch that controls lows and highs instead of using the prone to failure maltifunction switch, the auto-headlights still function normally too 
only pictures i have right now are night shots, tomorrow i will take some day shots and maybe a vid showing the auto-headlights working and the headlight switch.
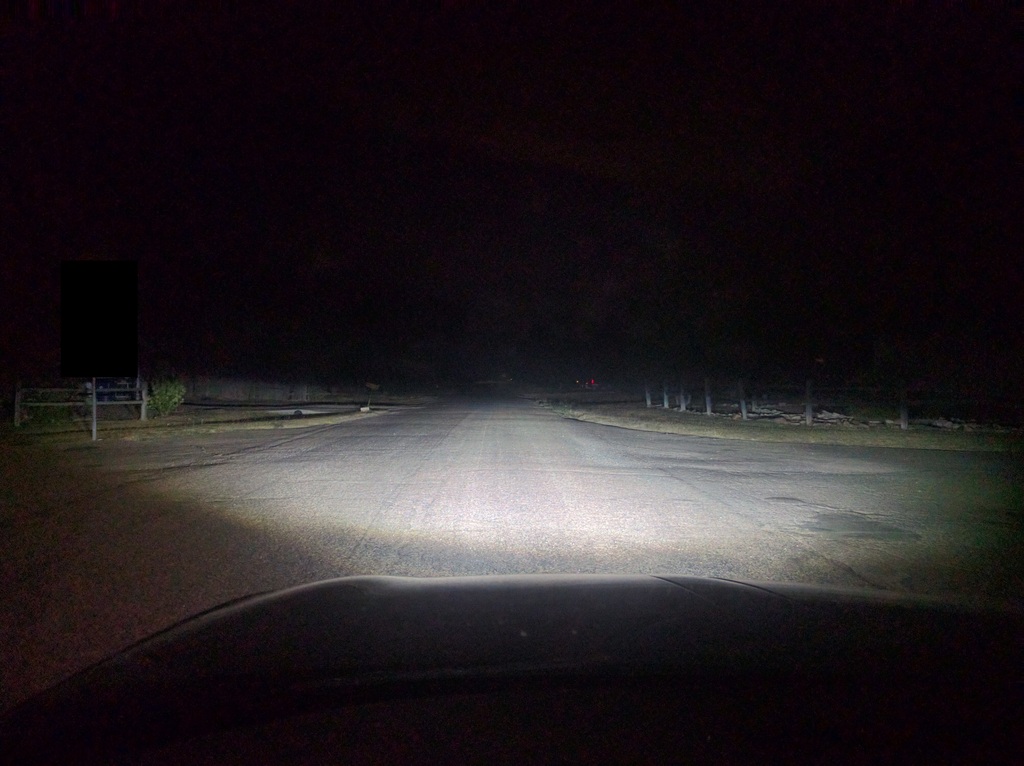
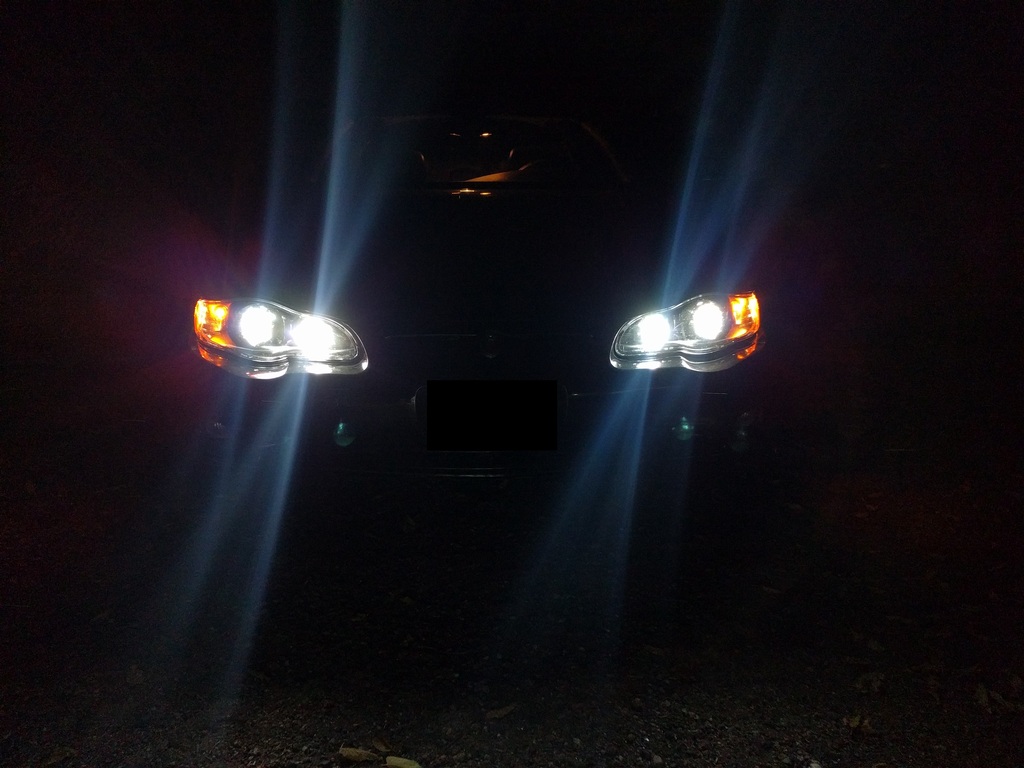
ok first. heres some output shots, sorry no before pics.
here is low beam"
high beam:
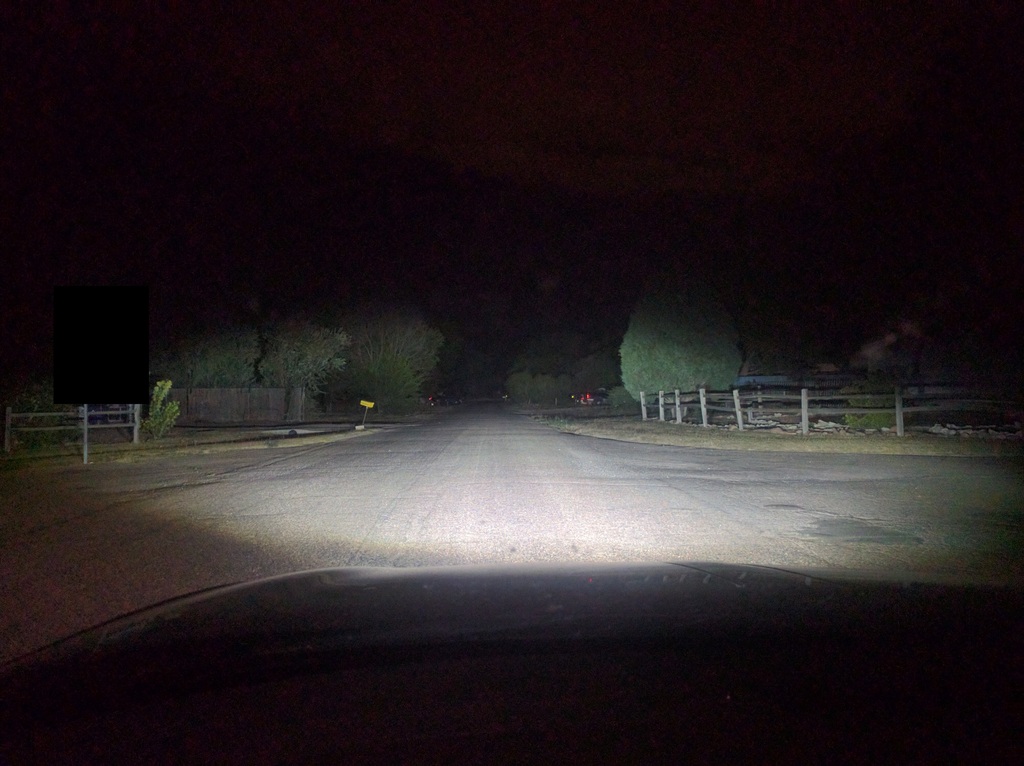
heres some pics of the front low beams on, exposure has been turned down to try capture more.
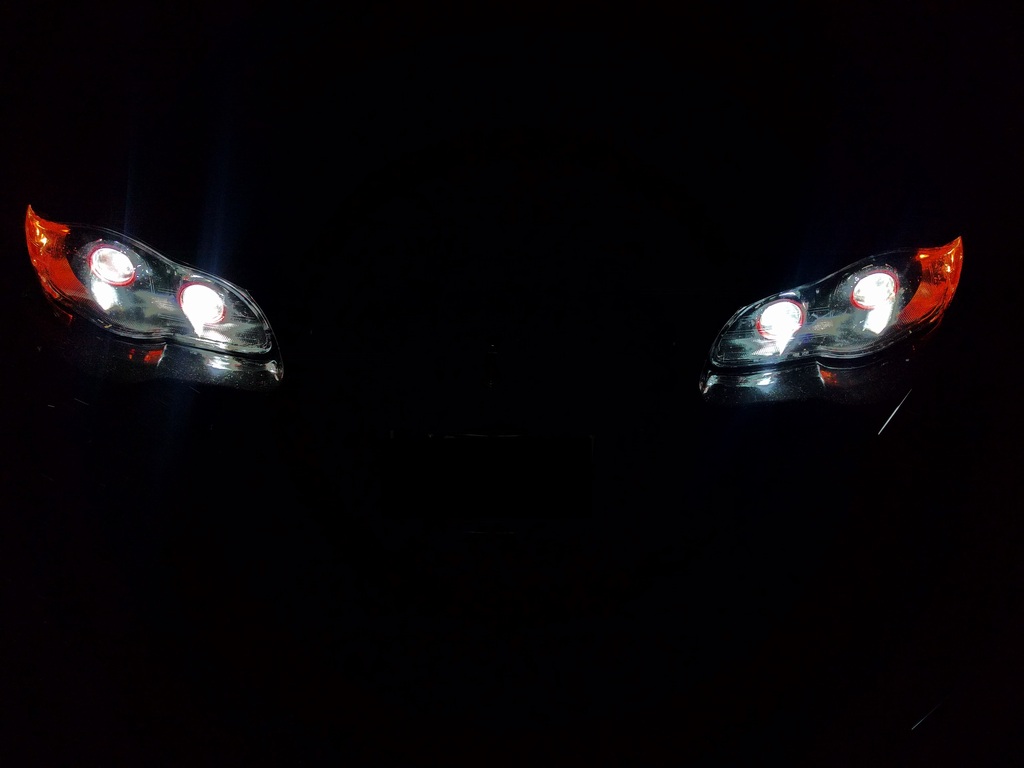
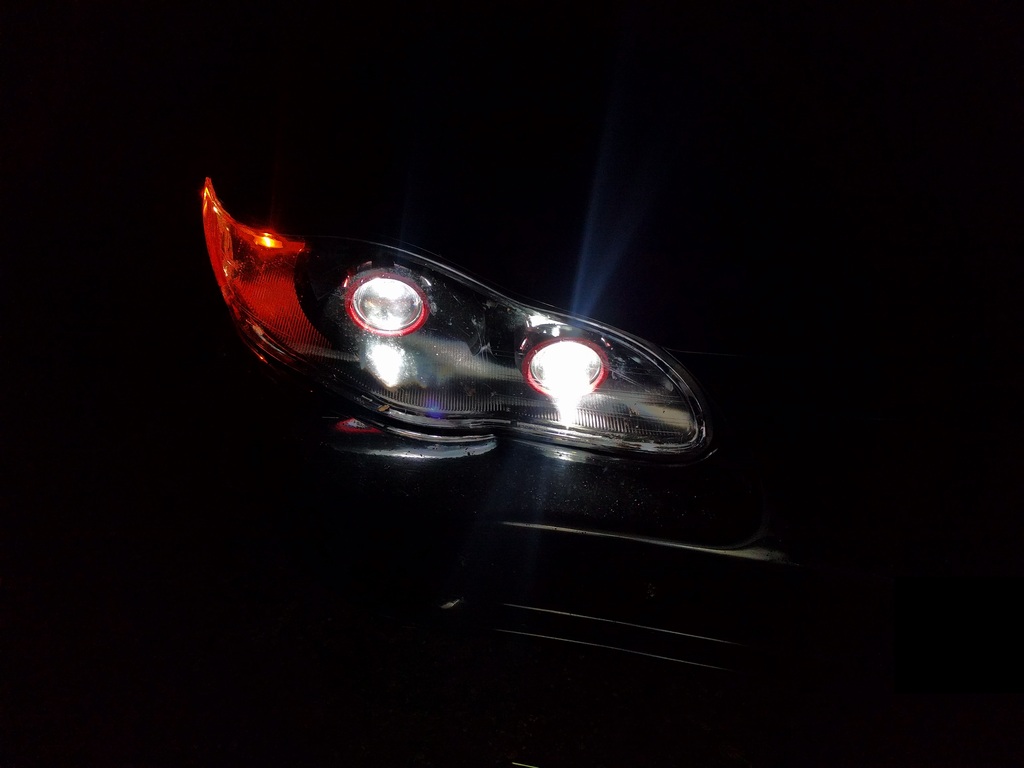

this one has the exposure a little higher.
again ill post more tomorrow of day shots.
only pictures i have right now are night shots, tomorrow i will take some day shots and maybe a vid showing the auto-headlights working and the headlight switch.
ok first. heres some output shots, sorry no before pics.
here is low beam"

high beam:

heres some pics of the front low beams on, exposure has been turned down to try capture more.


this one has the exposure a little higher.

again ill post more tomorrow of day shots.
Thread Starter
Joined: Aug 2016
Posts: 37
heres some pics of the build process.
first thing you must do is take apart the headlight lenses using the oven or heat gun, instructions for this are all over the internet so i wont go into detail.
now after they are open you must do some modifications on the reflector before you can mount the projector in the housing.
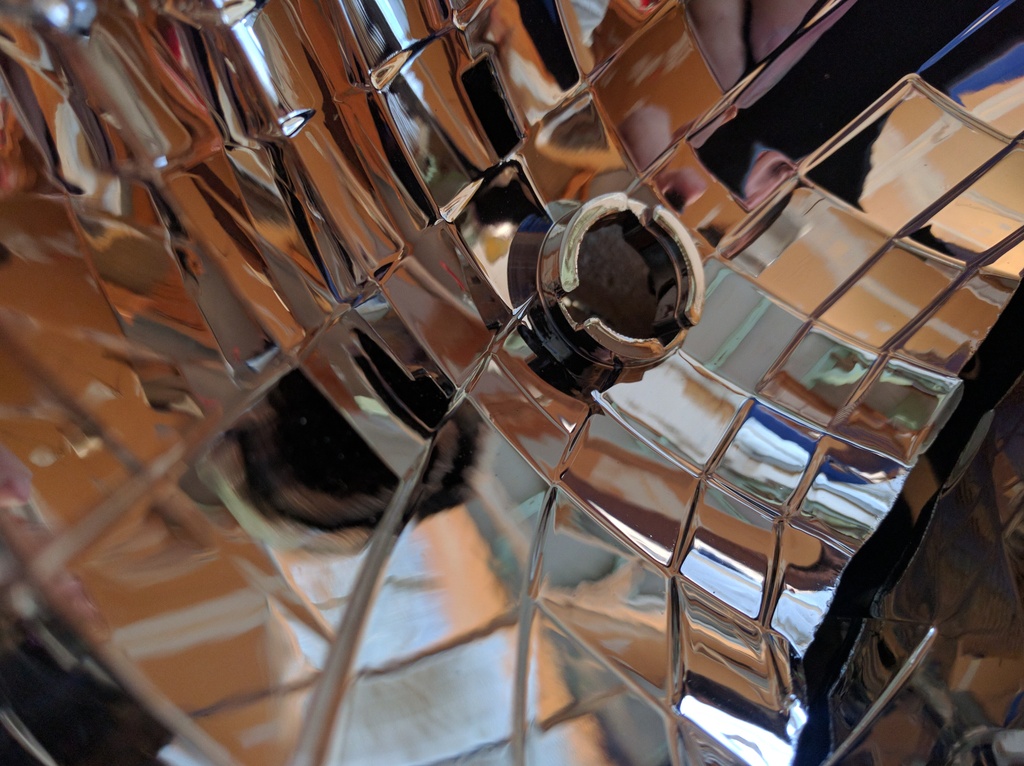
So take a phillips screw driver and remove the metal headlight mounting thing on the back of the reflector pictured:
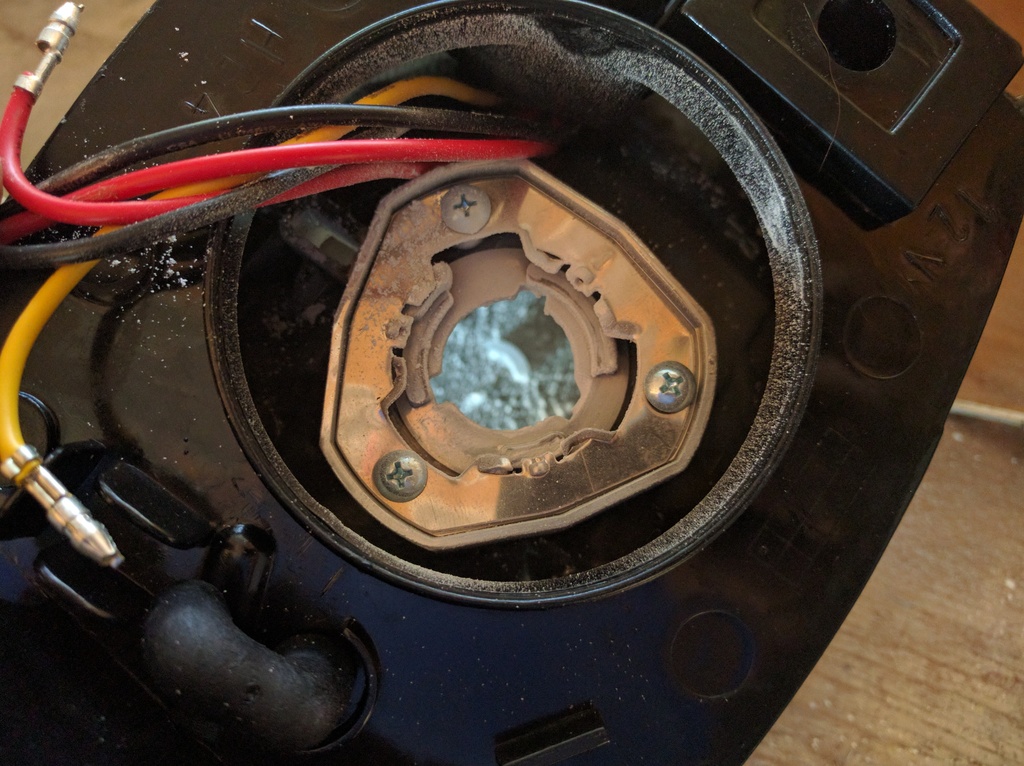
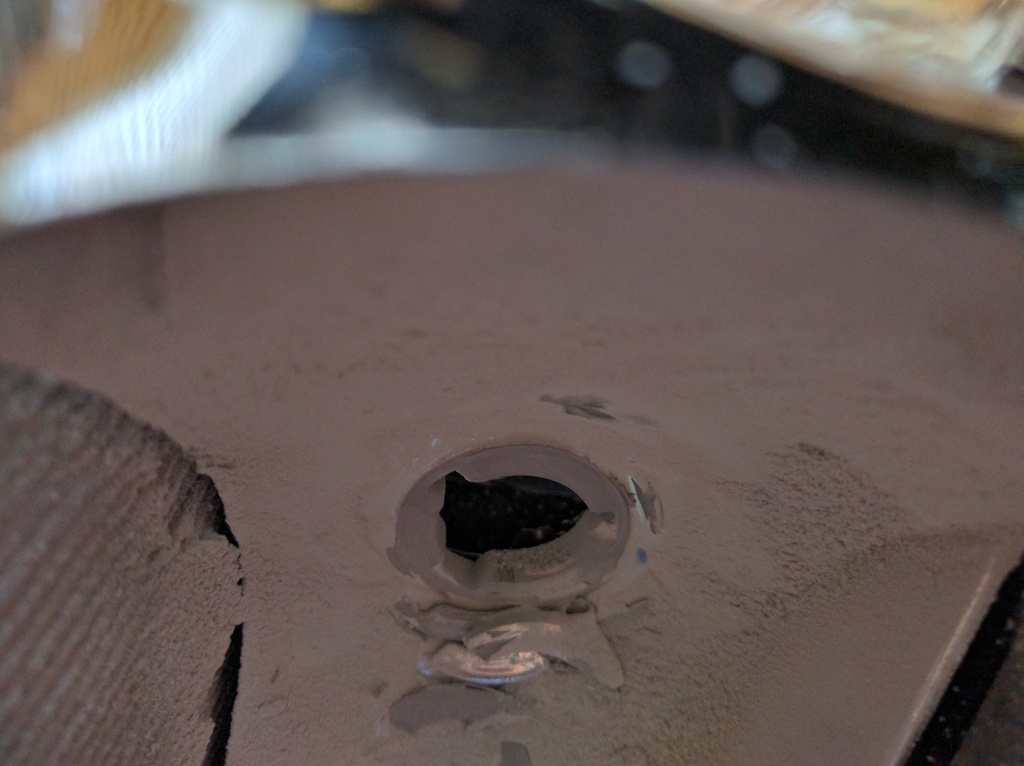
now with that off take a dremel and remove all the little tabs on the housing like in these-
BEFORE
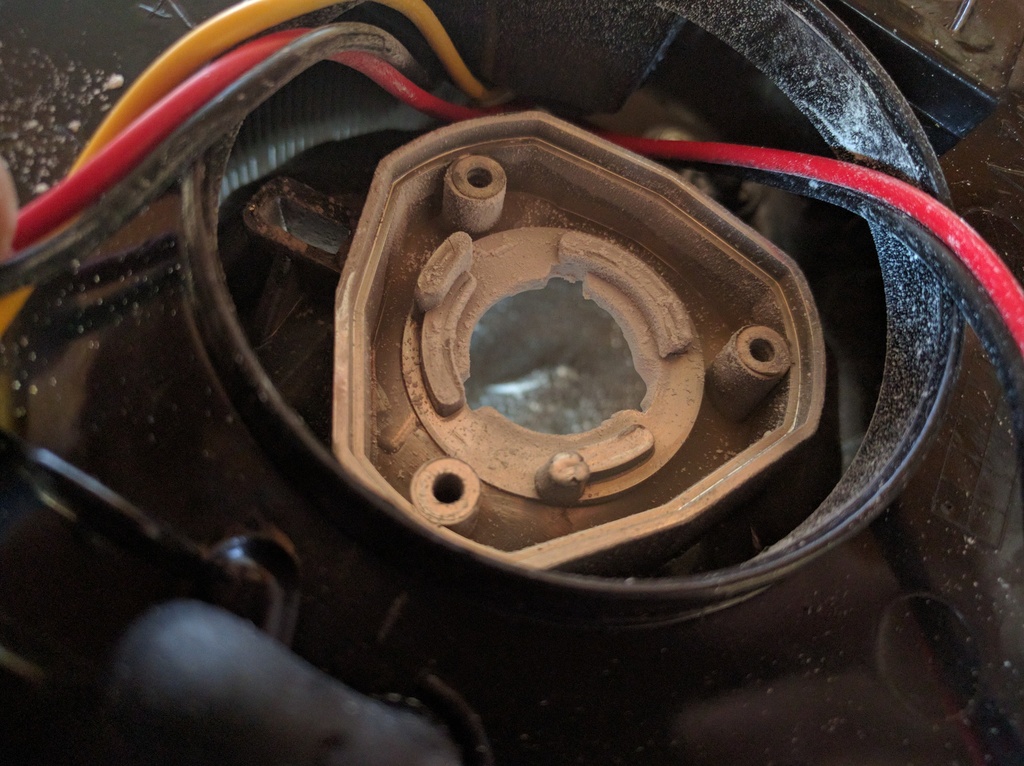
AFTER
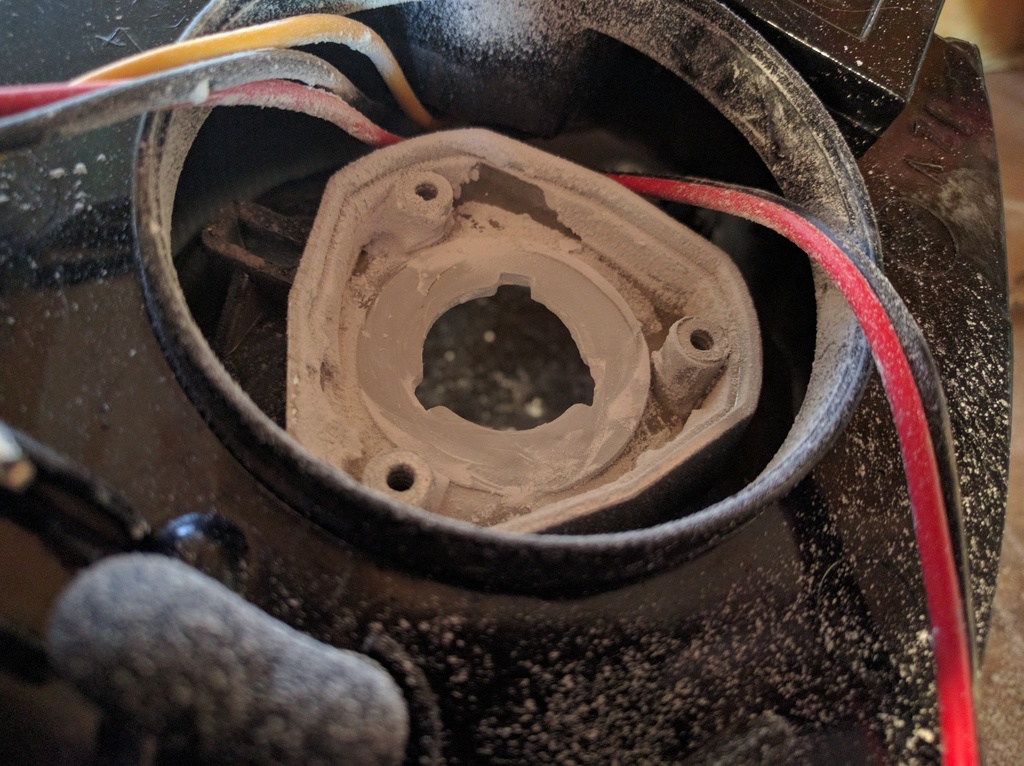
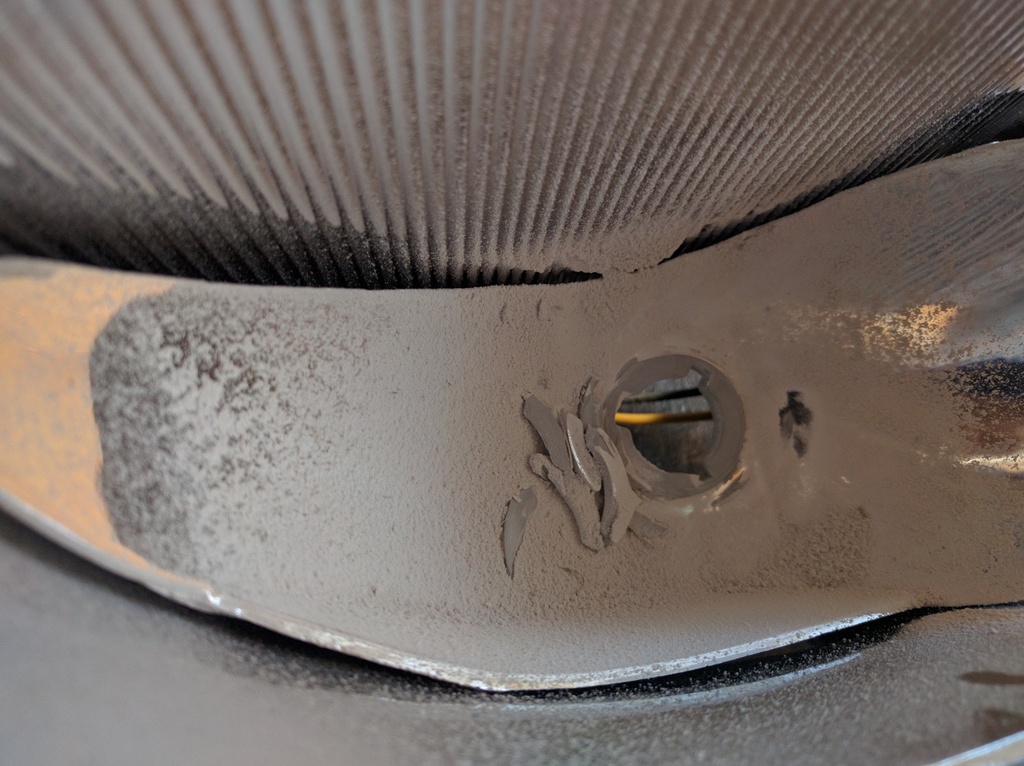
now your done with the back of the reflector, now you must remove the front tabs on the bowl of the reflector, again some before and after shots.
BEFORE
AFTER
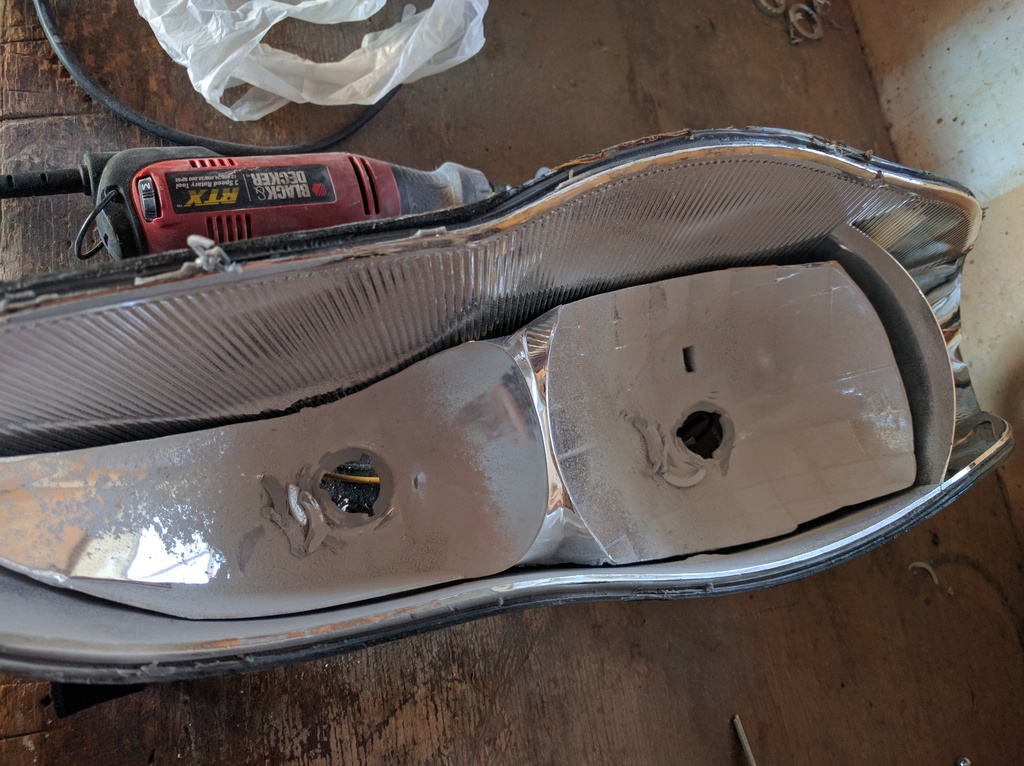
now after those tabs are removed you need to clean them up real good. i just took mine to the sink and scrubbed them down.
the next part is optional but i then painted my reflectors and shrouds black using high heat gloss paint. after that put the projectors throw the hole like you would normally on a retrofit and tighten the nut finger tight.
Now with the lights mount them back onto the car then you need either a garage or wait until nighttime and park infront of a wall, now you rotate and aim the projectors to get the cutoff as close to perfect as possible tightening the nuts on the back of the projectors as you get them aimed.
after i had mine to where i thought they were the best i could get them and the nuts tightened down the best i could i used some jb weld on the nuts to prevent them from ever rotating in the housing cause you dont want that too happen.
after thats done you can now put your headlights back together(again i wont go into detail on this, this info is all over the net) and mount them on the car permanently and enjoy your new improved headlights
NOTE: THIS REQUIRES THAT YOU DO SOMETHING ABOUT THE DRIVING LIGHTS AS YOU CANT USE HIDS WITH DRL ACTIVE AS THAT WILL BURN OUT THE BALLASTS RUNNING THEM AT REDUCED VOLTAGE!
first thing you must do is take apart the headlight lenses using the oven or heat gun, instructions for this are all over the internet so i wont go into detail.
now after they are open you must do some modifications on the reflector before you can mount the projector in the housing.
So take a phillips screw driver and remove the metal headlight mounting thing on the back of the reflector pictured:

now with that off take a dremel and remove all the little tabs on the housing like in these-
BEFORE

AFTER

now your done with the back of the reflector, now you must remove the front tabs on the bowl of the reflector, again some before and after shots.
BEFORE

AFTER


now after those tabs are removed you need to clean them up real good. i just took mine to the sink and scrubbed them down.
the next part is optional but i then painted my reflectors and shrouds black using high heat gloss paint. after that put the projectors throw the hole like you would normally on a retrofit and tighten the nut finger tight.
Now with the lights mount them back onto the car then you need either a garage or wait until nighttime and park infront of a wall, now you rotate and aim the projectors to get the cutoff as close to perfect as possible tightening the nuts on the back of the projectors as you get them aimed.
after i had mine to where i thought they were the best i could get them and the nuts tightened down the best i could i used some jb weld on the nuts to prevent them from ever rotating in the housing cause you dont want that too happen.
after thats done you can now put your headlights back together(again i wont go into detail on this, this info is all over the net) and mount them on the car permanently and enjoy your new improved headlights
NOTE: THIS REQUIRES THAT YOU DO SOMETHING ABOUT THE DRIVING LIGHTS AS YOU CANT USE HIDS WITH DRL ACTIVE AS THAT WILL BURN OUT THE BALLASTS RUNNING THEM AT REDUCED VOLTAGE!
Last edited by darkmage1991; Oct 1, 2016 at 10:44 PM.


Thread Starter
Joined: Aug 2016
Posts: 37


sorry its hard to get good shots... the camera seems to pick up the reflections really bad makes it hard to actually see the lights. i might try taking them again towards dawn where the lighting isnt so harsh but its still visible.
and heres a short vid of how the lights function and auto lights.
sorry not much of a video, i might remake that one at night so you can actually see the lights turning off and on.
Last edited by darkmage1991; Oct 8, 2016 at 04:32 PM.
Thread Starter
Joined: Aug 2016
Posts: 37
ok i redid the video with me explaining some stuff i did and showing the lights working.
oh and
Did it, they the best i could do for now.
sorry i cant make them for anyone else. not that i cant just wont, there is alot of work put into them and even mine are not perfect i wouldnt be able to get them perfect to feel good about selling them.
same as above i cant sell any, just wouldnt feel good about it.
oh and
sorry i cant make them for anyone else. not that i cant just wont, there is alot of work put into them and even mine are not perfect i wouldnt be able to get them perfect to feel good about selling them.
same as above i cant sell any, just wouldnt feel good about it.
Last edited by darkmage1991; Oct 8, 2016 at 10:27 PM.