When you click on links to various merchants on this site and make a purchase, this can result in this site earning a commission. Affiliate programs and affiliations include, but are not limited to, the eBay Partner Network.
Monte Of The Month -- May 2012 Monte Of The Year 2012 Monte Of The Month -- February 2017
Join Date: Jan 2008
Location: Mountains of Utah
Posts: 4,906
You just don't stop halfway, all or nothing. Good for you Maniac, all you attention to detail is really beginning to make the hood popping experience a special one at the car shows. The valve cover breather is indeed unique. A nice find to solve the PCV system retention conundrum. The pulleys do in fact look suhhhweeet! Valuable to have that good of friends to call on. Cant wait to see more of the Black Monte's transformation odessey gel and watch it get badder and badder...
You just don't stop halfway, all or nothing. Good for you Maniac, all you attention to detail is really beginning to make the hood popping experience a special one at the car shows.
Thanks! I am trying to ensure I do things once and done as much as I possibly can. So some effort is being put into this stuff.... And time. And since I don't have the garage/workshop I want, some of my efforts are limited and sometimes dependent on weather.
Here is a fun one! So a guy I know recently made some custom goodies for me. Well, I got the bearings for the idler pulleys the other day. The machinist recommended I freeze the bearings and heat the pulleys in the oven, by doing so the bearings should drop right in (no need to press them in). So I did it and sure enough, science for the win, it worked!
The machinist recommended I freeze the bearings and heat the pulleys in the oven, by doing so the bearings should drop right in (no need to press them in). So I did it and sure enough, science for the win, it worked!
Thats funny. I just did that exact thing for my kid's rollerblade wheels.
A couple quick updates.
If all goes well, I will get my Novi stuff back from powder coating sometime next week.
Last night, I began changing the valve springs in the blue Monte for 105lbs CompCam springs I bought from ZZP. From what I could tell, the black Monte (last one to have the Novi) was suffering from valve float after 5000 rpm (it was not all the time and was not exactly 5K, but that was the right bench mark, also would depend how hard your foot was in the gas). @zipper had this Novi on his car many years ago before the black Monte had it. I looked at his mod list and saw he had 105 springs and that pushed me over the edge to go this route. And of course, new valve seals as I do this.
I also drained the coolant so I can remove the alternator bracket (with the coolant elbows) to eventually remove the rear valve cover.
As of last night, I got all the front valves done except two. I had a couple interruptions. One was to help my dad with his lawn tractor. But the other..... I was using the flashlight on my phone, set it on part of the car, bumped it and it dropped directly into the slop in my drain pan (a small amount of left over oil from the last oil change and a lot of coolant). I quickly fished it out. It survived! First time I ever sent a phone on a swim. Oops!!
Time for a little catch up! I have been working different things with the Black and Blue Montes in tandem.
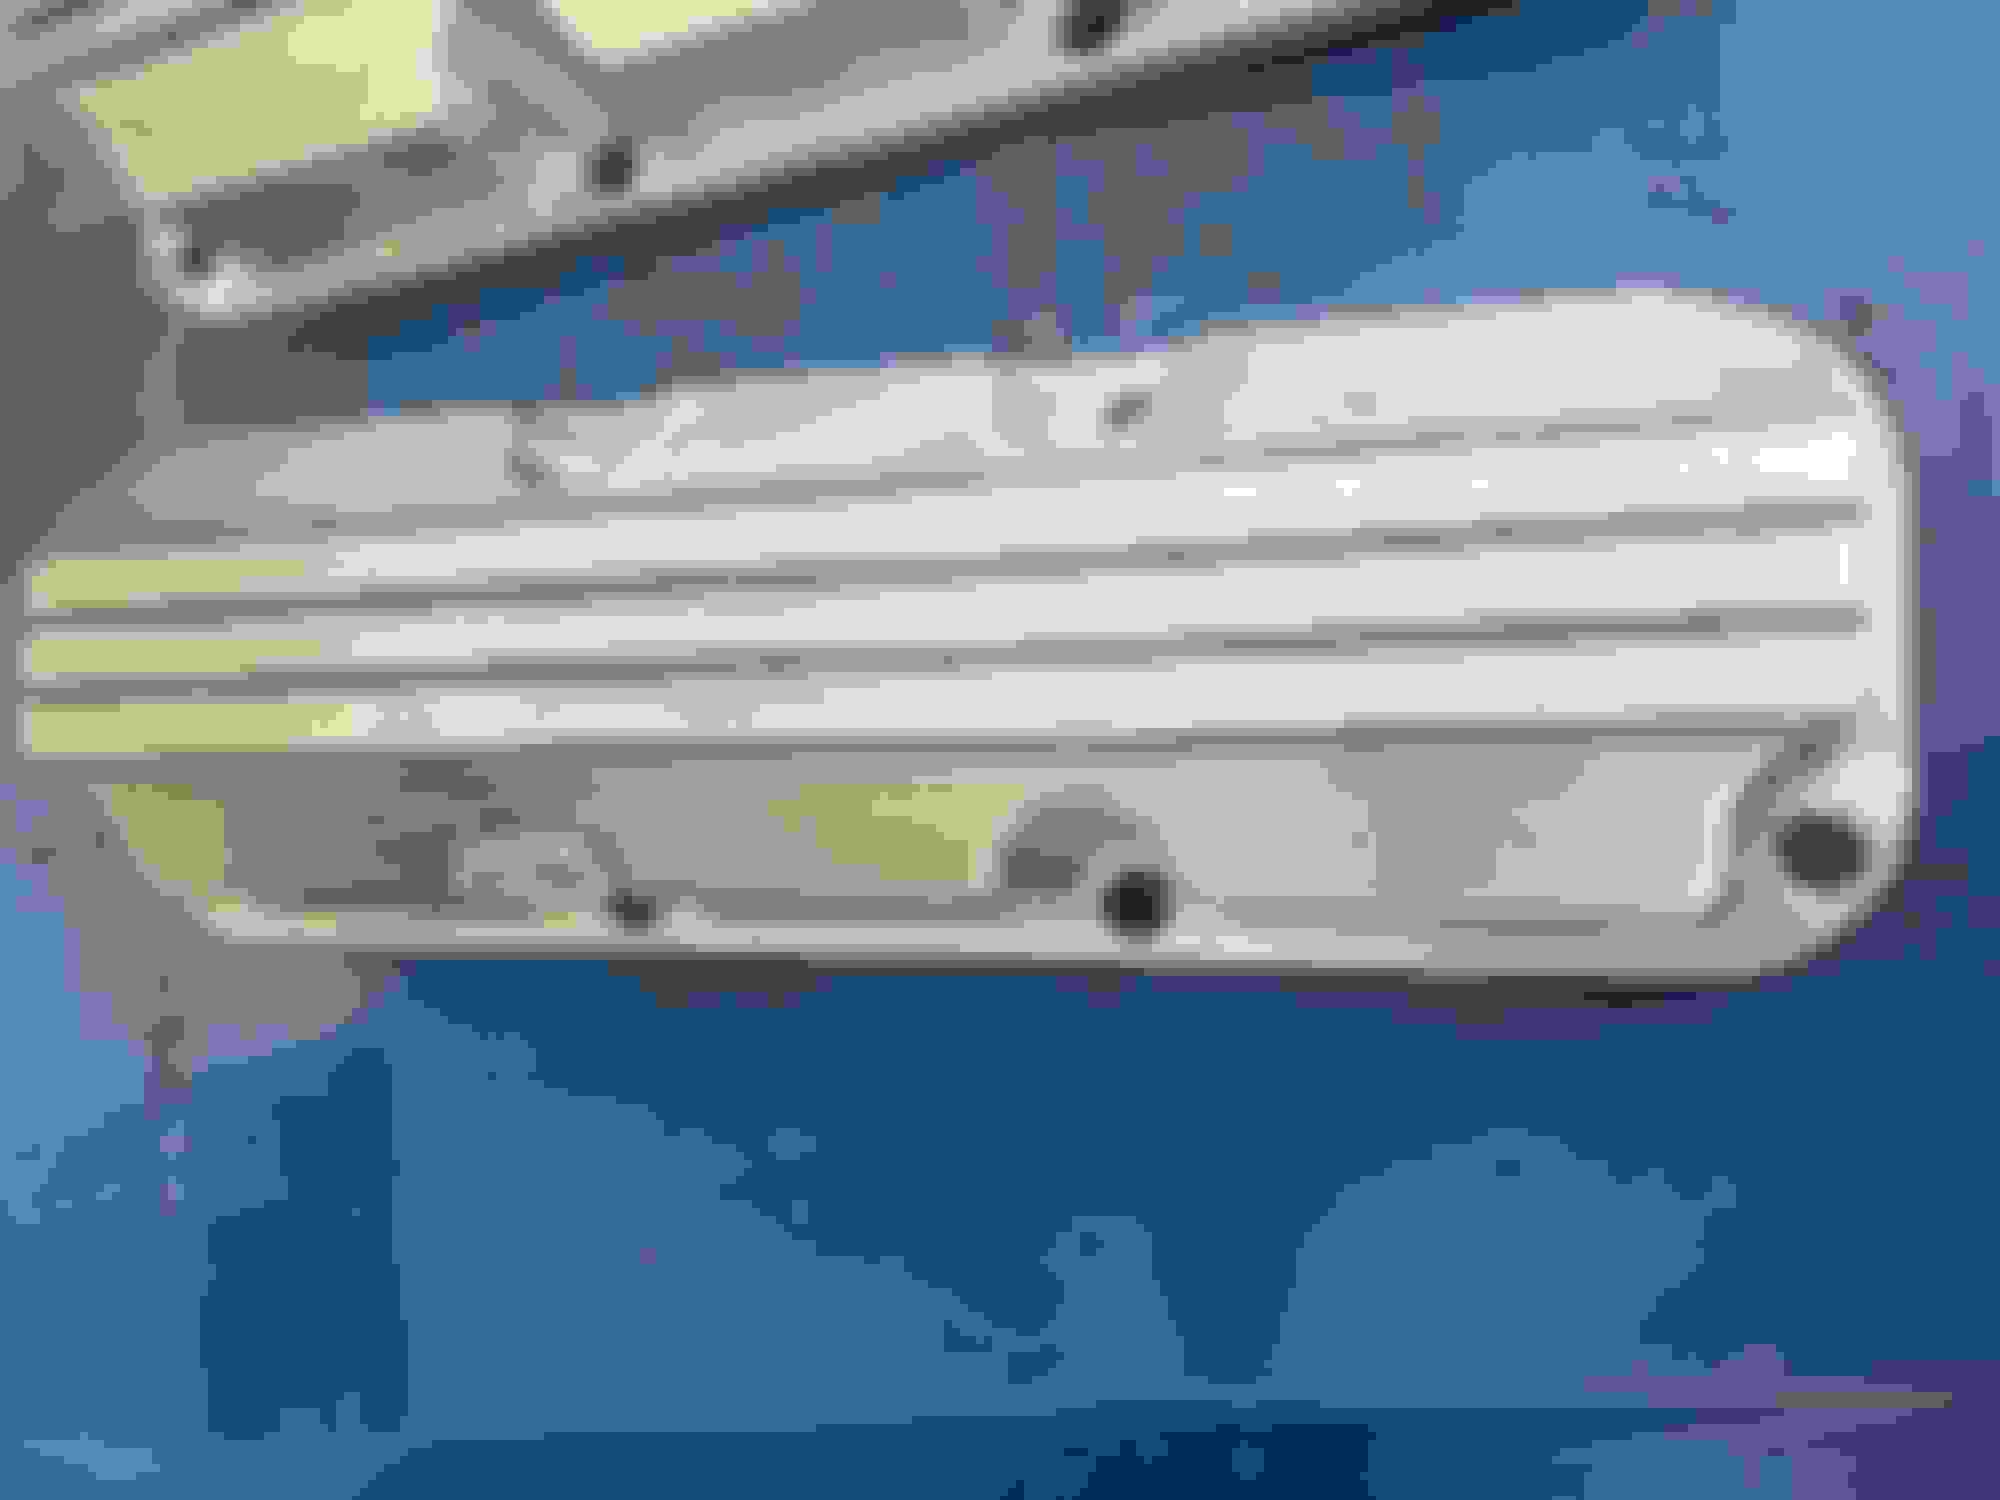
As I mentioned, I wanted to do some new aluminum valve covers for the blue Monte (these come from the 3800 F-bodies). Like much of the aluminum stuff I have done, I wanted these to have a brushed texture and then clear coat them. I did three because, I want the front and back head to have the oil cap hole (the front head gets the new fancy oil cap for car shows and the valve cover breather I need goes on the back head). I did a third that has no oil cap hole so if I ever wanted to switch one out, I had a cover done at the same time in the same style.
This took a LONG time! These pics are different stages from early cleaning to the final prep and clear coating.
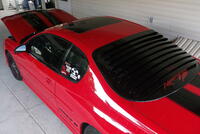
I got the valve covers on. And in the light of the garage they look kinda weird. I also know the clear coat on the upper intake and throttle body has yellowed a bit. Nothing is perfect. But it is not bad. @ChibiBlackSheep learned with the black Monte that to use any bigger injectors you need to swap the fuel rail due to changes in injector height. GM has an OLDER rail that works with them. So I had it powder coated, loaded it up and installed. Also, the purge solenoid lost it's factory w-body bracket. I found the H-Body bracket will work! I removed the wiring loom from the injector wiring adapter harnesses and wrapped with a 3M electrical tape. I am going to zip-tie some things to the wiring looms to tidy up a bit. After that, get the alternator back in, I can put the coolant overflow bottle back and the strut brace back.
Once those items are done, I can then start mounting the jack shaft for the Novi. Only part I have any remaining concern with is if the Novi will have a spacing issue with the radiator fans. If so, I have ways to fix that issue.
Busy weekend and busy Monday! The devil is in the details and some small stuff that just took time!
- I needed a way to secure the PCM. PCM tray from a S10 is a great answer! I don't want to put new holes in the body and found a way to re-use the U-Bolts from my Wizaird Cold Air Intake. Drilled some counter sunk holes and BOOM, all good!
- Definitely a bit "fun" installing the jack shaft (especially by myself). But got that in.
- The purge solenoid was held on the dog bone bracket that is now gone. I am using an H-body bracket. Via this project, learned the H and W body L36 had different vacuum lines! So installed some H-body lines to have a better looking routing and also still a factory look.
- Had to notch the grill to the radiator fan to get clearance for the Novi.
- Because I have the L26 aluminum UIM, I had to cut the charge pipe by about 4 inches.
I am still messing with correct belt lengths (long story, I am too tired to rattle it off). Once I get that done, I need to move the Monte to my home. Then drain the oil, connect the Novi's oil supply and return lines, then install the Novi's belt and cog. After that, all hardware installs are done and next, tuning. After Carlisle, I want to get the charge pipe sand blasted and powder painted gloss black and hopefully get a dyno appointment with a local performance shop.


 04-15-2022, 11:48 PM