
A Progress Update on the Torino!!! Engine built and car is painted!


Alright guys, its been awhile. Going to college has slowed the progress on the good ol' Torino, but things have still been getting done!!!
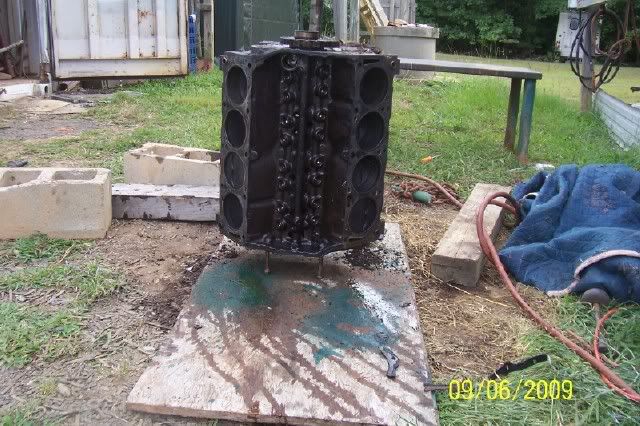
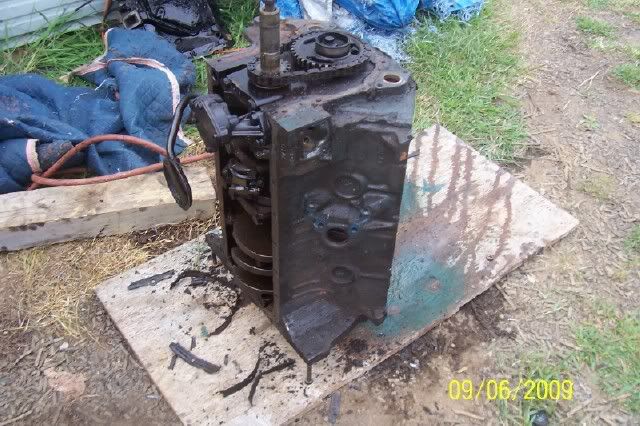
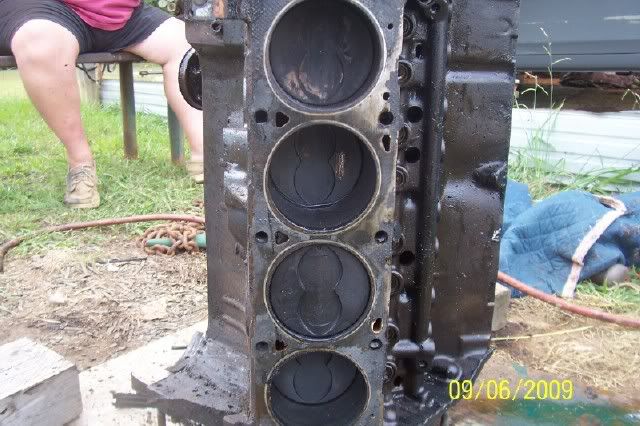
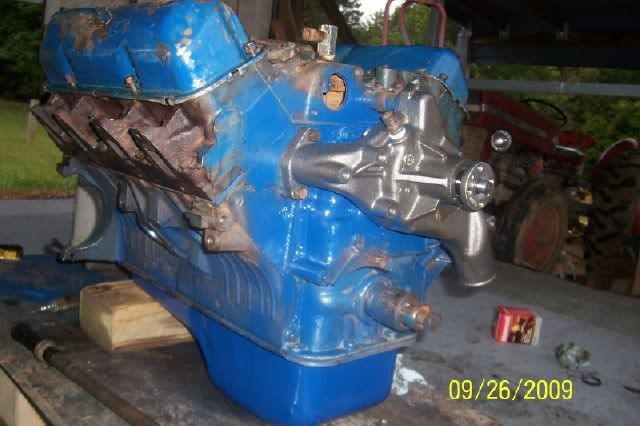
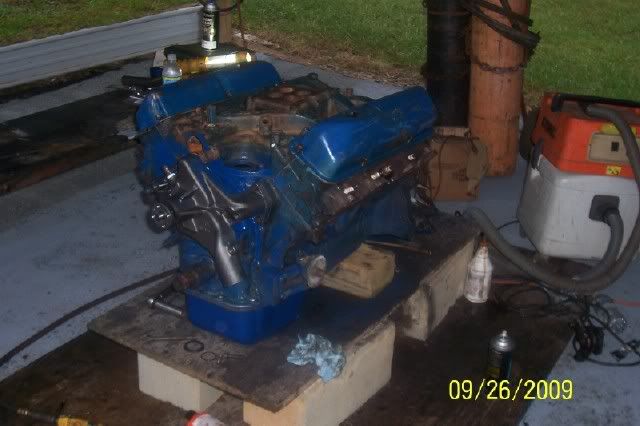
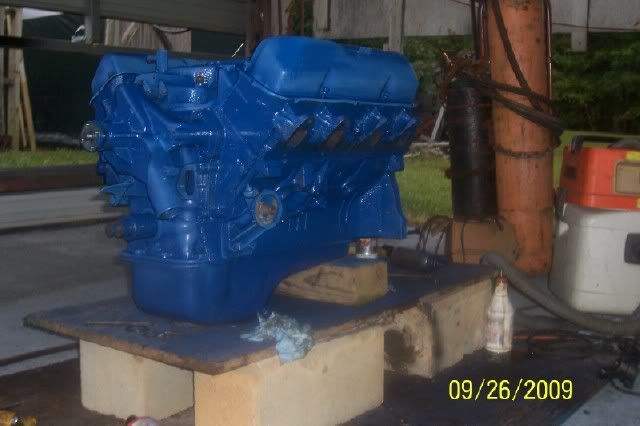
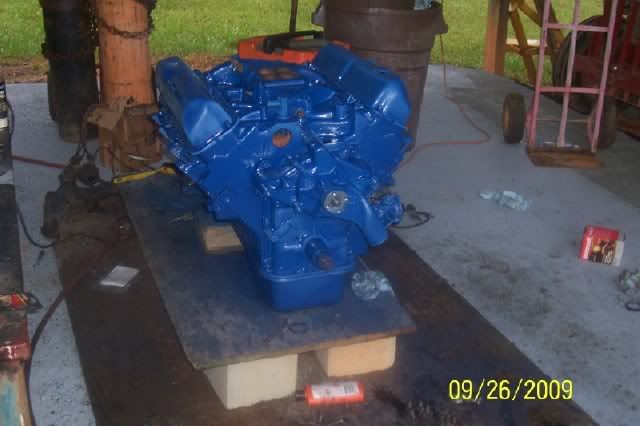
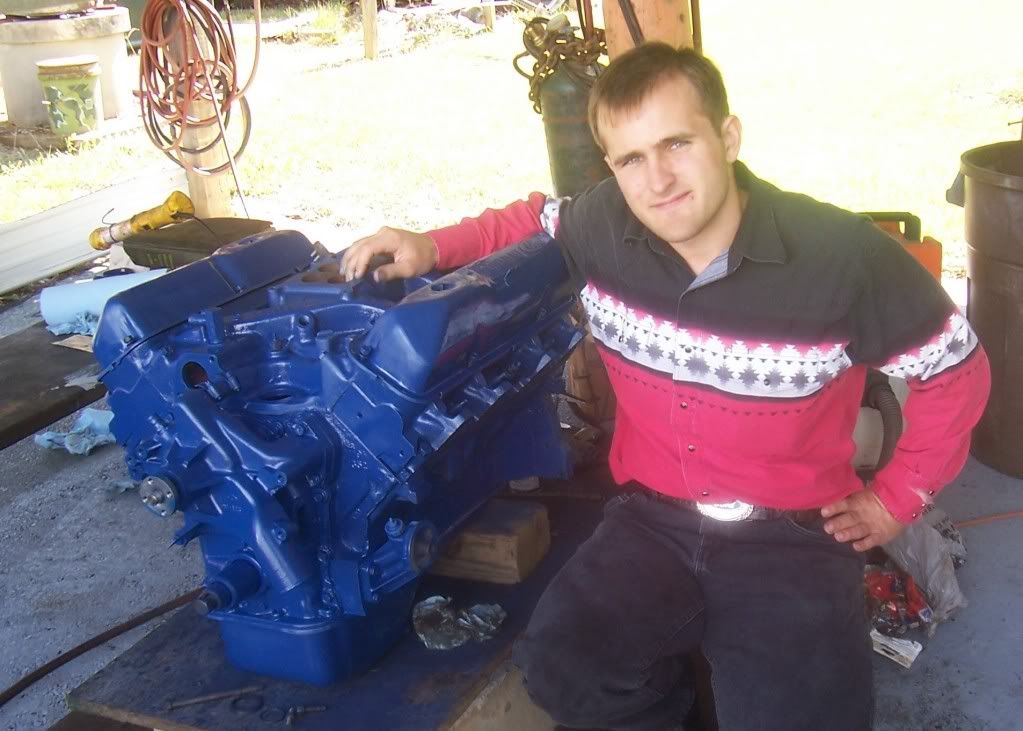
First off, the engine was taken down, checked out, and rebuilt. The man who sold it had not lied, the engine had been bored over by a machine shop. It had .030 over pistons, a .010 over crankshaft, and at that point we didn't bother checking the cam. We replaced the oil pump, distributor, thermostats, gaskets, and all of those goodies and put it back together AND painted it!!! Here it is:
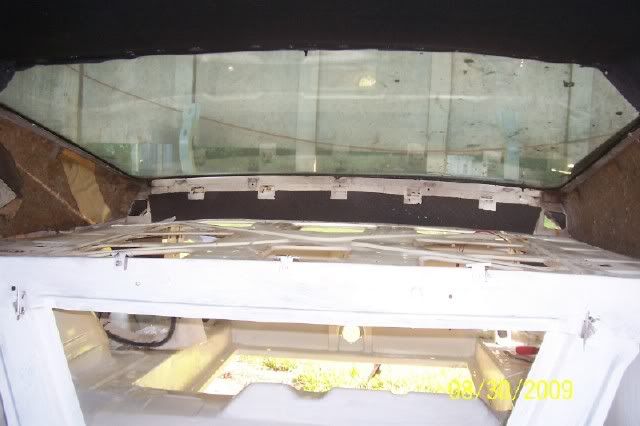
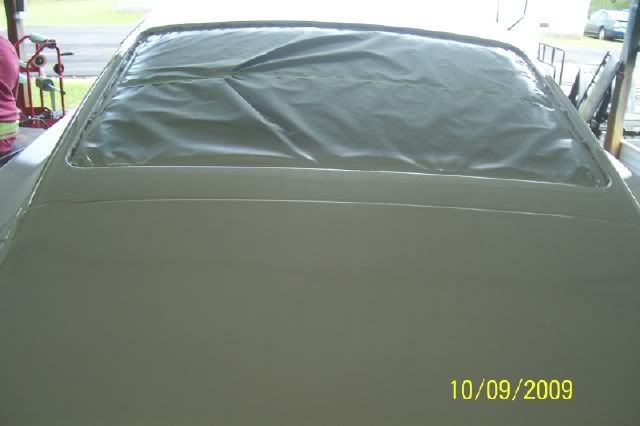
I also spent an afternoon getting the rear window dash and the trim (which was repainted with a couple cans of semi-gloss black paint) back into the rear window!

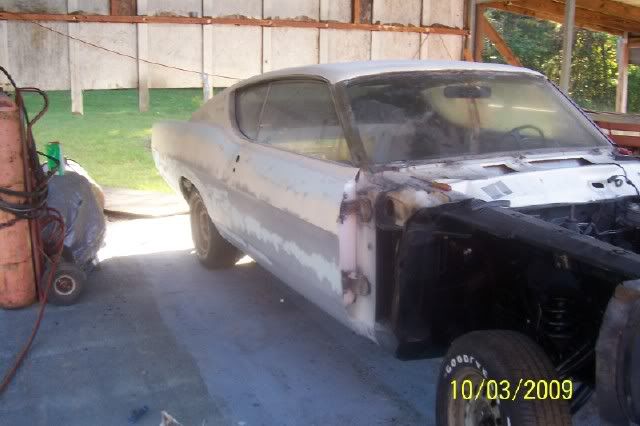
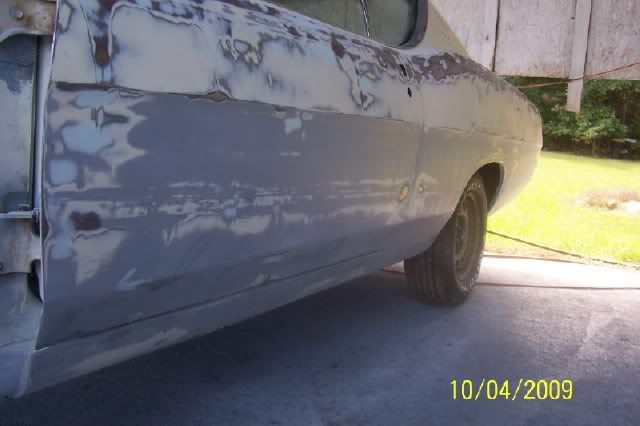
The next step was to get the body of the car painted. It was a lot of prepping, priming, bondoing, and glazing puddy'ing to get this ready. Here are some pictures of that!
Glazing puddy along the old C-stripe so it won't show up in the new paint.
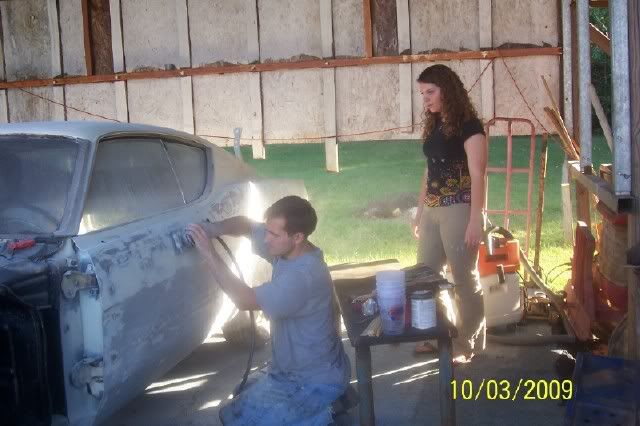
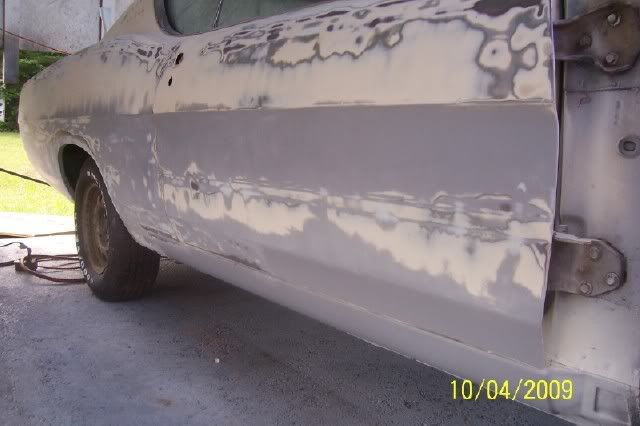
And then I had to sand it out with a jitter bug sander and get it all nice and smooth for a final priming!! My girlfriend was over and watched... balacning my time is becoming tricky, so I had to combine a few things...
FINISHED!!! I stayed up for an hour past sunfall working with a drop light until dad came out and pulled me inside for in dinner one night.
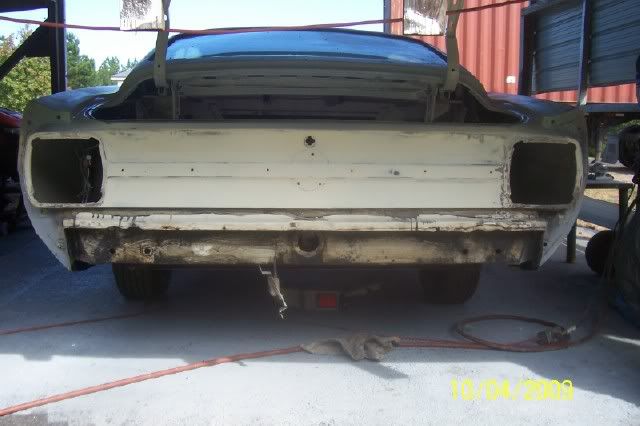
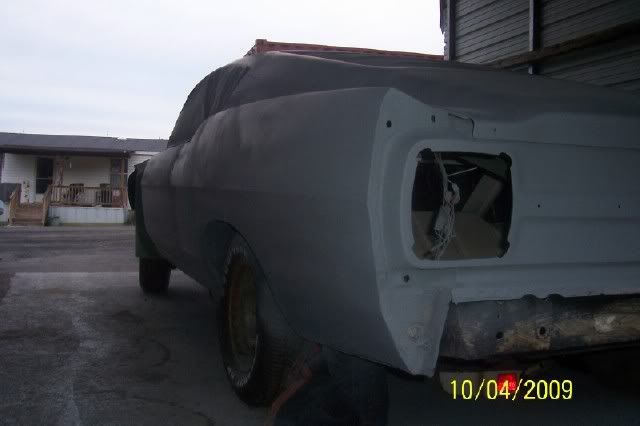
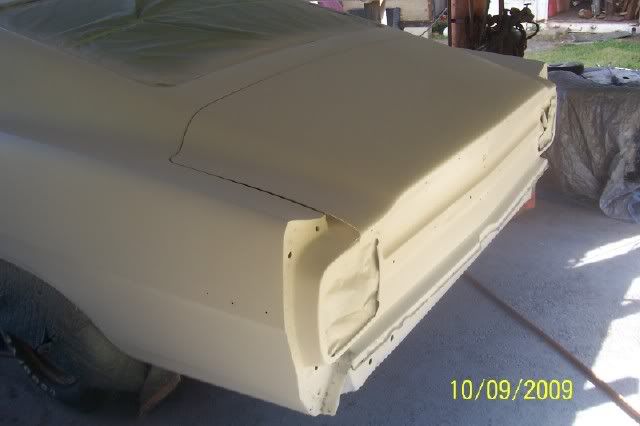
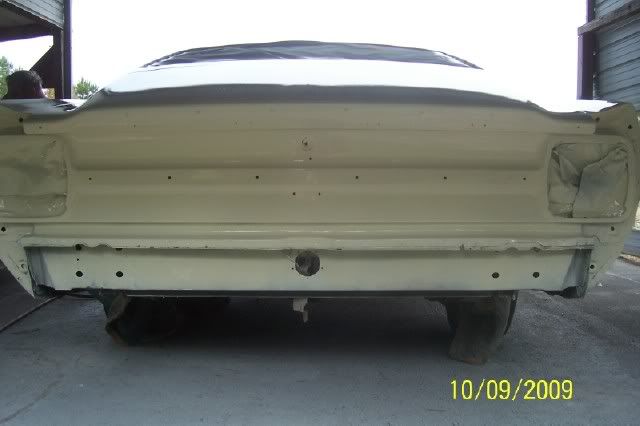
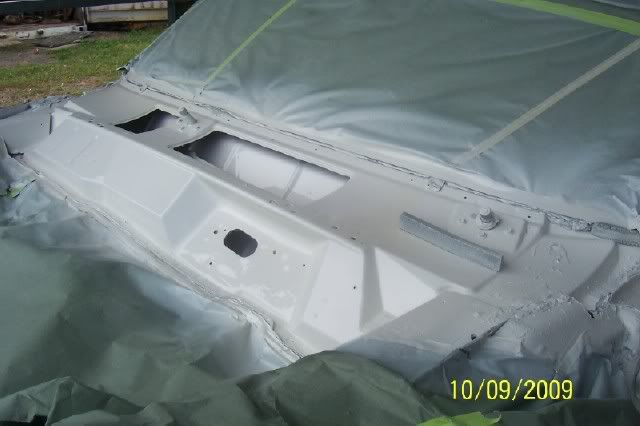
And then this, the under side of the trunk had to be painted before the car was done so it woudln't scratch the paint installing it.

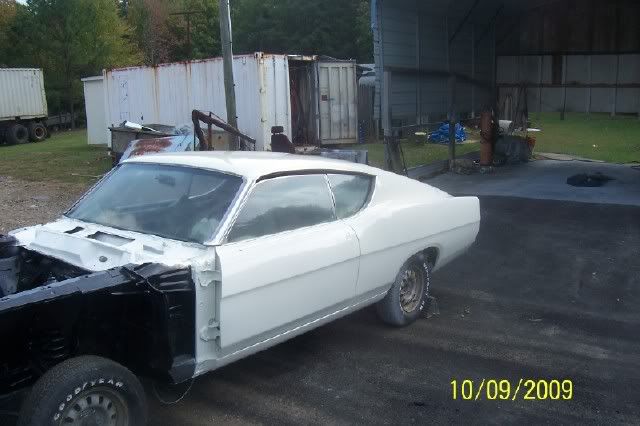
So then the car was primed.....
First off, the engine was taken down, checked out, and rebuilt. The man who sold it had not lied, the engine had been bored over by a machine shop. It had .030 over pistons, a .010 over crankshaft, and at that point we didn't bother checking the cam. We replaced the oil pump, distributor, thermostats, gaskets, and all of those goodies and put it back together AND painted it!!! Here it is:
I also spent an afternoon getting the rear window dash and the trim (which was repainted with a couple cans of semi-gloss black paint) back into the rear window!
The next step was to get the body of the car painted. It was a lot of prepping, priming, bondoing, and glazing puddy'ing to get this ready. Here are some pictures of that!
Glazing puddy along the old C-stripe so it won't show up in the new paint.
And then I had to sand it out with a jitter bug sander and get it all nice and smooth for a final priming!! My girlfriend was over and watched... balacning my time is becoming tricky, so I had to combine a few things...
FINISHED!!! I stayed up for an hour past sunfall working with a drop light until dad came out and pulled me inside for in dinner one night.
And then this, the under side of the trunk had to be painted before the car was done so it woudln't scratch the paint installing it.
So then the car was primed.....
(post limit forced a divided post)
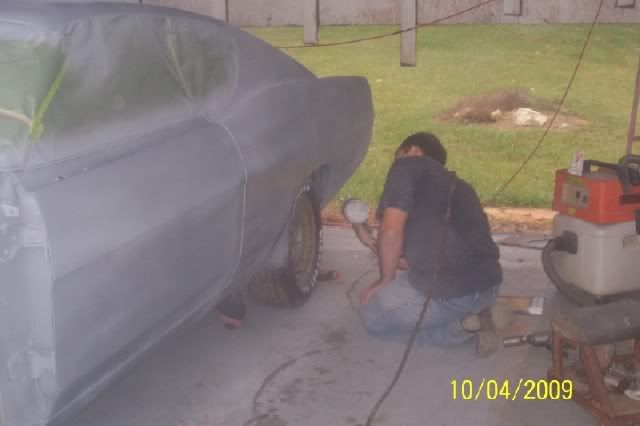
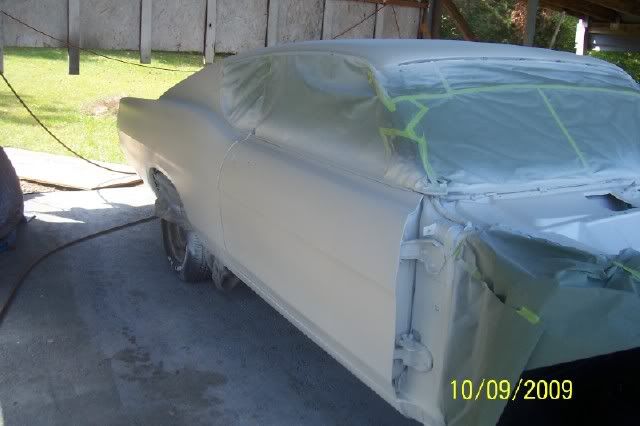
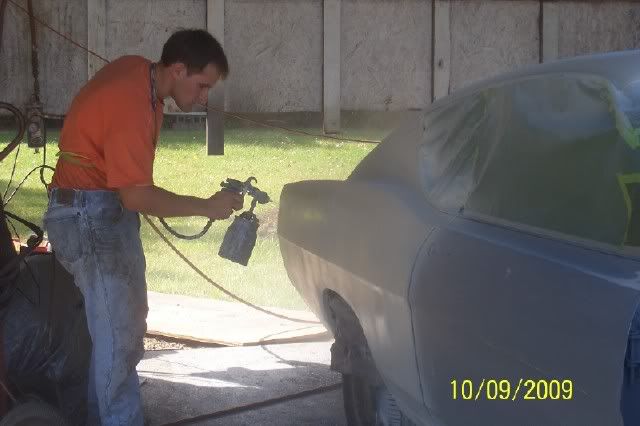
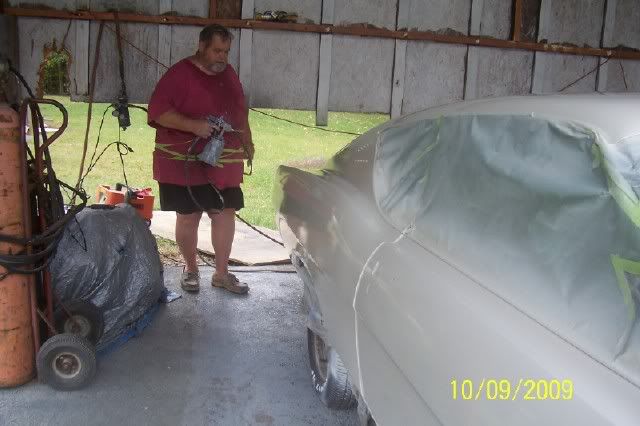
And FINALLY!!! IT WAS TIME TO GET TO PAINTING!!!!!!!!!!!! (weekend after the priming)
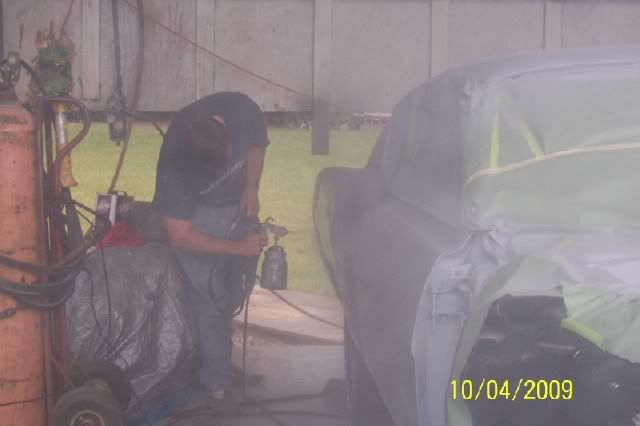
On the morning and early afternoon of this post, this is what was going on!
The paint job was a base coat/ clear coat job. This is a picture of the base coat, which is a very flat, unshiny paint that just gets the color established....
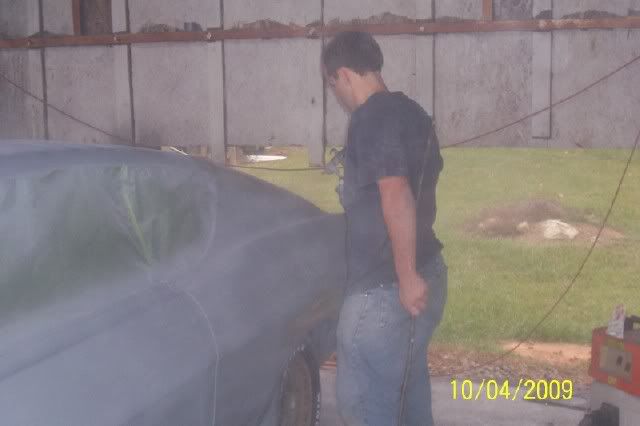
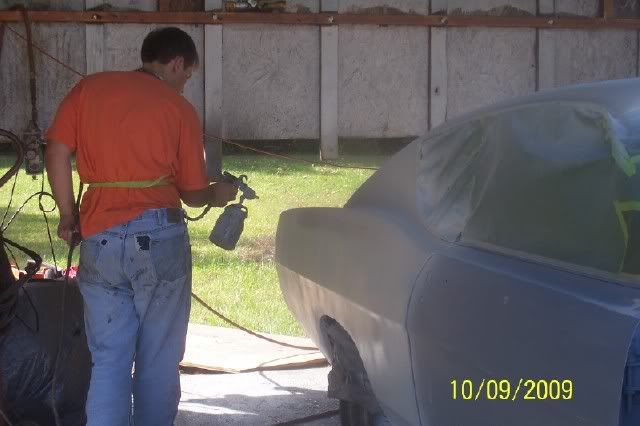
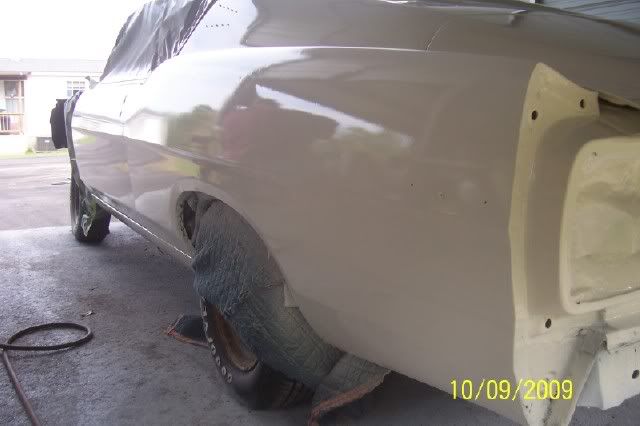
And a few shots of me painting taken by my dad.
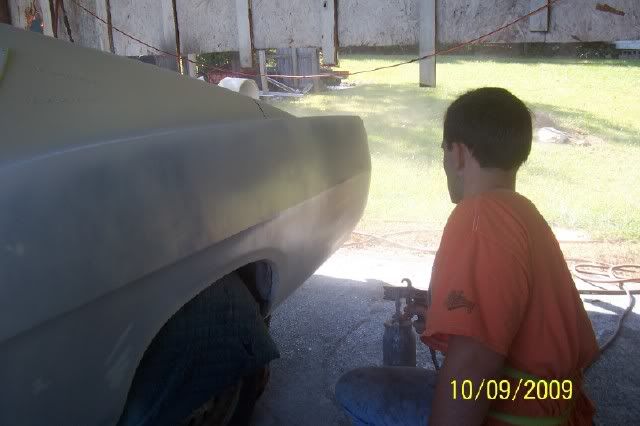
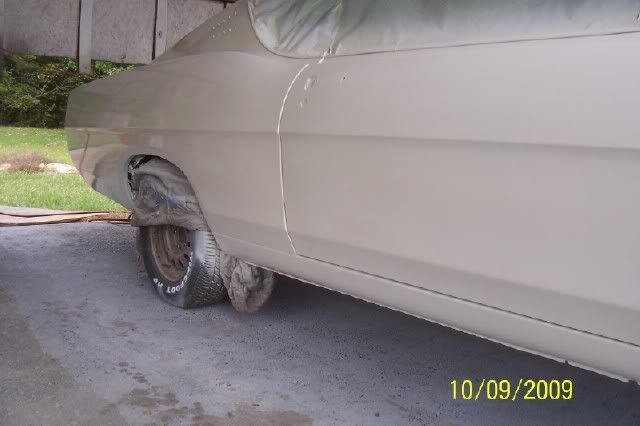
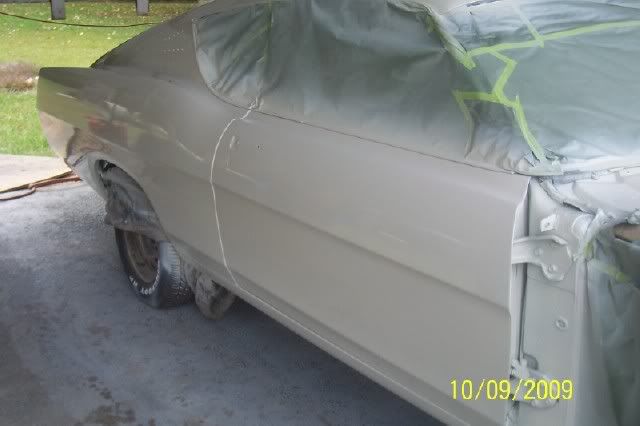
This is a very interesting shot!! My dad painted all of the clear on the roof and the trunk lid, and I painted the sides. The can ran out while painting the quarterfenders, and while dad was mixing some more clear, I took a few shots. Notice that the quarter fender is shiny, reflecting things around it, while the door is very flat.
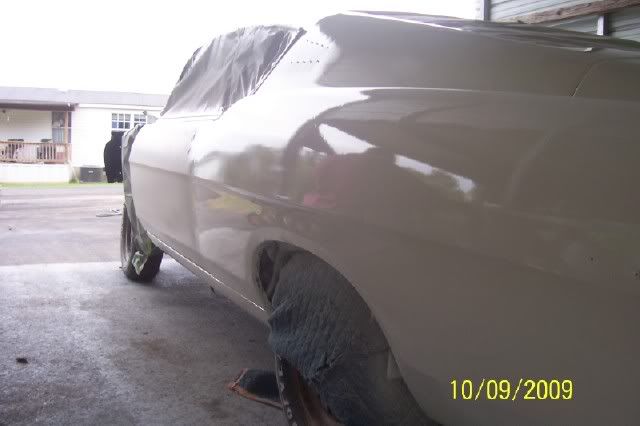
Same here
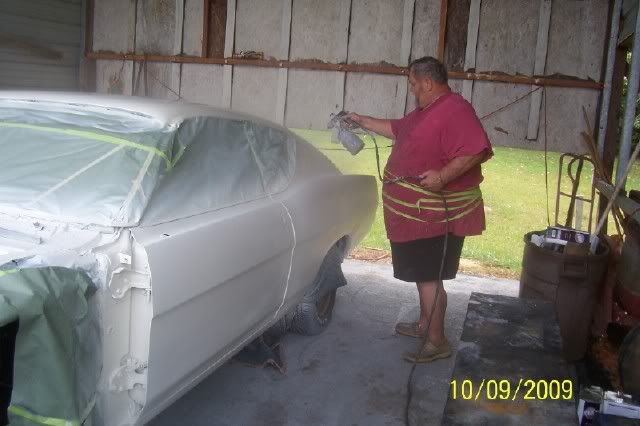
Dad painting the clear coat!
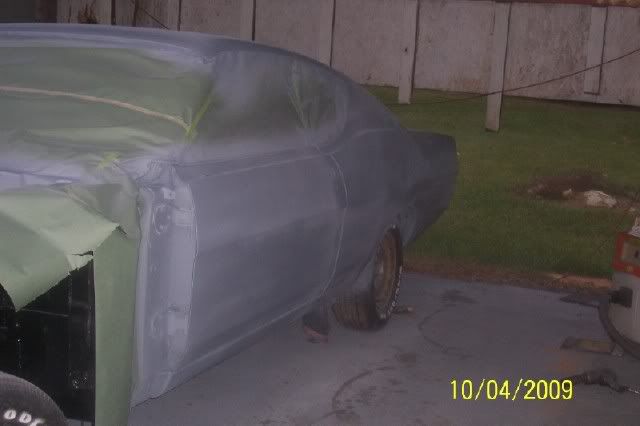
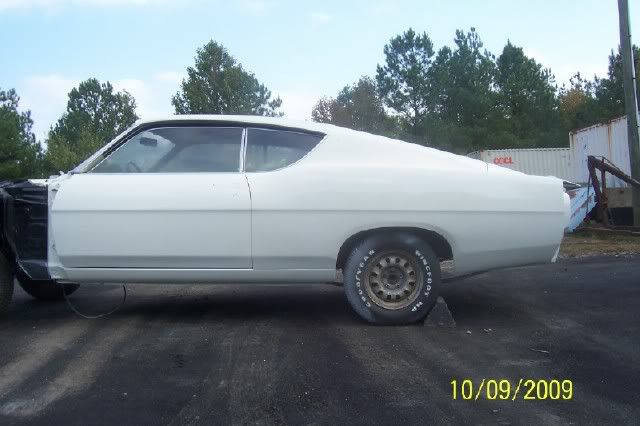
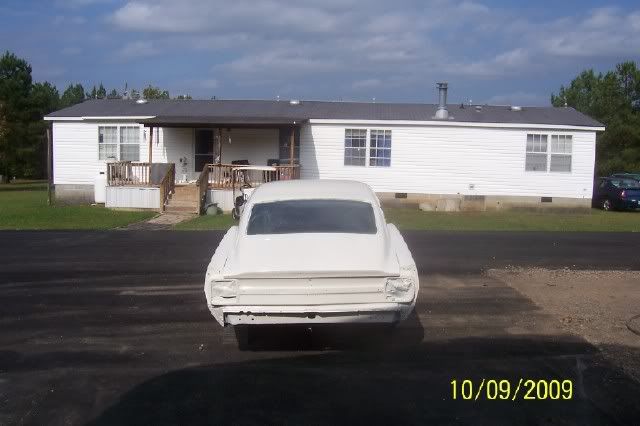
And we were FINALLY finished after nearly four hours of painting!
And later in the afternoon we pulled it by the front bar out into the yard for a few more shots...
And here at the end I'm going to include some video's via Youtube of priming and painting the car.
Here is a video of me priming!
http://www.youtube.com/watch?v=ik9S9evouy8
And here is a video of me painting. If your pushed for time, I recommend watching this first one, painting the trunk lid, you can really see the base coat going on!
http://www.youtube.com/watch?v=24Kmn1zmlMk
http://www.youtube.com/user/SuperSlo.../2/dvBYCKNtP_c
Watch this video closely and you can watch the clear coat make the paint shiny!
http://www.youtube.com/user/SuperSlo.../0/zxYELWZ7YcE
And FINALLY!!! IT WAS TIME TO GET TO PAINTING!!!!!!!!!!!! (weekend after the priming)
On the morning and early afternoon of this post, this is what was going on!
The paint job was a base coat/ clear coat job. This is a picture of the base coat, which is a very flat, unshiny paint that just gets the color established....
And a few shots of me painting taken by my dad.
This is a very interesting shot!! My dad painted all of the clear on the roof and the trunk lid, and I painted the sides. The can ran out while painting the quarterfenders, and while dad was mixing some more clear, I took a few shots. Notice that the quarter fender is shiny, reflecting things around it, while the door is very flat.
Same here
Dad painting the clear coat!
And we were FINALLY finished after nearly four hours of painting!
And later in the afternoon we pulled it by the front bar out into the yard for a few more shots...
And here at the end I'm going to include some video's via Youtube of priming and painting the car.
Here is a video of me priming!
http://www.youtube.com/watch?v=ik9S9evouy8
And here is a video of me painting. If your pushed for time, I recommend watching this first one, painting the trunk lid, you can really see the base coat going on!
http://www.youtube.com/watch?v=24Kmn1zmlMk
http://www.youtube.com/user/SuperSlo.../2/dvBYCKNtP_c
Watch this video closely and you can watch the clear coat make the paint shiny!
http://www.youtube.com/user/SuperSlo.../0/zxYELWZ7YcE


Garrett, that just sounds funny. "I want to learn to paint cars. I'll practice on my Porsche." 
Duane, thanks for sharing the latest update. That's one of my favorite stages. Putting the paint on. Kind of like seeing the light at the end of the tunnel.
Is the blue on the engine a little darker than the typical Ford blue? Either way, it looks great. A white and dark blue thing going on under the hood will look great. Is that the color scheme you plan for the rest of the car too?
That is gonna be one sick car when it's done.
Duane, thanks for sharing the latest update. That's one of my favorite stages. Putting the paint on. Kind of like seeing the light at the end of the tunnel.
Is the blue on the engine a little darker than the typical Ford blue? Either way, it looks great. A white and dark blue thing going on under the hood will look great.
Is that the color scheme you plan for the rest of the car too?That is gonna be one sick car when it's done.


Monte Of The Month -- August 2007


Joined: Sep 2006
Posts: 5,231
Duane, it's looking VERY nice! I could only dream of painting a car myself. Of course, I probably could, but no one has ever taught me how, and the few attempts I have had it, well.......
Proud of you! And you have to be proud of it!
Proud of you! And you have to be proud of it!


The engine is a regular Ford blue... you may not recognize it because Ford changed the color several times. That's the correct color for this car, and it may look dark because some of those pictures were taken while it rained outisde the carport and ti was getting late when we painted it.
The interior and stripe will be black though.
Thanks for all the support guys!
The interior and stripe will be black though.
Thanks for all the support guys!


Thread
Thread Starter
Forum
Replies
Last Post