A Huge Progress Update on the Torino!


Alright my friends, a lot has been done since I last updated you guys on my progress.
If you need to get caught up... you can follow these links.
https://montecarloforum.com/forum/sh...ghlight=torino
https://montecarloforum.com/forum/sh...ghlight=torino
https://montecarloforum.com/forum/sh...ghlight=torino
https://montecarloforum.com/forum/sh...te+fard+torino
So anyways, many great things happened over the last month since I updated. I have been doing some priming on the c-stripe to get it taken out for repainting. I have filled in some rusted out spots. The undercarriage is painted, and brakes are on. Right now, however, progress has been brought to a crawl as I am off to college again....
So anyways, here are some pictures and some explanations.
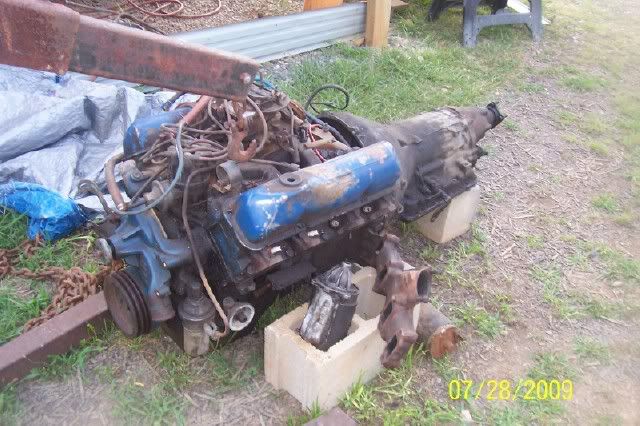
It was agreed that the 429 was too large for this car. The spark plug wires were wedged into the shock tower, and the torsen bar wasn't right. A 390 was found, plus a matching transmission, that can go back into the car. This also makes the car more original as it is an original 2v 390 car (Y code.)
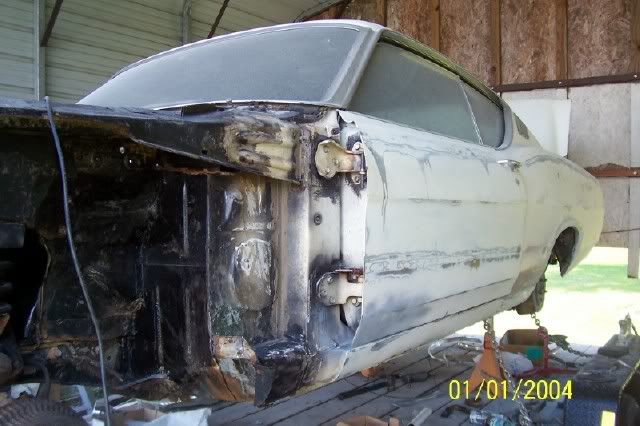
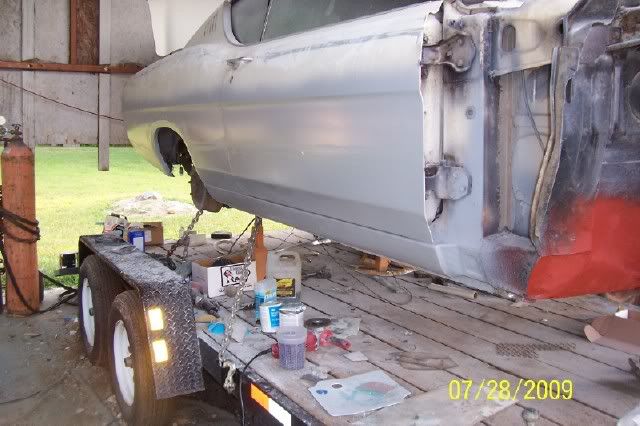
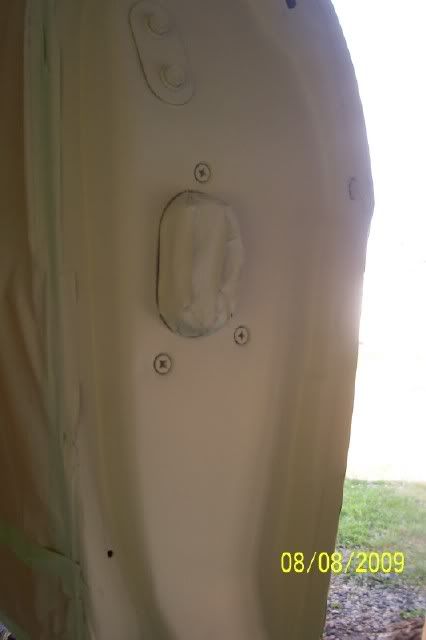
This was after some body work had been done on the car. We were preparing for some priming. You can see all the fiberglass and bondo places here.
And here is another picture of the side of the car.
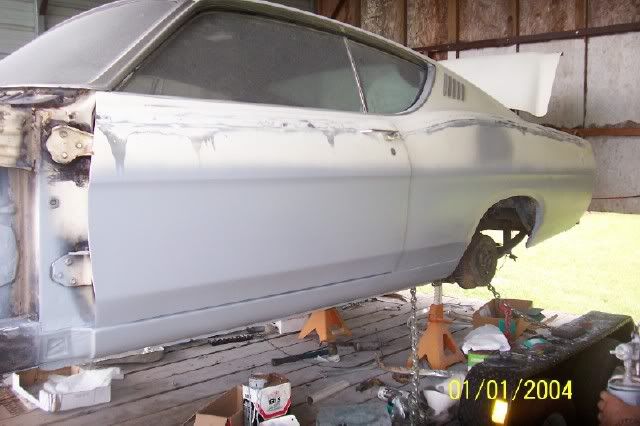
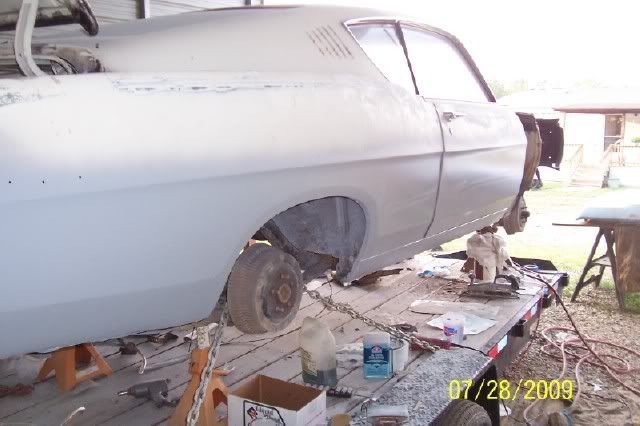
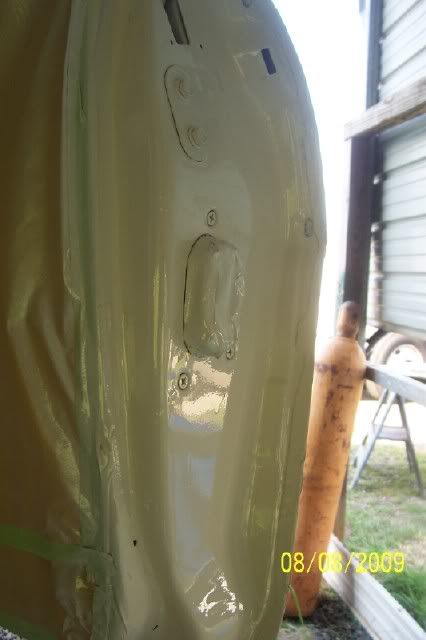
Then the car was primed, which helped fill in some places and help us to see where we need to do a little work before painting the car.
Here is the right side of the car in comparison.
Some of the same body work was done over here...
And then it was finally time to do some priming....
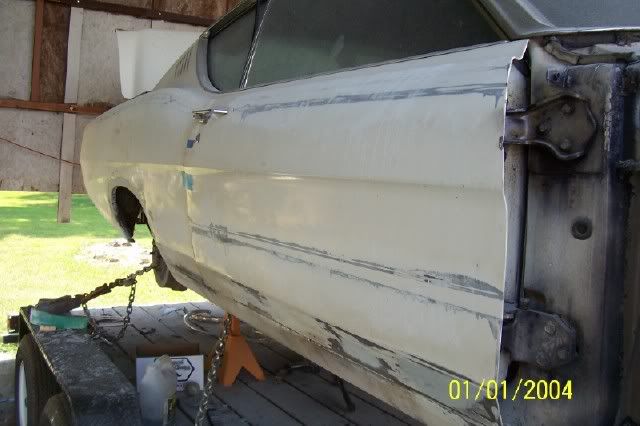
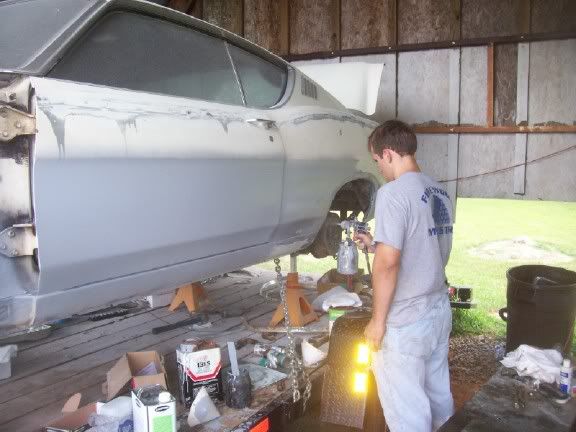
In this picture, you can see why the stripe had to be primed and blocked out. The residue is still there. It was later blocked out and will be primed again.
And here is a shot of the guy who primed it. Dad kind of showed me how to do it and then turned me loose. I did pretty much all of it.
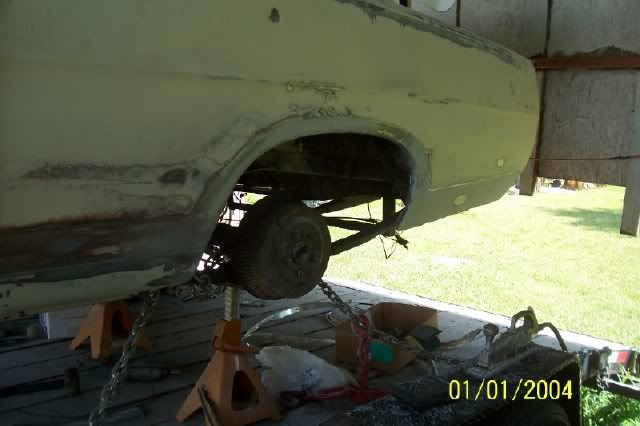
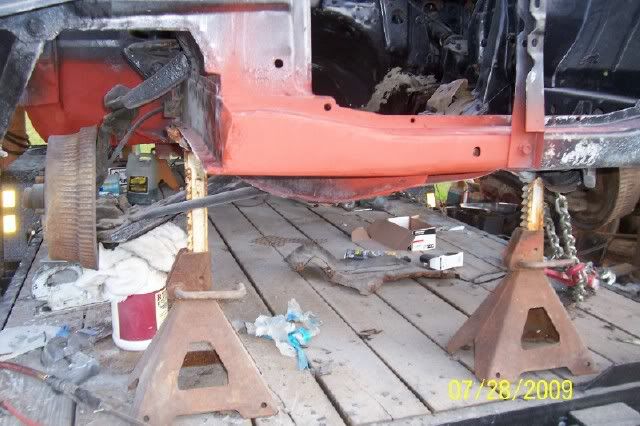
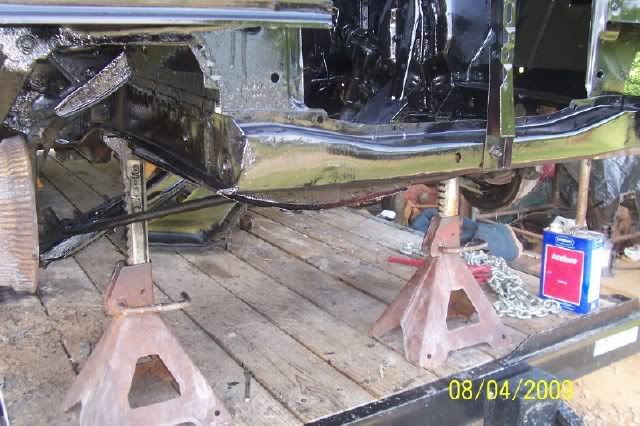
And then there were a couple of places I should have photographed before I began working on them. One place on the radiator support bar on the front of the car was rusted otu, and the place behidn the right front tire where water splashes up had rusted out. Both of these places had to be filled in with fiberglass, kitty hair, bondo, and were primed and painted with the undercarriage.
This is the radiator support. after being filled with resin and cloth, then some kitty hair.
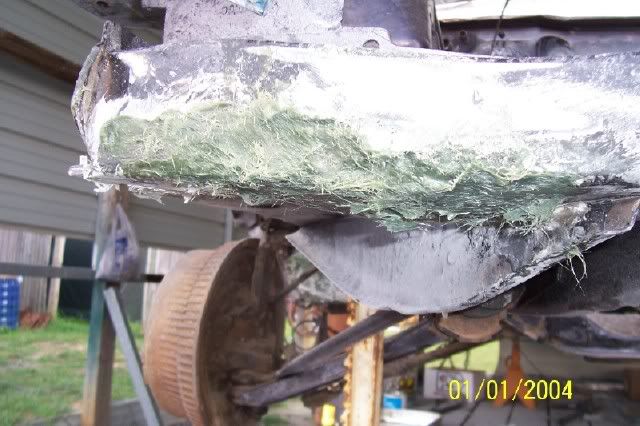
Then after it was filled in, sanded smooth, bondo'd, and sanded smooth again, it was primed!
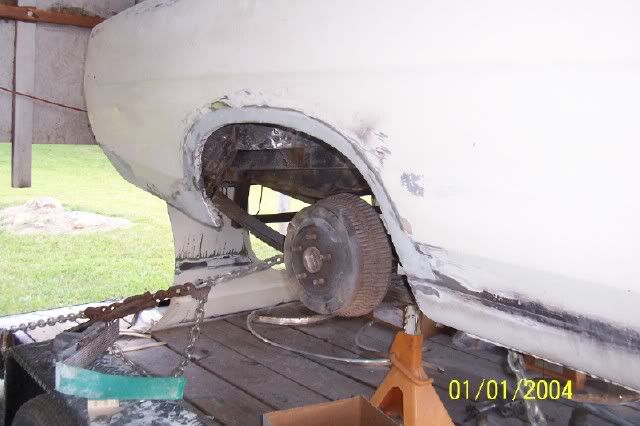
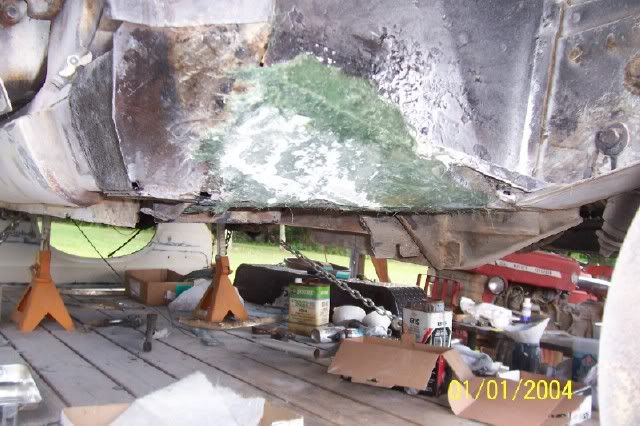
Then there is that spot behind the right front fender...
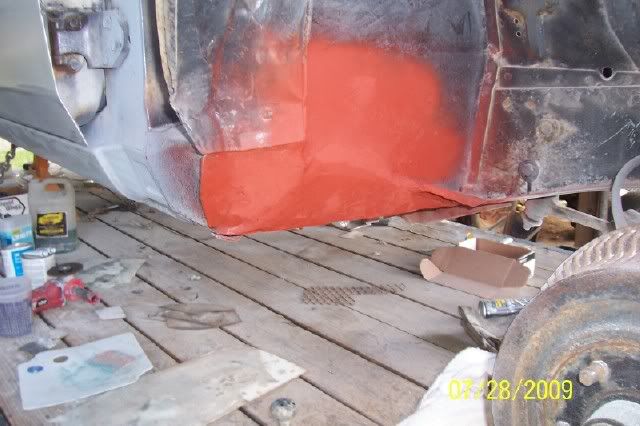
After!
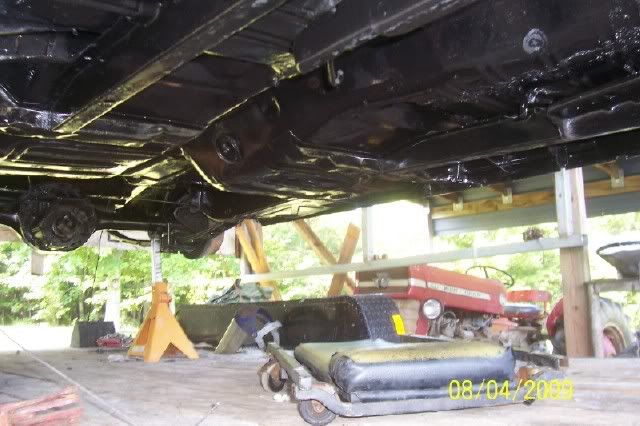
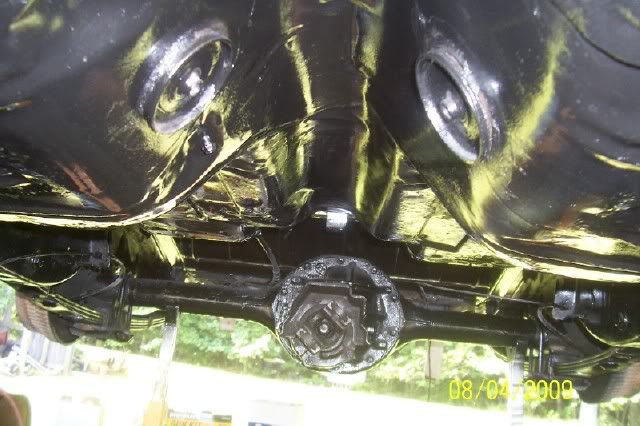
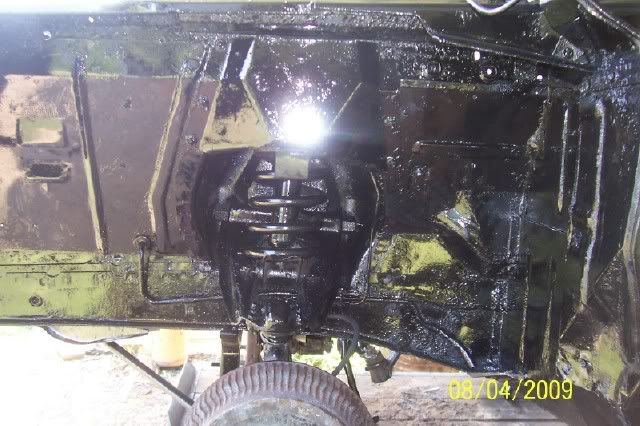
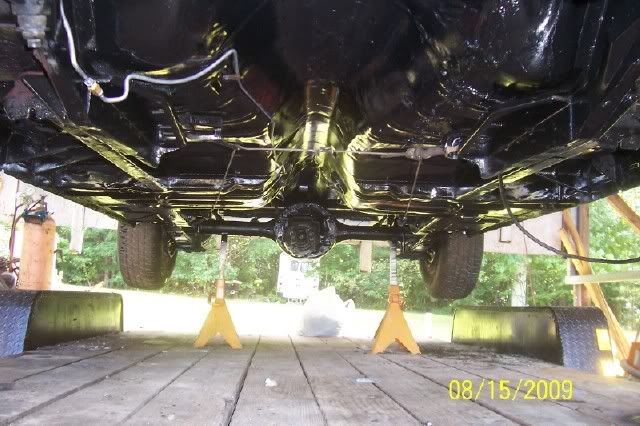
Then the undercarriage was painted. This was done with a rust sealing paint called POR-15. It's supposebly permanent, but we'll see how that holds up. I know that once it's on your hands, paint thinner, acetone, mineral spirits, or nothing else that is in the garage cleans it off. It's shiny and black now though.
I figured if ti was as permanent as they say it is, I didn't want to bother having to sand the overspray off the car.

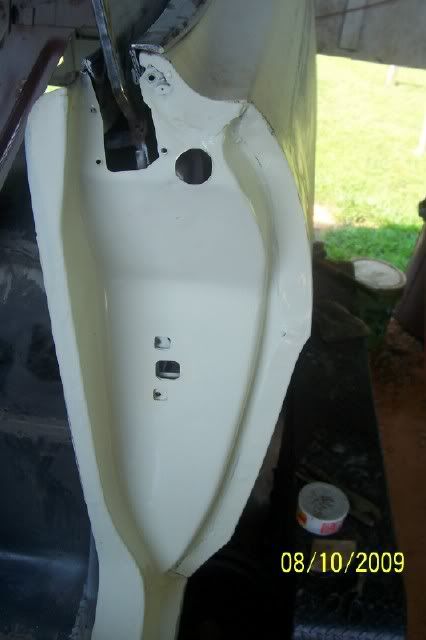
Then there is that spot behind the fenderwell...

And the engine compartment as well..
If you need to get caught up... you can follow these links.
https://montecarloforum.com/forum/sh...ghlight=torino
https://montecarloforum.com/forum/sh...ghlight=torino
https://montecarloforum.com/forum/sh...ghlight=torino
https://montecarloforum.com/forum/sh...te+fard+torino
So anyways, many great things happened over the last month since I updated. I have been doing some priming on the c-stripe to get it taken out for repainting. I have filled in some rusted out spots. The undercarriage is painted, and brakes are on. Right now, however, progress has been brought to a crawl as I am off to college again....
So anyways, here are some pictures and some explanations.
It was agreed that the 429 was too large for this car. The spark plug wires were wedged into the shock tower, and the torsen bar wasn't right. A 390 was found, plus a matching transmission, that can go back into the car. This also makes the car more original as it is an original 2v 390 car (Y code.)
This was after some body work had been done on the car. We were preparing for some priming. You can see all the fiberglass and bondo places here.
And here is another picture of the side of the car.
Then the car was primed, which helped fill in some places and help us to see where we need to do a little work before painting the car.
Here is the right side of the car in comparison.
Some of the same body work was done over here...
And then it was finally time to do some priming....
In this picture, you can see why the stripe had to be primed and blocked out. The residue is still there. It was later blocked out and will be primed again.
And here is a shot of the guy who primed it. Dad kind of showed me how to do it and then turned me loose. I did pretty much all of it.
And then there were a couple of places I should have photographed before I began working on them. One place on the radiator support bar on the front of the car was rusted otu, and the place behidn the right front tire where water splashes up had rusted out. Both of these places had to be filled in with fiberglass, kitty hair, bondo, and were primed and painted with the undercarriage.
This is the radiator support. after being filled with resin and cloth, then some kitty hair.
Then after it was filled in, sanded smooth, bondo'd, and sanded smooth again, it was primed!
Then there is that spot behind the right front fender...
After!
Then the undercarriage was painted. This was done with a rust sealing paint called POR-15. It's supposebly permanent, but we'll see how that holds up. I know that once it's on your hands, paint thinner, acetone, mineral spirits, or nothing else that is in the garage cleans it off. It's shiny and black now though.
I figured if ti was as permanent as they say it is, I didn't want to bother having to sand the overspray off the car.
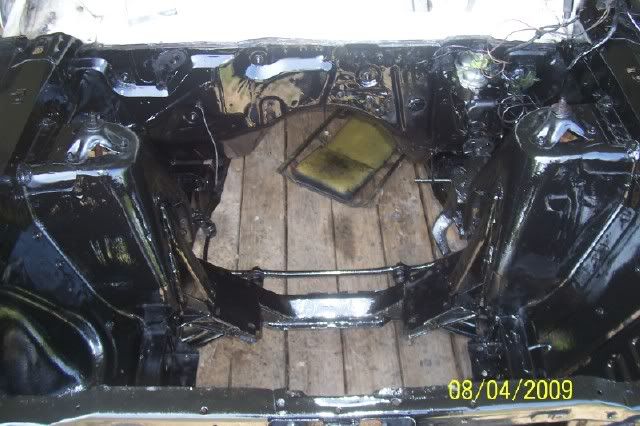
Then there is that spot behind the fenderwell...
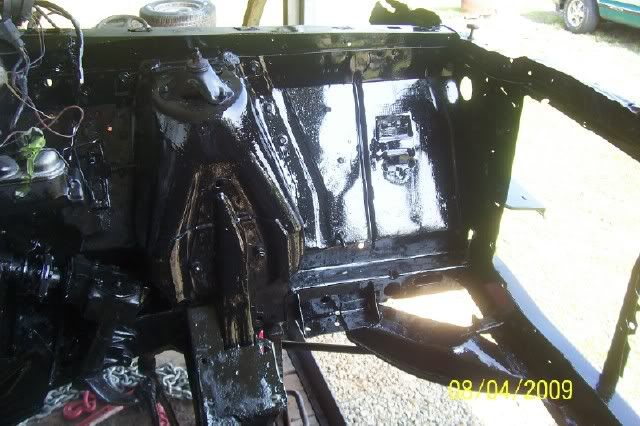
And the engine compartment as well..
And then there is that radiator bit...
The right front fender reflects light very well..
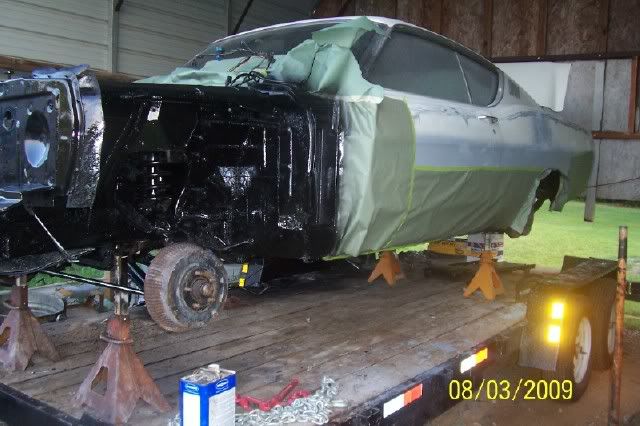
And then everything was torn down, and I prepared for painting the door jams and the trunk. I masked off everything to prevent overspray...
And I didn't want any spray on the dash or on the windows either...
The car is going to be receiving a base coat / clear coat paint job. We tested out how this paint is going to work on the door jams and trunk. I think this car is going to come out quite well...
Base coat:
Clear Coat:
And then the door jam on the opposite side:
I think she's going to be a beauty when the whole car is painted like that!
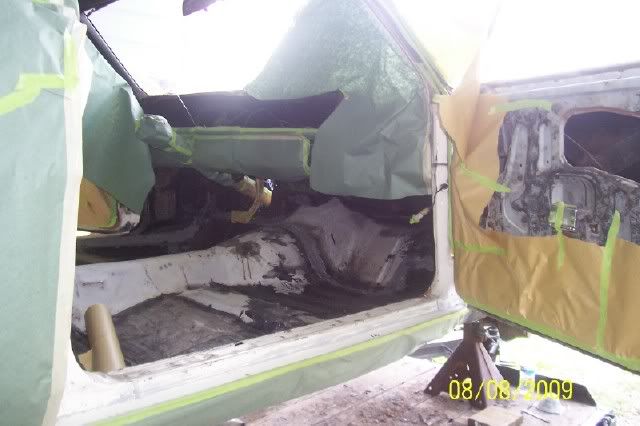
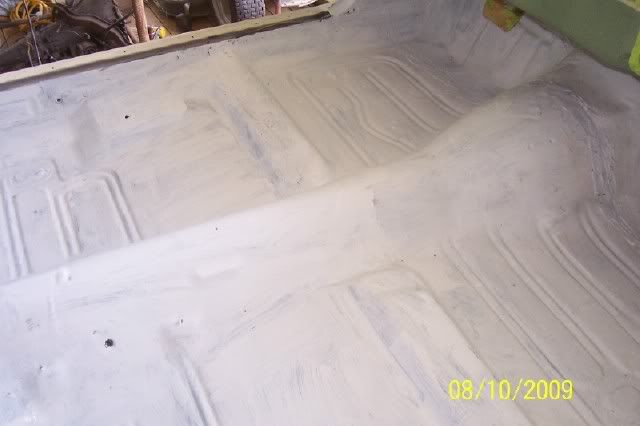
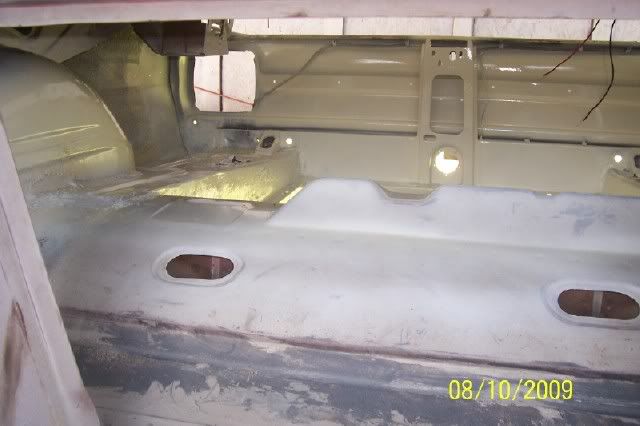
And here are a few final shots of the floor pans before I painted them...
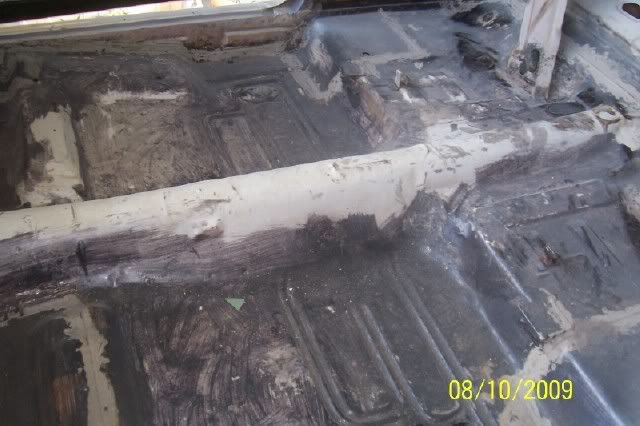

And then here is the dilema: I could paint the floor pans with $60 or so in paint the same color as the car, then clear coat it.. or I could use a pint or so of white rustoleum and a brush, not have a big cloud of mist in the air getting on everything, for $6, and nobody will ever see one way or the other when the car is back together. You can see my decision...
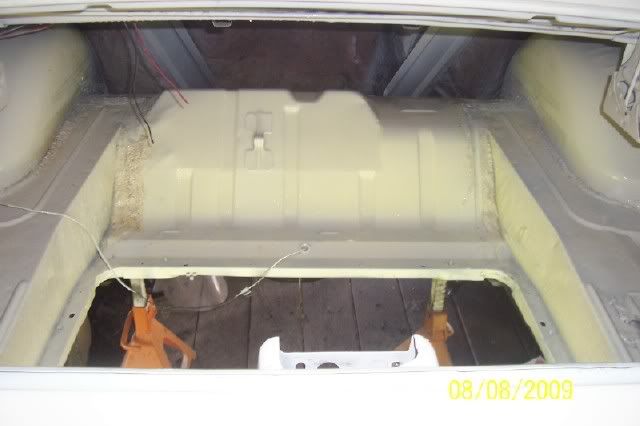
And then in this shot, you can see some of the rustoleum with the painted trunk in the back ground. I did all of the painting on the trunk, my dad did a bit of the door jams.
(the floor pans weren't painted yet in this shot..
Theres the rustoleum...

And then here is a shot of the trunk. I never bothered getting it too smooth, since a trunk liner is going to cover it... but it was good practice.
And then the brakes made their way on.... all new brakes on all 4 wheels, and new brakes lines!
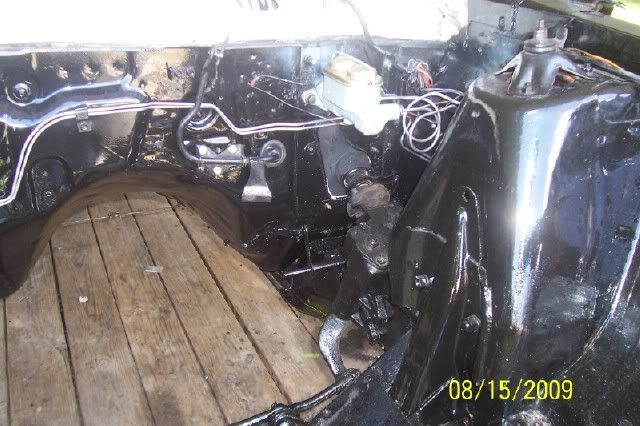
And then here is the engine compartment. New master cylinder, accelerator linkage reinstalled.... steering column boot back in...
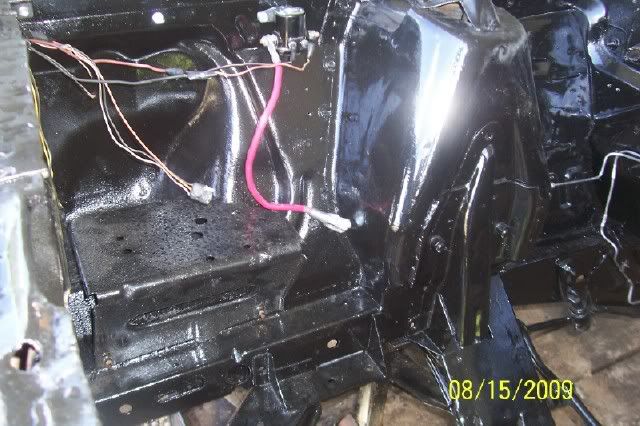
The starter solenoid and battery box are back on.... and the solenoid is hooked up.
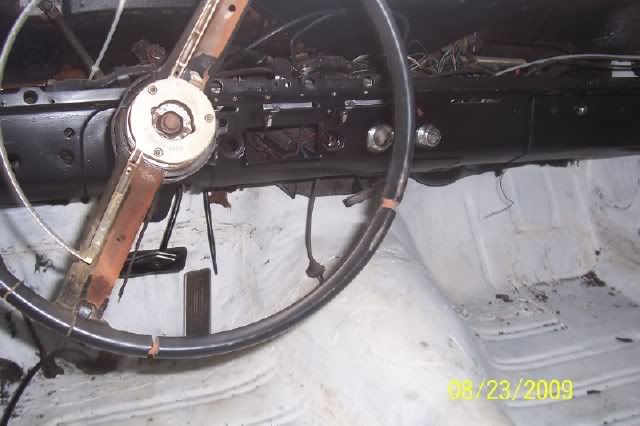
And an interior shot.. the steering wheel was put on so it could be backed off the trailer, and the ignition, cigarette lighter, and glove box are back in!
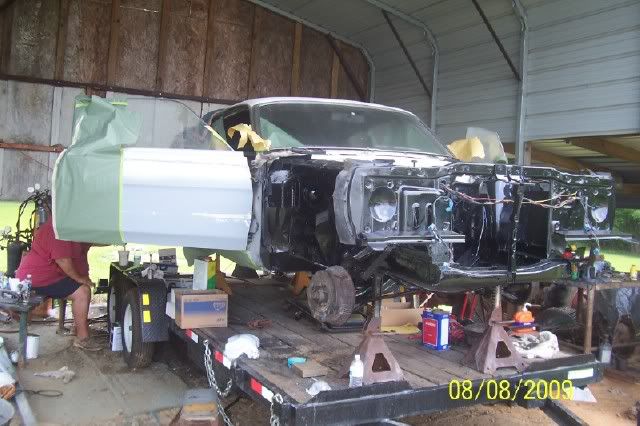
And then here is the car as it sits today! Finally on the ground with it!
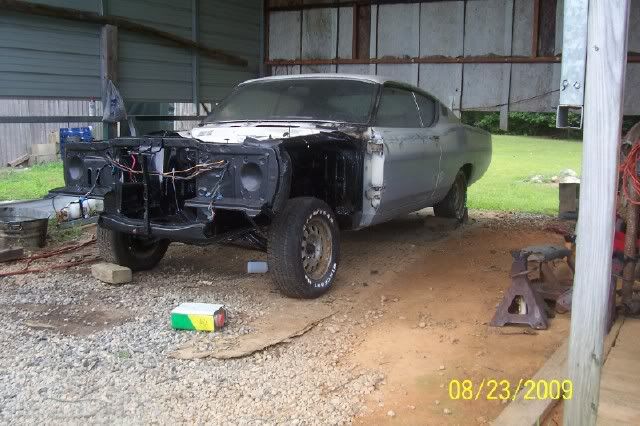
And there is more to come!
The right front fender reflects light very well..
And then everything was torn down, and I prepared for painting the door jams and the trunk. I masked off everything to prevent overspray...
And I didn't want any spray on the dash or on the windows either...
The car is going to be receiving a base coat / clear coat paint job. We tested out how this paint is going to work on the door jams and trunk. I think this car is going to come out quite well...
Base coat:
Clear Coat:
And then the door jam on the opposite side:
I think she's going to be a beauty when the whole car is painted like that!
And here are a few final shots of the floor pans before I painted them...
And then here is the dilema: I could paint the floor pans with $60 or so in paint the same color as the car, then clear coat it.. or I could use a pint or so of white rustoleum and a brush, not have a big cloud of mist in the air getting on everything, for $6, and nobody will ever see one way or the other when the car is back together. You can see my decision...
And then in this shot, you can see some of the rustoleum with the painted trunk in the back ground. I did all of the painting on the trunk, my dad did a bit of the door jams.
(the floor pans weren't painted yet in this shot..
Theres the rustoleum...
And then here is a shot of the trunk. I never bothered getting it too smooth, since a trunk liner is going to cover it... but it was good practice.
And then the brakes made their way on.... all new brakes on all 4 wheels, and new brakes lines!
And then here is the engine compartment. New master cylinder, accelerator linkage reinstalled.... steering column boot back in...
The starter solenoid and battery box are back on.... and the solenoid is hooked up.
And an interior shot.. the steering wheel was put on so it could be backed off the trailer, and the ignition, cigarette lighter, and glove box are back in!
And then here is the car as it sits today! Finally on the ground with it!
And there is more to come!


")
WoW, `Duane, awesome work on your Project Torino
4-Sure.
We envy you, and wish we were closer to help & learn.
Also, we appreciate you tak'in the time to share
your progress with words/pic's.
Look 4ward to all your updates.
Work'in hard to bring it back 2 `Life.
Good Luck this year @ school/life