
Bathroom Remodel


Thread Starter
|

Monte Of The Month -- December 2011
Monte Of The Month -- September 2014


iTrader: (2)
Joined: Apr 2010
Posts: 12,590
From: Mentor, Ohio

First, I cannot believe I started this project in MARCH (I'm slow at home remodeling stuff and when I ripped into this, I had more problems then planned).
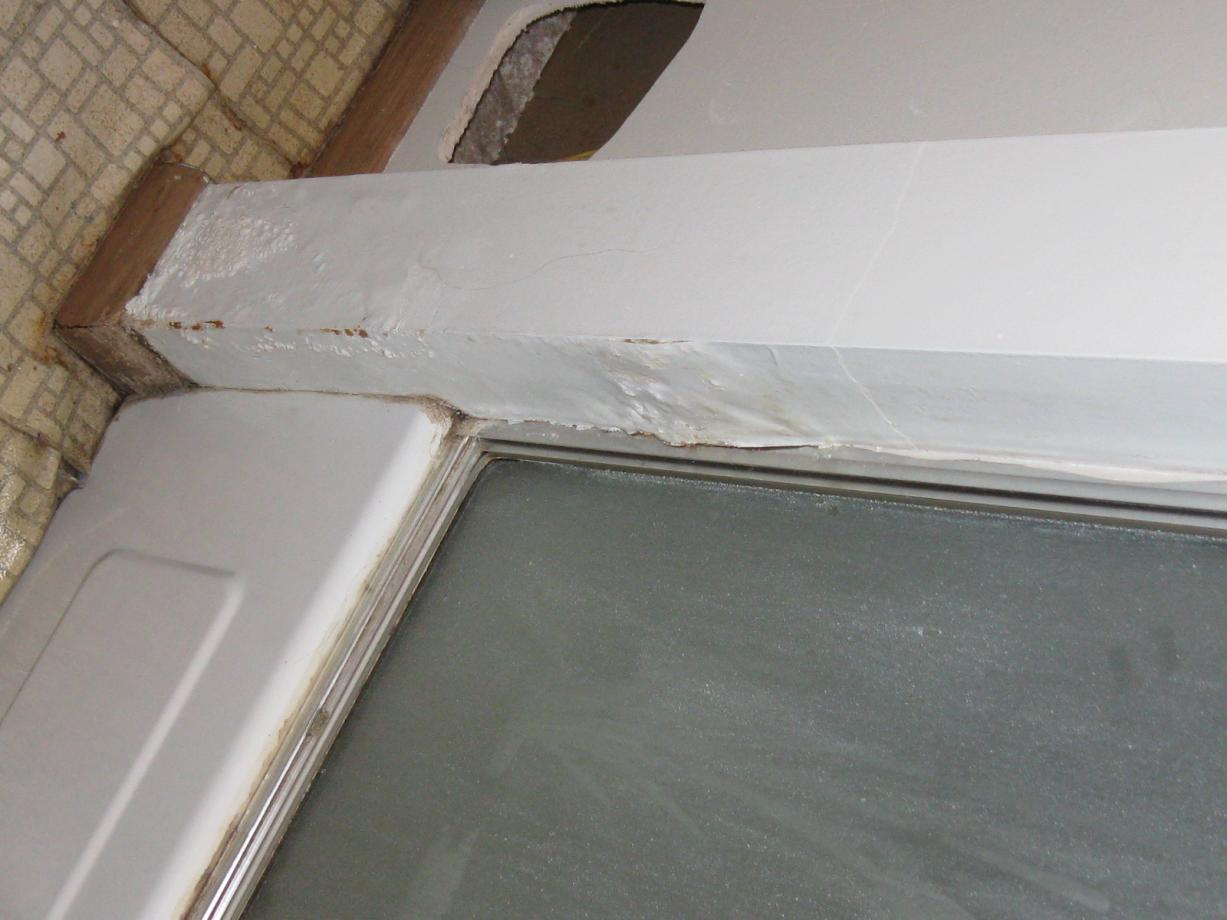
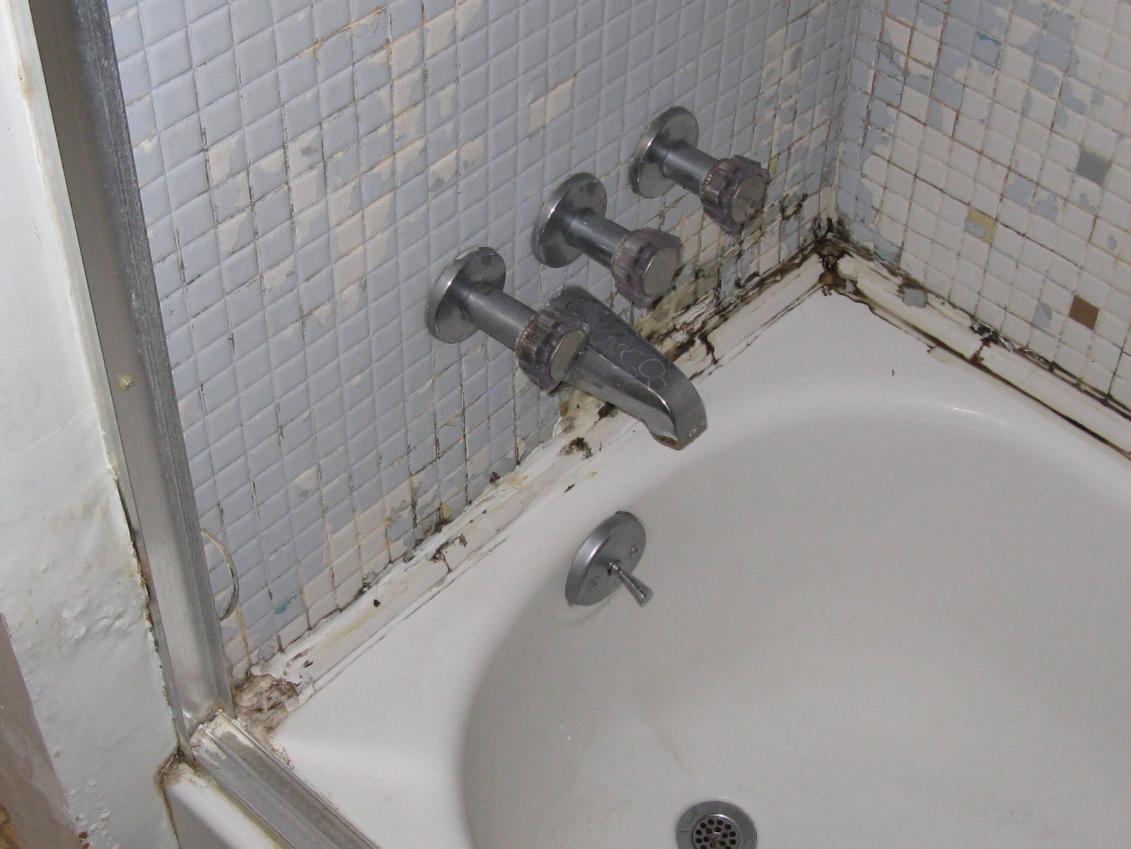
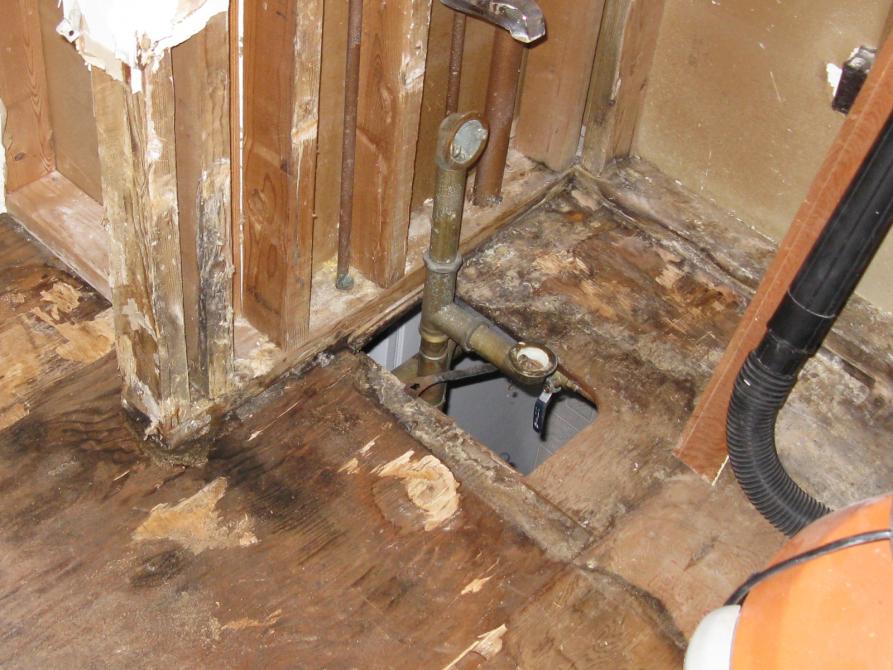
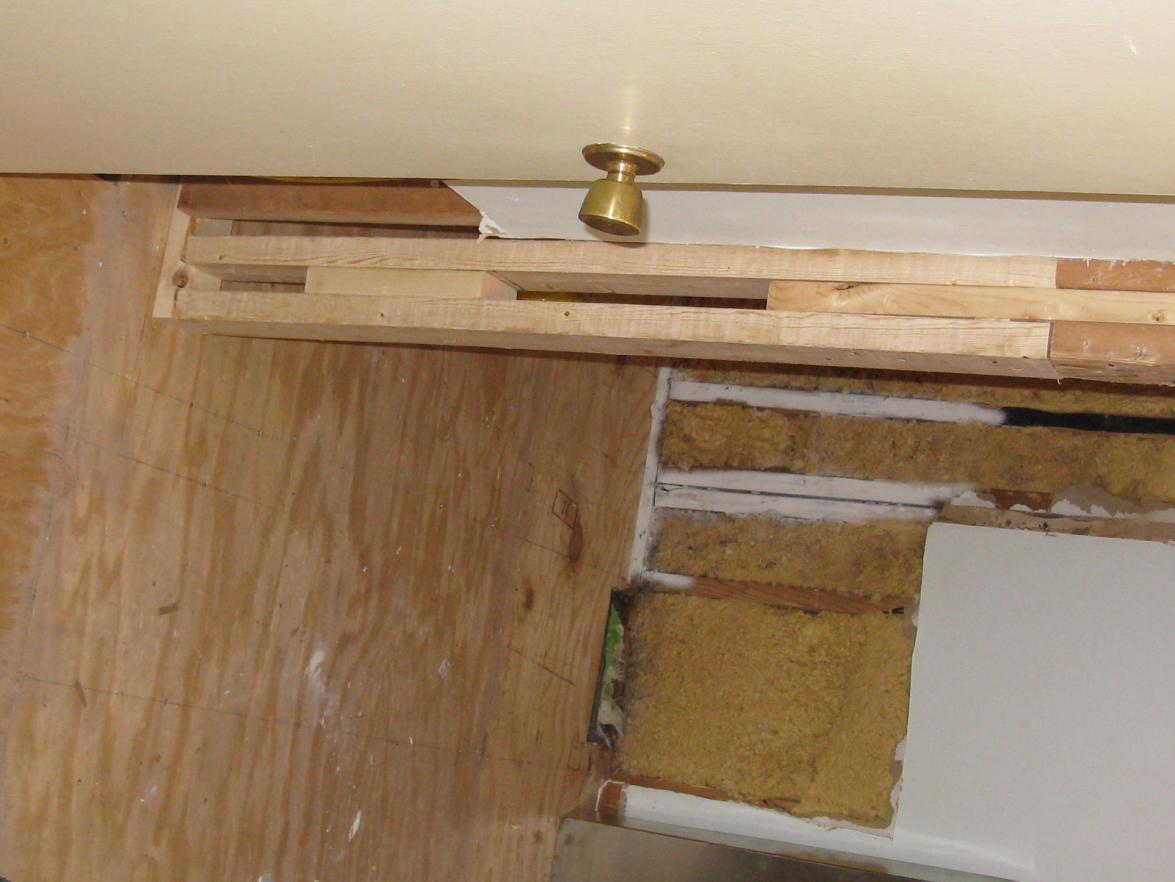
Anycase, I had to remodel the bathroom in the main floor of the house. The shower had been leaking into the basement for a couple YEARS (I had reasons I could not rip into it sooner). One issue was having to rip out the entire sub-floor AND add a laundry chute.
Thanks to help of friends and family, as of today it's done and my wife will do the dust clean up and organizing of the closet and under the sink. Well, there is a MINOR punch list. That includes hang the shower curtain rod (waiting to get a curtain), hang a couple towel rods, magnetic catch for the door to the laundry chute and a shelf above the chute.
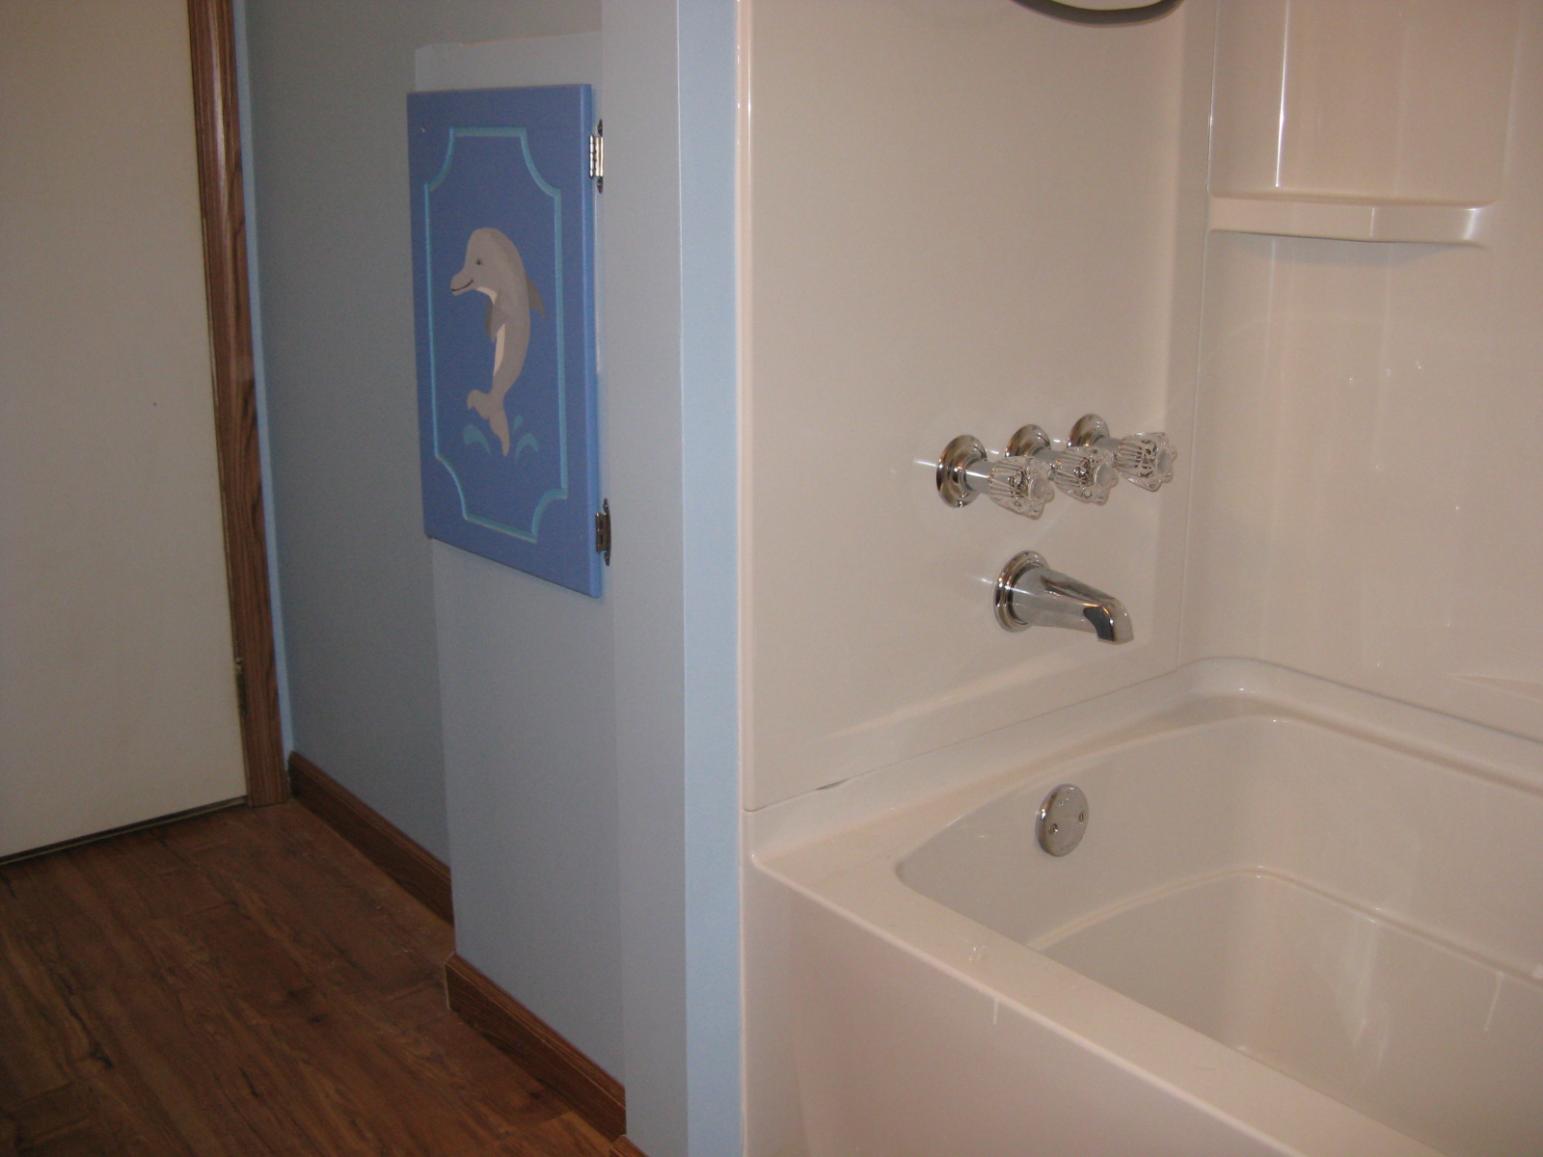
FYI - The dolphins on the doors to the original vanity were painted by me almost 10 years ago. I found a great re-use for one of the doors!
OK, enough, here's pics (before, during and after).
FYI - Sorry for the pics that are turned wrong, did not realize it when I uploaded them


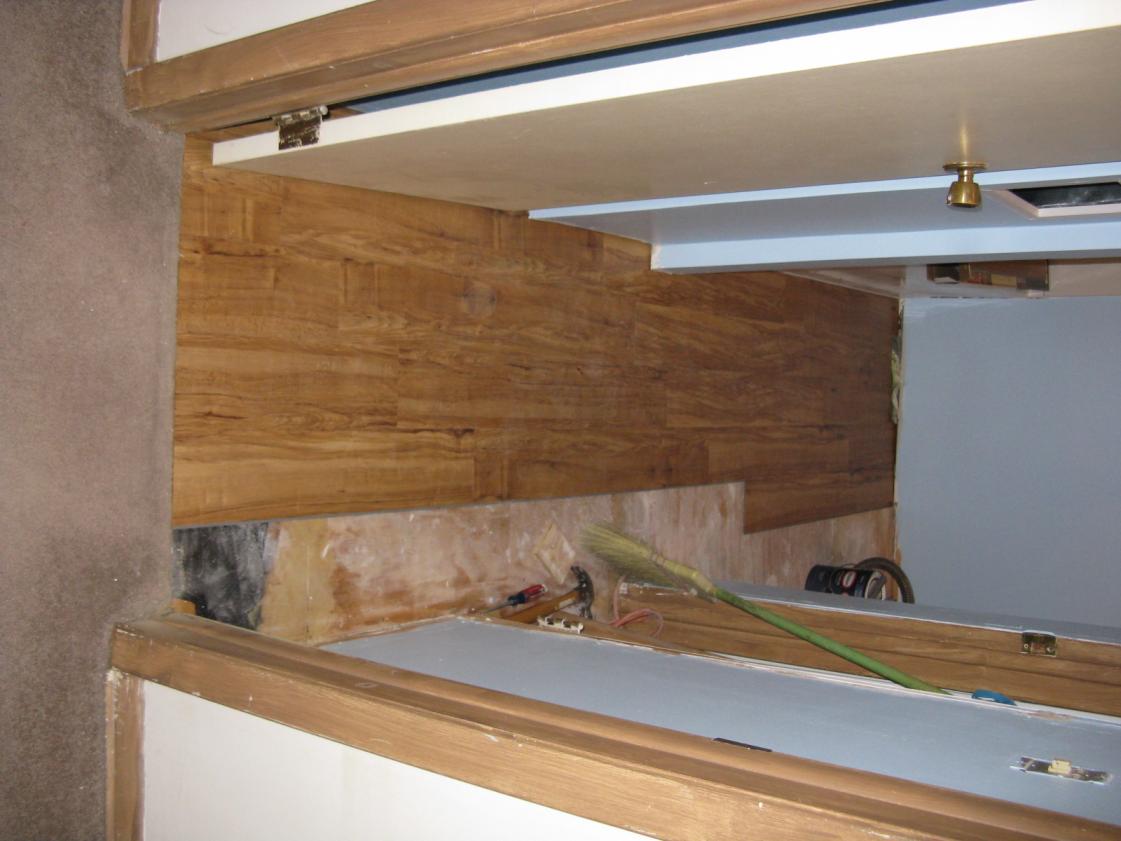
During Pics:
Anycase, I had to remodel the bathroom in the main floor of the house. The shower had been leaking into the basement for a couple YEARS (I had reasons I could not rip into it sooner). One issue was having to rip out the entire sub-floor AND add a laundry chute.
Thanks to help of friends and family, as of today it's done and my wife will do the dust clean up and organizing of the closet and under the sink. Well, there is a MINOR punch list. That includes hang the shower curtain rod (waiting to get a curtain), hang a couple towel rods, magnetic catch for the door to the laundry chute and a shelf above the chute.
FYI - The dolphins on the doors to the original vanity were painted by me almost 10 years ago. I found a great re-use for one of the doors!
OK, enough, here's pics (before, during and after).
FYI - Sorry for the pics that are turned wrong, did not realize it when I uploaded them
During Pics:
Last edited by The_Maniac; Dec 8, 2013 at 07:26 PM.


Thread Starter
|
Monte Of The Month -- December 2011
Monte Of The Month -- September 2014
iTrader: (2)
Joined: Apr 2010
Posts: 12,590
From: Mentor, Ohio
At this point, I am declaring the bathroom done. My wife is going to do the final dust clean up and closet organizing. I have a couple MINOR things to finish up, but nothing that requires this being a "construction zone" anymore.
As I upload these pics, I just realized, the pics don't point out that the mirror above the vanity is now a recessed medicine cabinet.
And now, the new Throne Room , I mean Bathroom:


As I upload these pics, I just realized, the pics don't point out that the mirror above the vanity is now a recessed medicine cabinet.
And now, the new Throne Room
, I mean Bathroom:
Last edited by The_Maniac; Dec 8, 2013 at 07:25 PM.


Looking Great Jason! Nice Job!
My bathroom is pretty much laid out the same way...
The door going into my bathroom...opens the very same way same side...LOL
Where you have a Laundry chute door.... Mine is a Linen closet that goes from the floor to the ceiling.
My bathroom is pretty much laid out the same way...
The door going into my bathroom...opens the very same way same side...LOL
Where you have a Laundry chute door.... Mine is a Linen closet that goes from the floor to the ceiling.
Last edited by STUMPMI; Dec 8, 2013 at 09:42 PM.

Monte Of The Month -- May 2012
Monte Of The Year 2012
Monte Of The Month -- February 2017
Monte Of The Year 2012
Monte Of The Month -- February 2017

Joined: Jan 2008
Posts: 4,938
From: Mountains of Utah
I see what you mean, water is the enemy of wood, swells and rots everything. A bath remodel usually has it's share of surprises when you start pulling things apart. Has to be a wonderful feeling to have your main floor bath back in service. I have to admit I'm liking the extra deep bath tub you selected. The tub surround wall panels will be substantially easier to maintain. Use due dilligence in not permitting any standing water on your hardwood flooring. The new vanity lipless sink will be enjoyable, nothing to catch water and such that you want to go into the sink. Looks like it was worth the extra effort and wait. Very very nice, Job well done!!
Thread Starter
|
Monte Of The Month -- December 2011
Monte Of The Month -- September 2014
iTrader: (2)
Joined: Apr 2010
Posts: 12,590
From: Mentor, Ohio
Thanks guys. This bathroom started as what seemed like a simple project, but just snowballed. I'm sad it took so long, but it really is awesome.
And Zippy, best part is, that's not real hard wood. The floor is Allure vinyl flooring (installs like pergo, but it's vinyl and water proof). We wanted a deeper tub, but I did not realize how much wider it was until we put it in. But I chose one that should ward off the water problems I had previously (the surround is 3 pieces and only required 4 inches of caulking on the front and the back). Hopefully, no more water issues
And Zippy, best part is, that's not real hard wood. The floor is Allure vinyl flooring (installs like pergo, but it's vinyl and water proof). We wanted a deeper tub, but I did not realize how much wider it was until we put it in. But I chose one that should ward off the water problems I had previously (the surround is 3 pieces and only required 4 inches of caulking on the front and the back). Hopefully, no more water issues


Thread Starter
|
Monte Of The Month -- December 2011
Monte Of The Month -- September 2014
iTrader: (2)
Joined: Apr 2010
Posts: 12,590
From: Mentor, Ohio
When I had to cut out both layers of sub-flooring and replace them, I did extra re-enforcements (overkill I am sure) at just about every seam. And between the 2 layers of floor, the seams are staggered from each other. I think that flooring is more solid then the rest of the house lol! Could probably do aerobics in there lol.
Thanks gang. Despite how long it took my slow butt to get to a "finish", I am proud of the end result. It's refreshing to see it look so much more modern.
BTW - One change I made that I am REALLY happy with, getting rid of 2 light switches for that room (I never saw the point in it).
Thanks gang. Despite how long it took my slow butt to get to a "finish", I am proud of the end result. It's refreshing to see it look so much more modern.
BTW - One change I made that I am REALLY happy with, getting rid of 2 light switches for that room (I never saw the point in it).

Thread
Thread Starter
Forum
Replies
Last Post