When you click on links to various merchants on this site and make a purchase, this can result in this site earning a commission. Affiliate programs and affiliations include, but are not limited to, the eBay Partner Network.
If I had to do over again, now seeing how the car is constructed
I would do a couple things different !!
First thing I would have done would have been to rent a pressure washer or steam cleaner, and cleaned that engine compartment before I started working on it !!
2nd thing I would have done, would be (a) get instructions for engine/trans removal, done the disconnections, jacked it up and put blocks under the Engine trans frame
took out the 4 bolts holding the frame, then raised the front of the car up like a "Funny Car" (assuming this is possible )
then it would be a lot easier to work on it. At 5'4" with it jacked up high enough to crawl under it, I have to climb in to get to
some of it !
I have bit off a bit more than I really wanted to chew for a backyard project, I am not wealthy enough for a shop or garage, and did not expect to have to go this deep into the engine. However having said that, I fully intend to see this project through, and make more of it for years to come. Hopefully after I get the back head off, it will be as far as I need go for disassembly, then start cleaning everything up and replacing whats necessary, and start putting it back together.
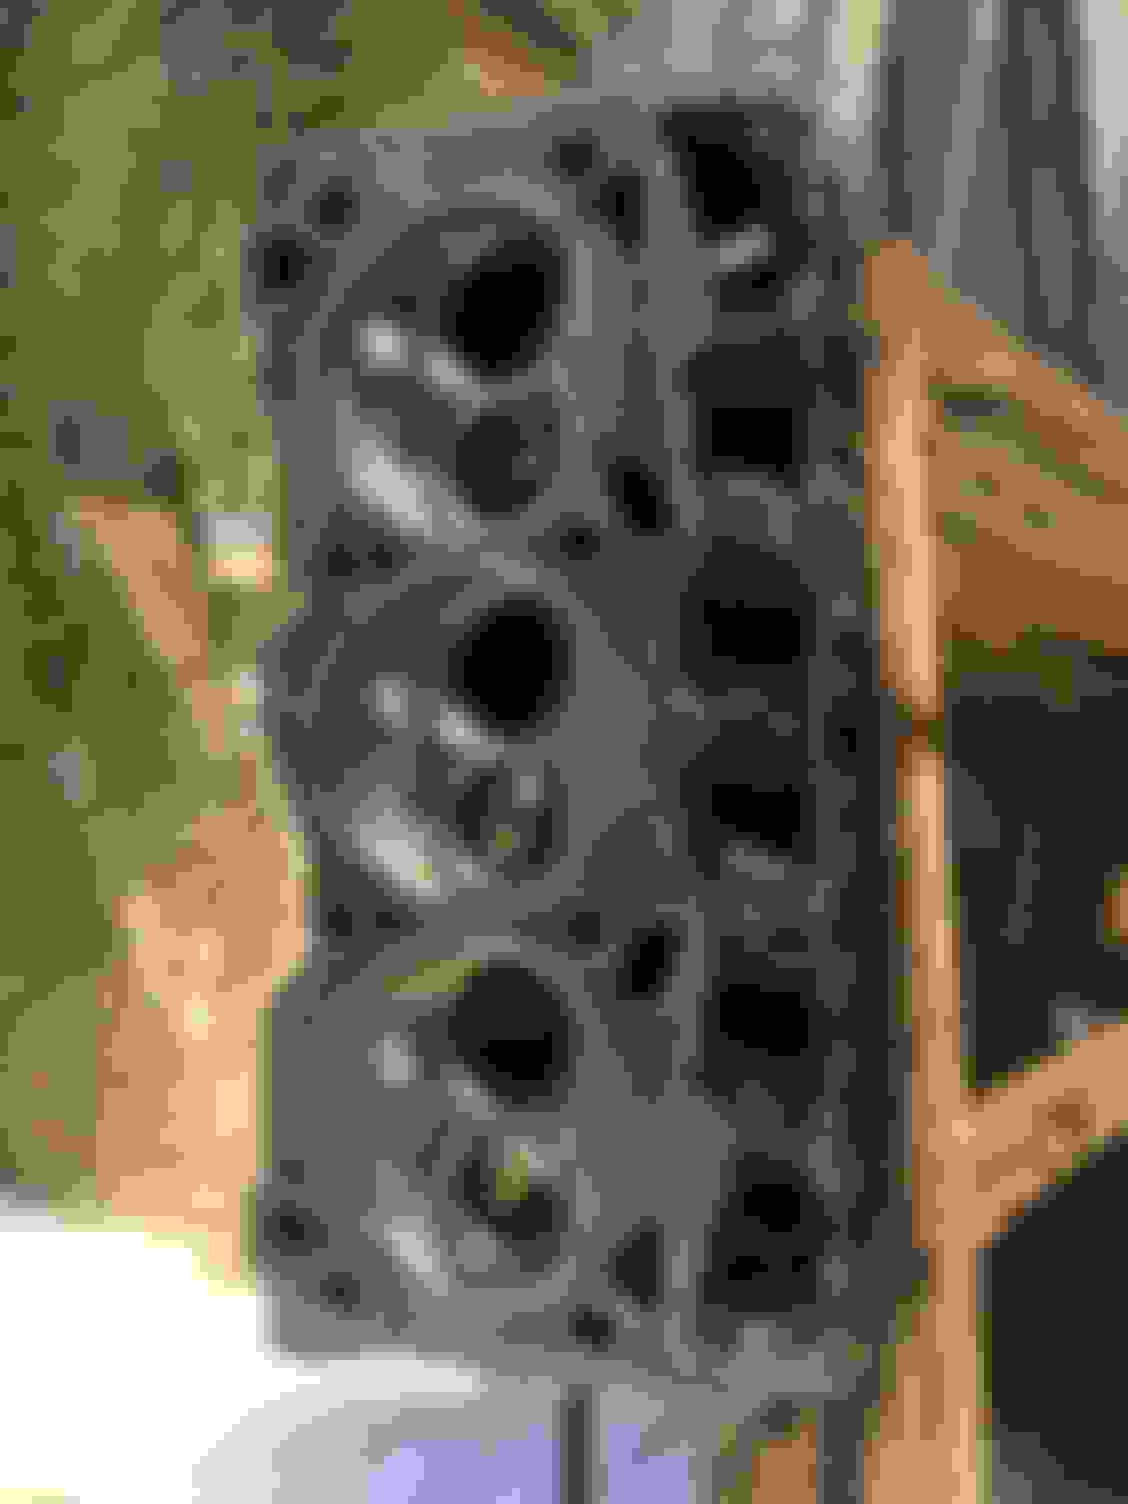
I finally got the back head removed, and with any luck this will be as far as I need to go with disassembly. As I have stated before, this engine was not well taken care of, however I seem to finally be having some success. Seems Florida humidity treated the rear head worse than the front one. A lot of water and rusty gunk fell into the rear cylinders while removing the head. The cylinders seem to have cleaned up quite nicely, though not quite like I want yet, with some WD 40 and scotch brite scrubbing, I got a wrench on the balancer bolt and got a full 360 spin, and with some 10-40 on the cylinder walls, I got a nice smooth rotation and have confidence on the bottom end, that it won't cause me any trouble ! The heads will take some effort ! Pics to follow!
Cleanup Begins on engine parts ! Were the heads painted ?
I have first started with the cylinder walls, most of them look good and have cleaned up well as previously stated!
The heads now that I have them out will be next. Years Ago when I did my Mopar 340, there were engine shops you could take your stuff to and have your engine blocks and heads acid bathed and cylinders honed out, I was in California then not Florida. Since I have more time and elbow grease than money, I was thinking of using nylon and brass wire wheels to clean the valve bottoms and cylinder tops. Dawn soap and water and plastic scrub brushes to get the grease and oil off. Was also thinking of making my own acid bath out of acid granuals used to remove rust from toilets. Intake and exhaust ports are caked with carbon and valves have some rust as do the rockers. I'm not sure how I'm going to clean these ports out but cordless drill and brass brushes come to mind. I have no idea what to do with the water coolant ports, they are loaded with rust and gunk from the swamp water previous owners put in the cooling system, I guess just wash them out as good as possible.
ANY AND ALL SUGGESSTIONS APPRECIATED !
If you want too clean the heads I would recommend getting a spring compressor and removing the lock's and pulling all the valves. A steel wire wheel and or brush will do wonders on the valves , seats intake/exhaust runners and combustion chamber. After you get the combustion chambers clean pull out a magnifying glass and inspect between the valves for cracks especially in them nasty looking cylinders and if you have a straight edge you can check for warping. Definetly put new valve seals in while your at it. If you clean them up all nice and pretty and get them assembled by yourself, one final test is that can save a big hassle is to see if the valves seat. With a old plug installed in each cylinder flip head upside down with vales up and put water in each combustion chamber, if you see water in either the exhaust or intake runner you need a valve job. Good luck
Last edited by Jeffs02rwdSS; Aug 12, 2018 at 08:28 PM.
Hello Gentlemen it has been some time since I updated due to diligent work at my job, which has garnered me a substantial raise, a premature IRA contribution, and many bonus hours!
Now perhaps I can move on faster with this project!
I am at the last stage of work before beginning re-assembly, The Valves, half are looking good, the other half eh , not really what I would like, is there a better way than hand spinning valves to eliminate minimal pitting without buying new heads and valves? Thanks in advance!
Looks like you cleaned them up nice. Without actually doing a valve job about the only other thing you can do is getting some valve lapping compound and hand lap the valves for a better seat. I'm assuming that you have marked all the valves and thier original locations.Good luck
Had some time off here during the holidays, so I ordered some parts to get reassembly started ! Ordered fuel pressure regulator, thermostat, and Gasket set from RockAuto, along with stuff for my Jeep ! The Jeep stuff came in without a hitch. The Monte stuff came in and all of it was wrong ! Everything that came in was for a 3.4 instead of a 3.8 including a lower gasket set which I did not order. So I do all the returns cost me $15 for shipping to return, and reorder for 3.8L! I don't for one minute believe I accidently clicked 3.4 instead of 3.8, but since the stuff shipped from 3 different places, and all of it was wrong, maybe I did.
I also created a way to speed up my valve lapping, I took the suction cups off the hand tool and put them into a socket that I could put on cordless drill, and behold, speed lapping!
Sometimes I had to put a little upward pressure on the valve shaft to get it to spin, and the compound had a tendency to get under the suction cups, but over all I was happy with the results.
Today: I went to the Chevy dealer to see what decals and special parts for it were still available, and got some disappointing results. First I checked on the factory decals and the trunk badge. The trunk badge was still available, but GM has only 22 left in inventory, so I ordered that for $143. Very few decals are left and most of them passenger side. The
DE signature alone that goes under the 3 was $132.00. So I elect at this time to surrender on those and replicate them. The original floormats are also discontinued, but I got a name of a company that could probably replicate them, ( now I just have to research and find pictures of what they looked like ) I believe there was a mat in the trunk too! I have
no idea what that looked like either.
Then I went to the body shop to see what could be done with the wheel wells, that some fool cut out for bigger rims and tires, (probably same fool who put black box on and blew the intake to bits) for an "unquoted guesstimate" and got a around $5000, on that, to put it back "original". I may not go that route, I may just try to get some wheel wells fabricated that look good without replacing all the body panels that will need replaced, "to put back original".
I also looked up the tires it originally came with "Goodyear Eagle RS-A's " Goodyear still makes them, $175 ea. for 225's, $109 for 215's, and $87 for 205's!
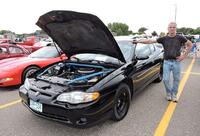
As bad as this car was massacred, I'm having trouble deciding whether to try to make back original, or go in a customized direction, or some combination of the two.
My inclination is in a combination: Dale was all about going "Fast" and "Looking Fast" , the leaned forward 3 was a hard charging look. If I cant make it "Completely Original" then I should make it look like what he would drive. It is a tribute model so I should treat it that way. I don't believe Dale would mind some "performance improvements" !
Jeff, thanks as always for your advice, do you have a recommended source for the torque adjustments I will need for my Top end reassembly?
Glad your getting it put back together. The bolt torque for the heads , valves and intake are pretty easy to look up , I imagine it's on this site in numerous places or just Google it. Just remember you need 2 different torque wrenches , 1 that reads foot pounds and another that reads inch pounds for the intake.(very important ) Great to hear you did.a hand lap on them valves. Good luck
Got the right Gaskets in today, Dont like these ugly yellowish Valve covers, I like both Gold and Chrome, Are there any DE Type Valve covers made for newer ones that will fit?
I do want to shine the engine bay up a bit, Any suggestions?
Got my valves done, valve seals replaced, got heads in place, and while researching I read head Bolts should be replaced if stretch bolts used. Stretch Bolts? sounds like a "stretch" to me, some sort of dumb gimmick to sell new bolts?, or is there real technology to it?