
Wanted: L36 Passenger Side Engine Bracket
#11
 07-04-2012 | 06:26 PM


Monte Of The Month -- October 2012


Joined: Dec 2010
Posts: 2,886
From: Ames, IA

#12
07-04-2012 | 07:36 PM


No its direct replacement. There is 2 studs coming off of the head take the nuts off and slide the whole coil pack bracket/ mount off. Unbolt your coil packs and pull them off. Pull ur icm off and put your icm and coil packs onto the cast iron one and slide the cast iron mount on them studs and bolt on.
#13
07-04-2012 | 09:14 PM


No its direct replacement. There is 2 studs coming off of the head take the nuts off and slide the whole coil pack bracket/ mount off. Unbolt your coil packs and pull them off. Pull ur icm off and put your icm and coil packs onto the cast iron one and slide the cast iron mount on them studs and bolt on.
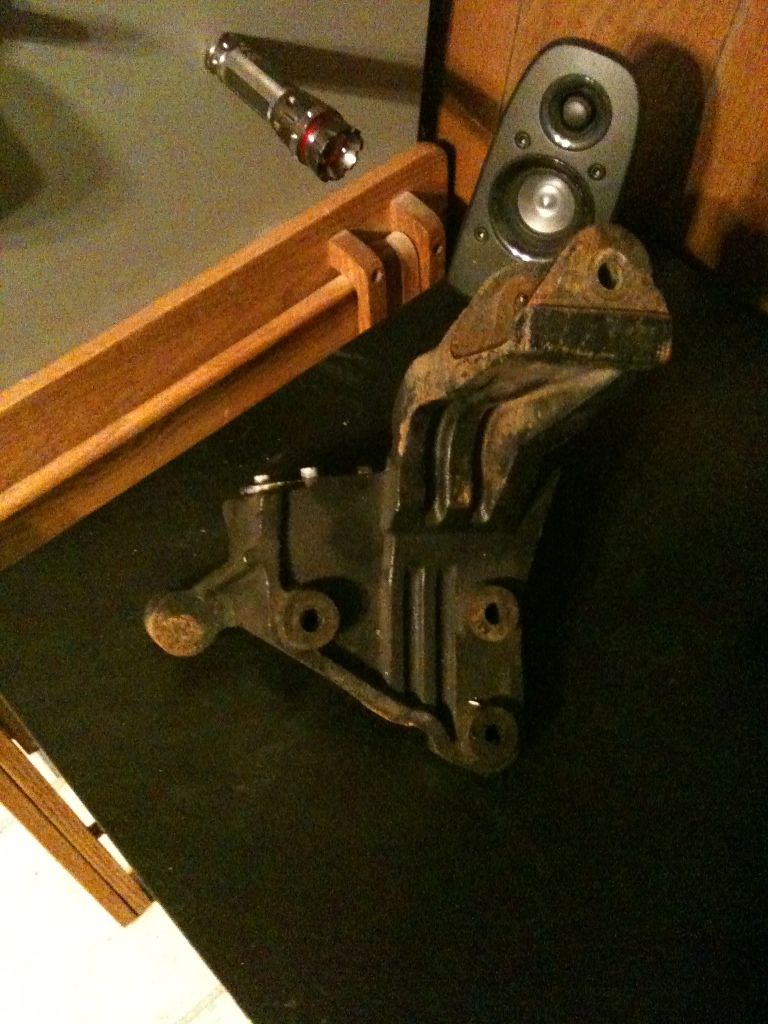
See I has one too:
Last edited by brendan127; 07-04-2012 at 09:21 PM.
#14
07-04-2012 | 09:26 PM
Up to u man its actually very easy takes maybe 20min. But do what ya want once u break enough of the aluminum ones you will decide to use the cast iron one lol. Also fyi I believe the plenum needs to come off to get the 1 bolt mount out. So replacing the aluminum one is actually harder lol.
Good luck in which ever way u choose.
Good luck in which ever way u choose.
#15
07-04-2012 | 09:48 PM
Monte Of The Month -- October 2012
Joined: Dec 2010
Posts: 2,886
From: Ames, IA
Up to u man its actually very easy takes maybe 20min. But do what ya want once u break enough of the aluminum ones you will decide to use the cast iron one lol. Also fyi I believe the plenum needs to come off to get the 1 bolt mount out. So replacing the aluminum one is actually harder lol.
Good luck in which ever way u choose.
Good luck in which ever way u choose.
I actually left the broken part of the aluminum one in because theres not really anyway to get to it without removing a lot of crap.. I put the cast iron one on in close to 20 minutes, zero issues thus far. I'm going to be adding a new lower intake manifold so I'll be taking the rest of the aluminum mount off.. but if you don't have a reason to, why not just do the cast iron mount and call it a day?
Just keep in mind, that aluminum one broke for a reason, and you'll continue to break them. Can't go wrong with the cast iron mount.
#16
07-04-2012 | 09:53 PM
Monte Of The Month -- October 2012
Joined: Dec 2010
Posts: 2,886
From: Ames, IA
I don't mean to keep posting here and sounding like a A-hole by trying to make the mount change sound easy, but that cast iron mount really is the way to go. Once you get the coil packs off it will all make sense I hope.
#17
07-04-2012 | 11:51 PM
I actually left the broken part of the aluminum one in because theres not really anyway to get to it without removing a lot of crap.. I put the cast iron one on in close to 20 minutes, zero issues thus far. I'm going to be adding a new lower intake manifold so I'll be taking the rest of the aluminum mount off.. but if you don't have a reason to, why not just do the cast iron mount and call it a day?
Just keep in mind, that aluminum one broke for a reason, and you'll continue to break them. Can't go wrong with the cast iron mount.
Just keep in mind, that aluminum one broke for a reason, and you'll continue to break them. Can't go wrong with the cast iron mount.
when i first broke mine i left the broken piece there as well so i didnt have to take the upper engine plenum off to get it out.
just a heads up for when you take the intake off to upgrade and you remove the rest of the broken mount you will need to plug that hole shut or it will be a hole through your head into your engine. what i did was cut the bolt that went through the mount so when it was put in and tightened it sets flush with the inside of the head and then filed the threads that got messed up from cutting the bolt and used red loctite and tada fixed lol. or you can use washers to build up the space the mount used on the bolt or smooth the broken piece of the mount round and use that as a spacer.
im not meaning to sound like a "know it all etc." but ive built many of these engines and had many of these engines out of vehicles etc. so i know most all the short cuts and what can be used from other vehicles to make our cars more reliable etc. if it was not worth doing this mod i would of never told you about it.
i think you need to look at what the aluminum mount connects to and where it bolts to and how the cast iron one goes on and then you will think differently and agree with us.
one more thing to consider if you do the cast iron swap is get new coil pack bolts with a bigger head on them (the stock coil pack bolts with that tiny head strip out very easy) you can find them at the hardware store just take one of the coil pack bolts in so you get the same thread size and thread pitch.


#19
07-08-2012 | 01:39 PM


If you're dead set on the old one I have a few. I could sell you one for that price plus shipping no problem. I think I have the other style one laying around. But I definitely have 2 or 3 L36 style. Message me if you're interested. 2 of them came off 15k or less motors so they're really clean.