Fixing the Famous 5th Gen Rust
#31
Thanks Jason. Overall it sanded pretty good. One issue I was having is small pinholes in the filler. After sanding of the filler tiny pinholes could be seen in a few spots. I filled them with a little more filler, but other pinholes would occur. I think I need some sort of glazing putty to fill those. Since I don't have any and there's no store in sight I proceeded with the primer. The primer did fill a lot of the pinholes. We'll see how the color and clear turn out.
#33
Justin....
Your makeing excellent progress! and its looking great!
Cant wait to see it with some fresh paint and polish....
You planning on just feathering it in? Or reshooting the whole Car?
Your makeing excellent progress! and its looking great!
Cant wait to see it with some fresh paint and polish....
You planning on just feathering it in? Or reshooting the whole Car?
#34
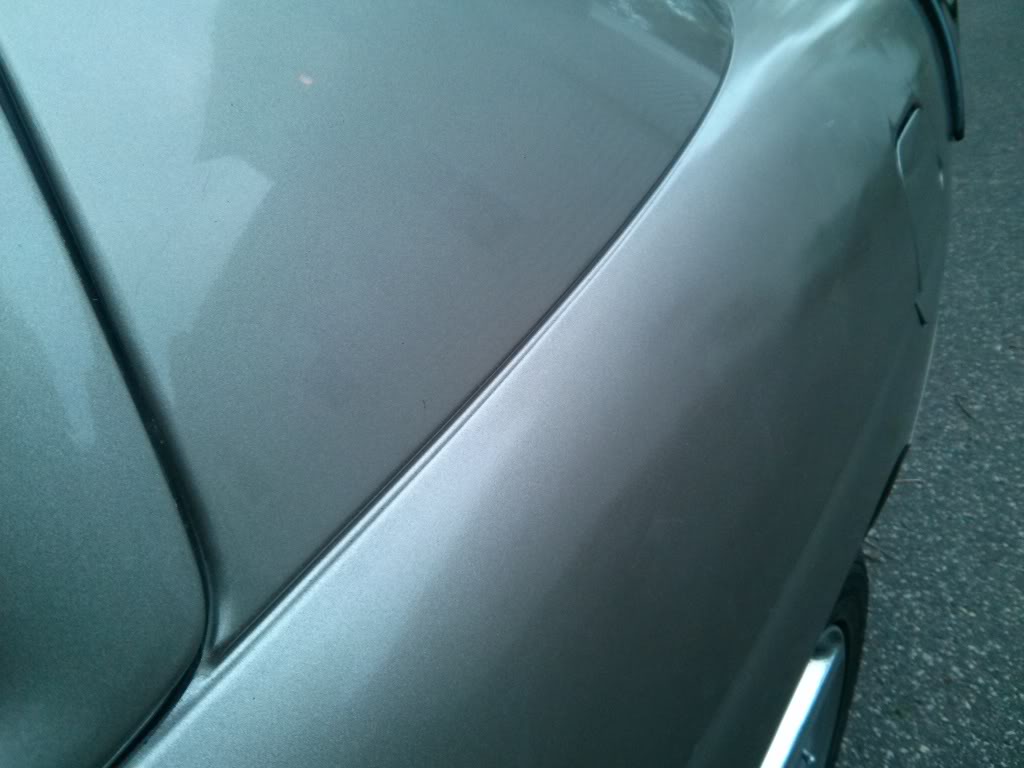
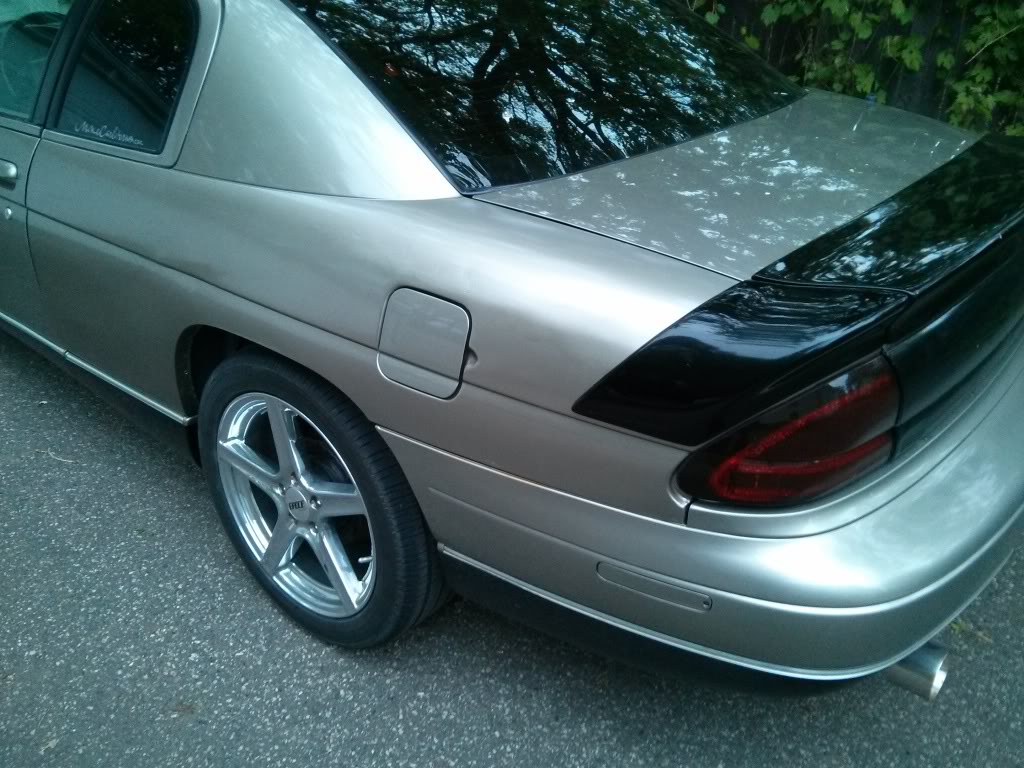
Here are some painting pics. For my setup in a garage, I am totally satisfied with the results! I didn't get any dirt in the paint, and it sprayed very well. I have yet to cut and buff it, so it's not smooth yet. It looks good for now though.
YES, you can indeed see some of the body work underneath. Keep in mind that this was my first attempt at body work. It's not perfect, but it's 100% better than what I had before with the rust. I am definitely satisfied with my results considering the amount of money I spent and my skill level.
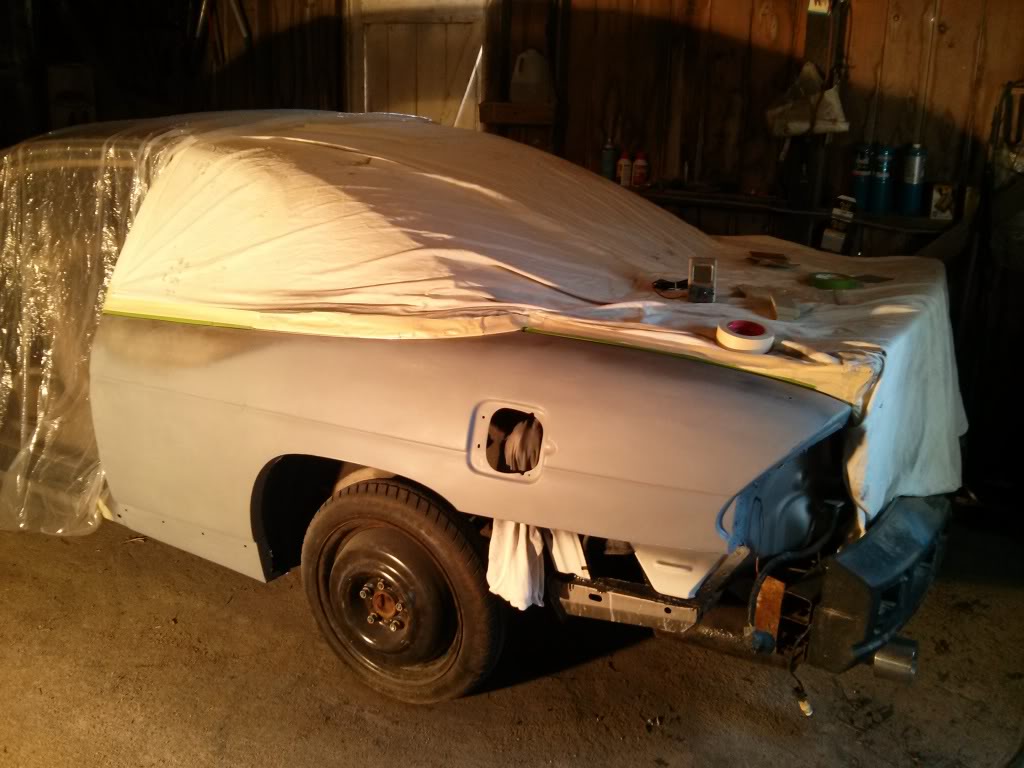
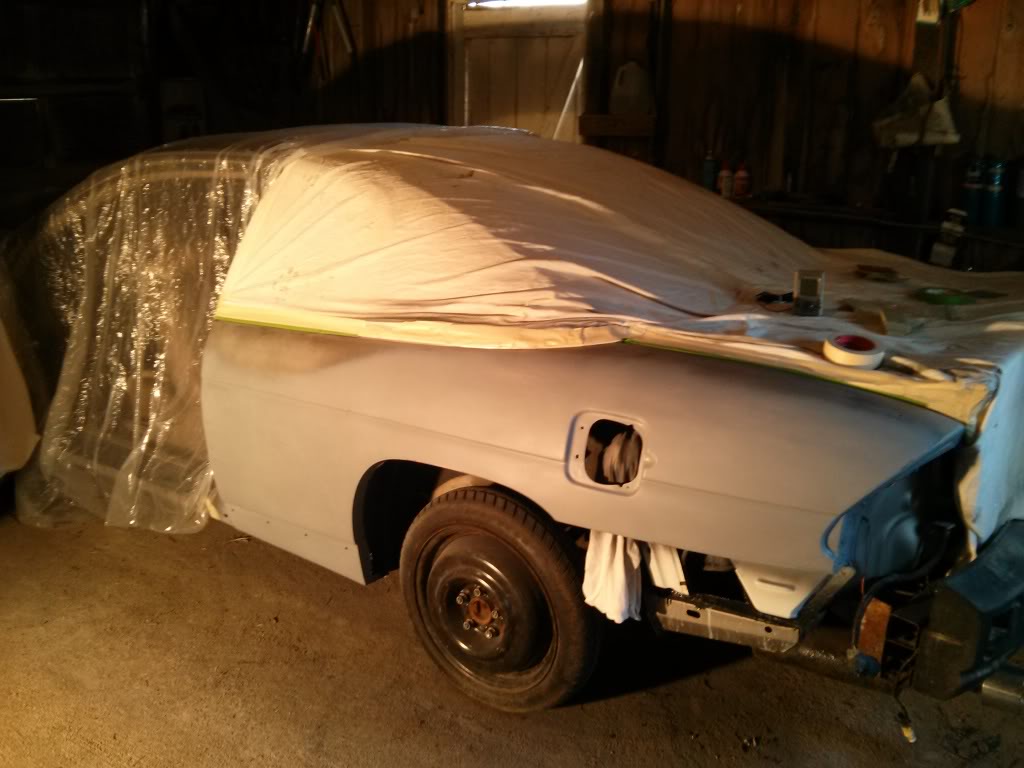
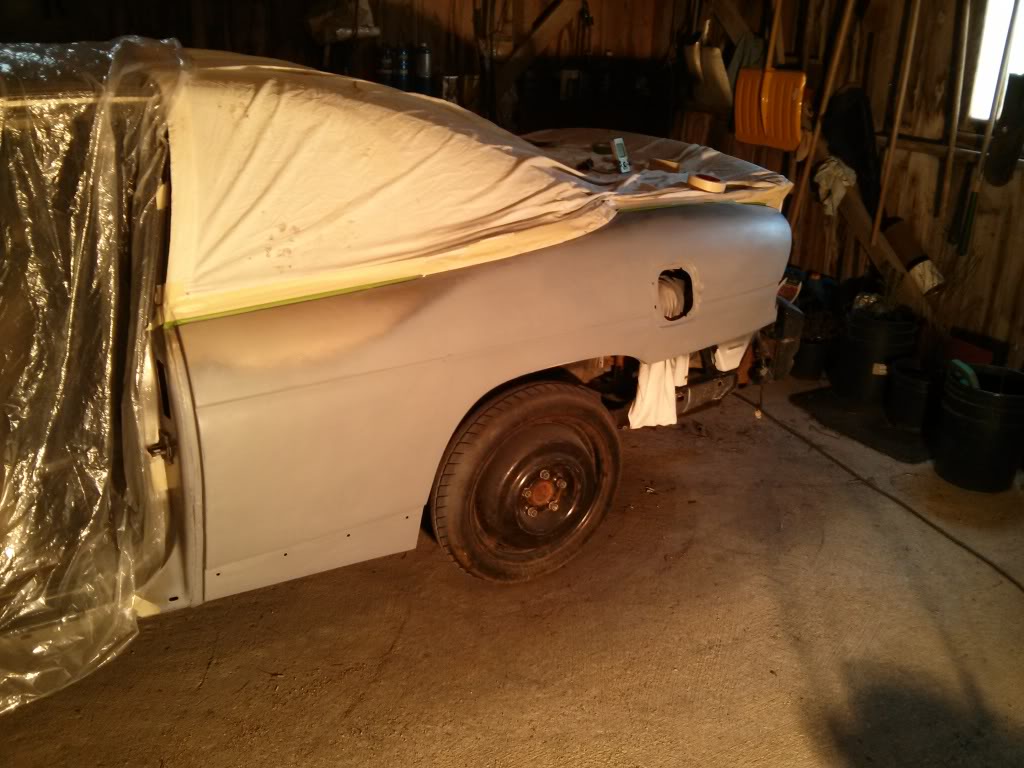
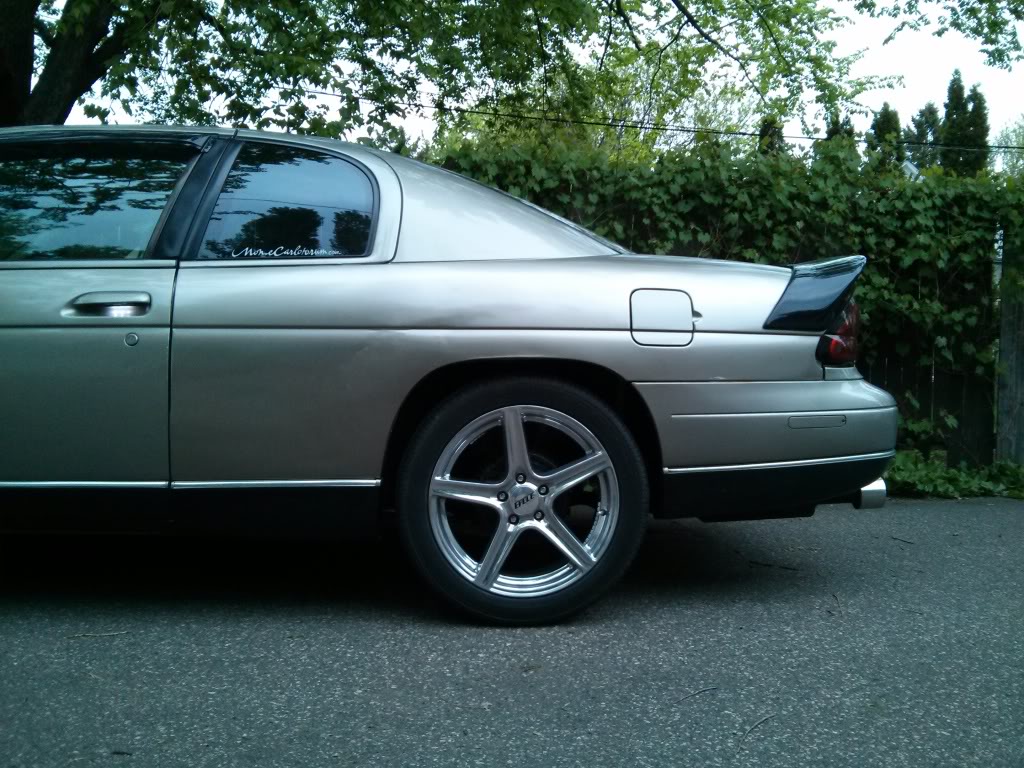

And just a reminder of how far I came

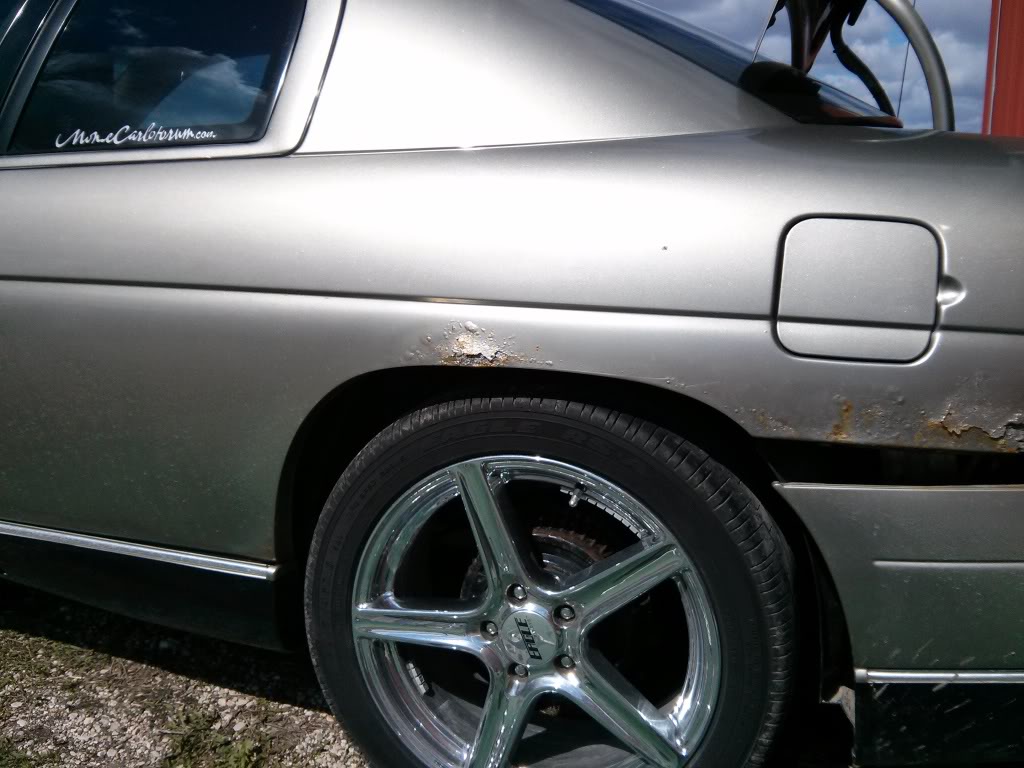
Plan on cutting and buffing the quarter this weekend if the rain holds off. The whole car needs a clay and a detail too. Look for more pics later!
#36
I did a light cut and buff with 1500 grit wet sanding and some buffing compound. It's no where near a mirror finish, but it's at least as smooth as the rest of the paint. I need a real buffer or something that would get me better results!
#38
Join Date: Apr 2010
Location: Mentor, Ohio
Posts: 12,236
Interesting. I wish I could unsee the progress pics and view this thread in reverse. I "think" I can spot the body work only because I know where it's at. But I wonder if it's in the sanding or primer phase.
But seriously, that is AWESOME work, it really looks great!!! Please don't take my statement above as any insult. I have never done what you did, I can't stand here and say I could do it any better. I think it took a lot of ambition to attempt this yourself and I think you did outstanding!!
But seriously, that is AWESOME work, it really looks great!!! Please don't take my statement above as any insult. I have never done what you did, I can't stand here and say I could do it any better. I think it took a lot of ambition to attempt this yourself and I think you did outstanding!!

#39
Awesome results! Looks like new 
I have a Porter Cable DA buffer that you could barrow if you'd like. It works really well for cutting/buffing with the right pads. I've got a new cutting pad and finishing pad for it. Are you still in Ames for the summer?

I have a Porter Cable DA buffer that you could barrow if you'd like. It works really well for cutting/buffing with the right pads. I've got a new cutting pad and finishing pad for it. Are you still in Ames for the summer?
#40
Interesting. I wish I could unsee the progress pics and view this thread in reverse. I "think" I can spot the body work only because I know where it's at. But I wonder if it's in the sanding or primer phase.
But seriously, that is AWESOME work, it really looks great!!! Please don't take my statement above as any insult. I have never done what you did, I can't stand here and say I could do it any better. I think it took a lot of ambition to attempt this yourself and I think you did outstanding!!
But seriously, that is AWESOME work, it really looks great!!! Please don't take my statement above as any insult. I have never done what you did, I can't stand here and say I could do it any better. I think it took a lot of ambition to attempt this yourself and I think you did outstanding!!

But like you said, I'm not complaining. I'm totally happy with it!
Thanks! Unfortunately I'm not in Ames for the summer. I'm camping out in Minneapolis with an internship for the summer. Appreciate the offer though. If it still needs it in the fall I'll take you up on that. Heck the whole car could use it!


