
Engine Bay Cleaned Up


So I decide to clean up my engine bay today, hadn't "detailed" it I guess you could say, ever since I did the swap. It wasn't even that bad, just dusty with some debris in between the valve covers and UIM.
I used simple green, and a variety of different sized brushes but first I removed my headlights, the trim piece that sits around the hood latch, CAI Lid & filter and also stuck a few bags in the intake tube so nothing could get in there.
After that I used a leaf blower to blow out any loose dirt, leaves etc. I then covered up my alternator and coil packs with plastic bags and sprayed everything down with a garden hose... Followed by the simple green, generously all over the engine bay.
I took my time scrubbing everything I could with the brushes and hosing down in between so that it wouldn't dry up on me. After about an hour or so of scrubbing I used the leaf blower to get everything as dry as possible so that I could use my CD-2 Engine detailer right after this stuff works Great if you like your engine bay to have that semi-glossy finish with none of the greasy look or feel... And lasts a good while too! You just spray it all over your engine bay... No need to wipe anything down as it'll settle real good on it's own
Anyways Here's a few pics of how it turned out...
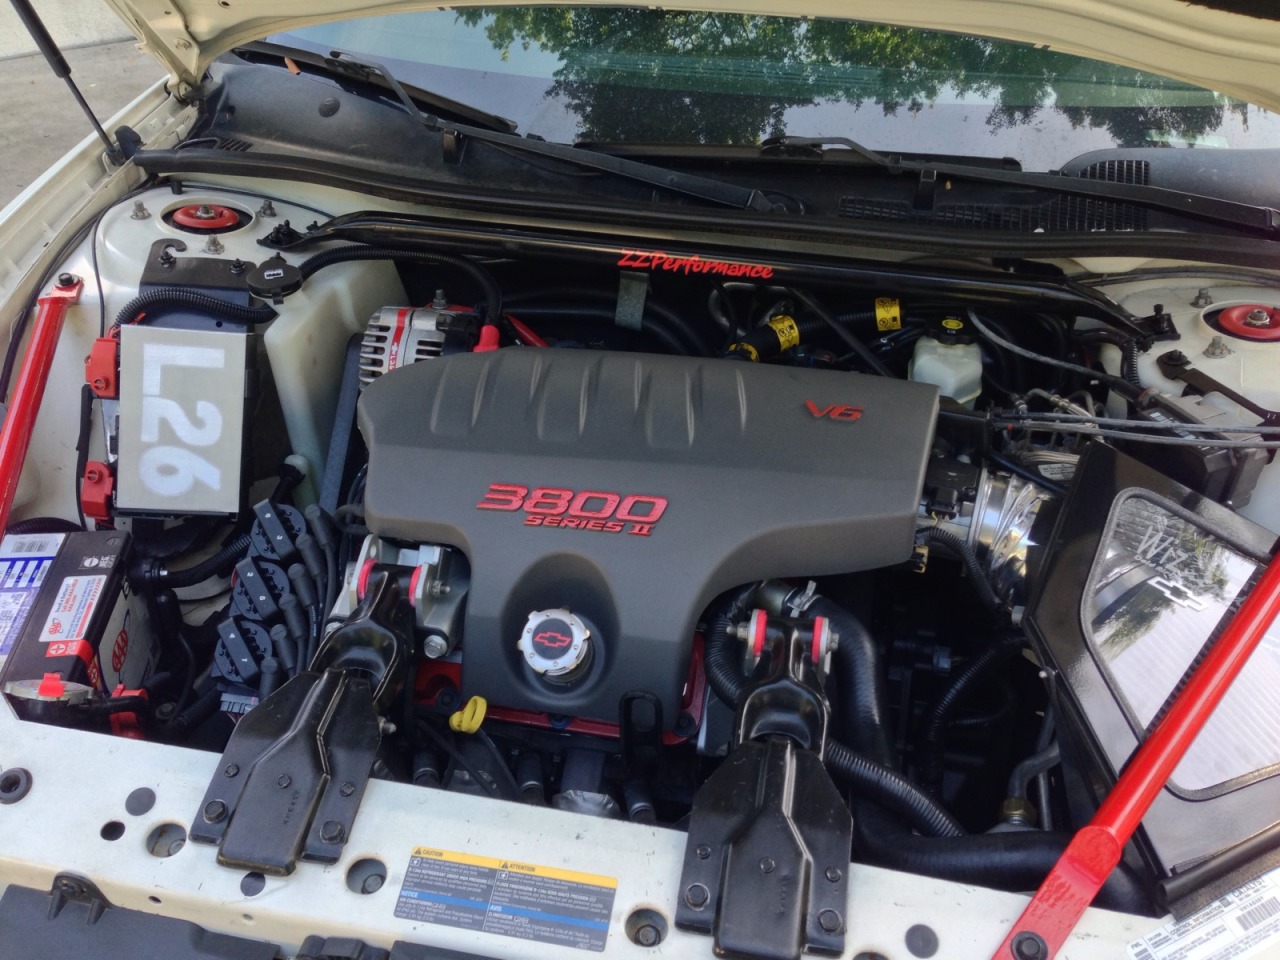
This was before, hard to tell but it was a little filthy haha
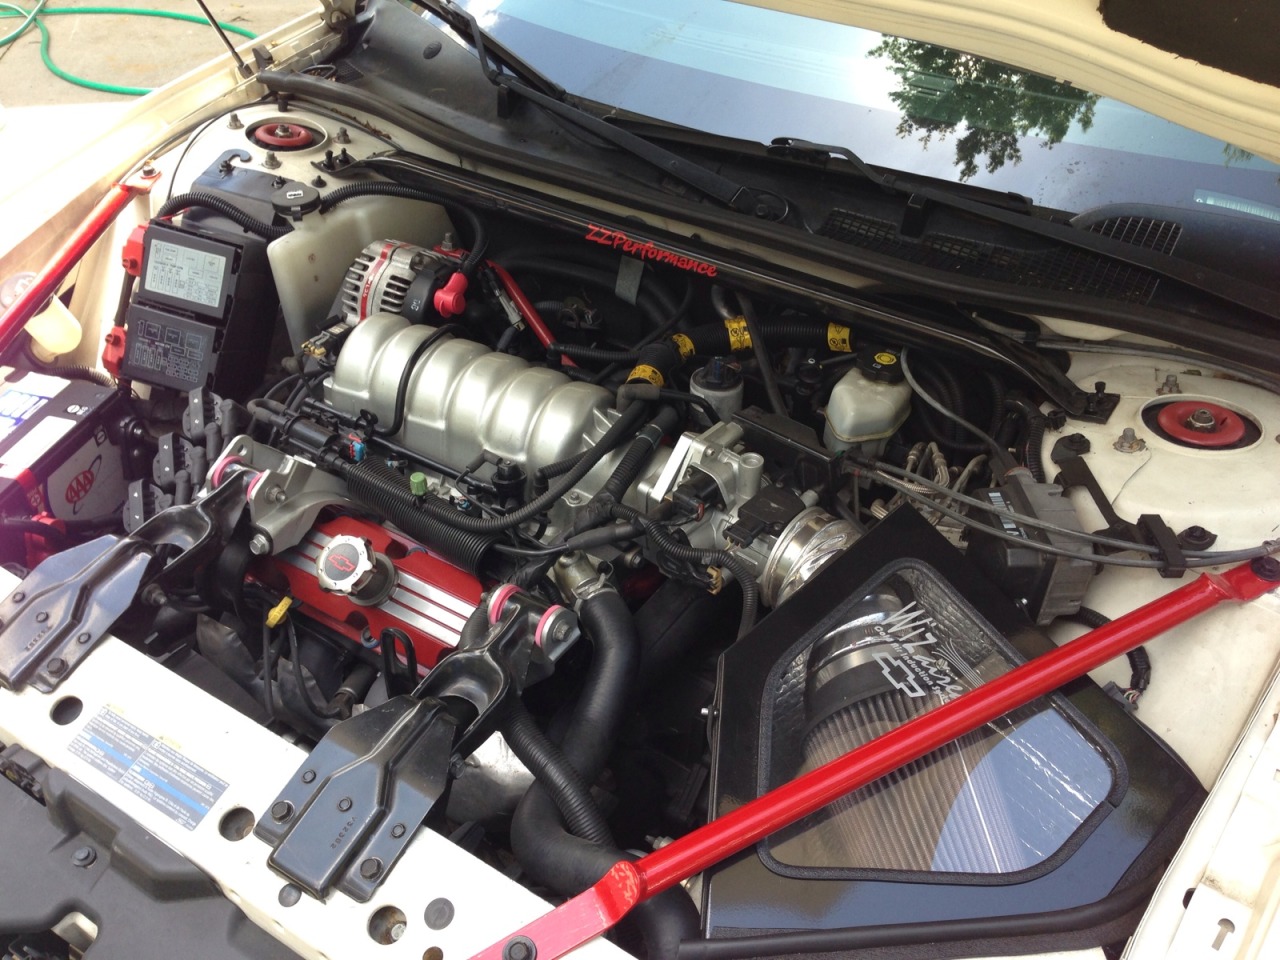
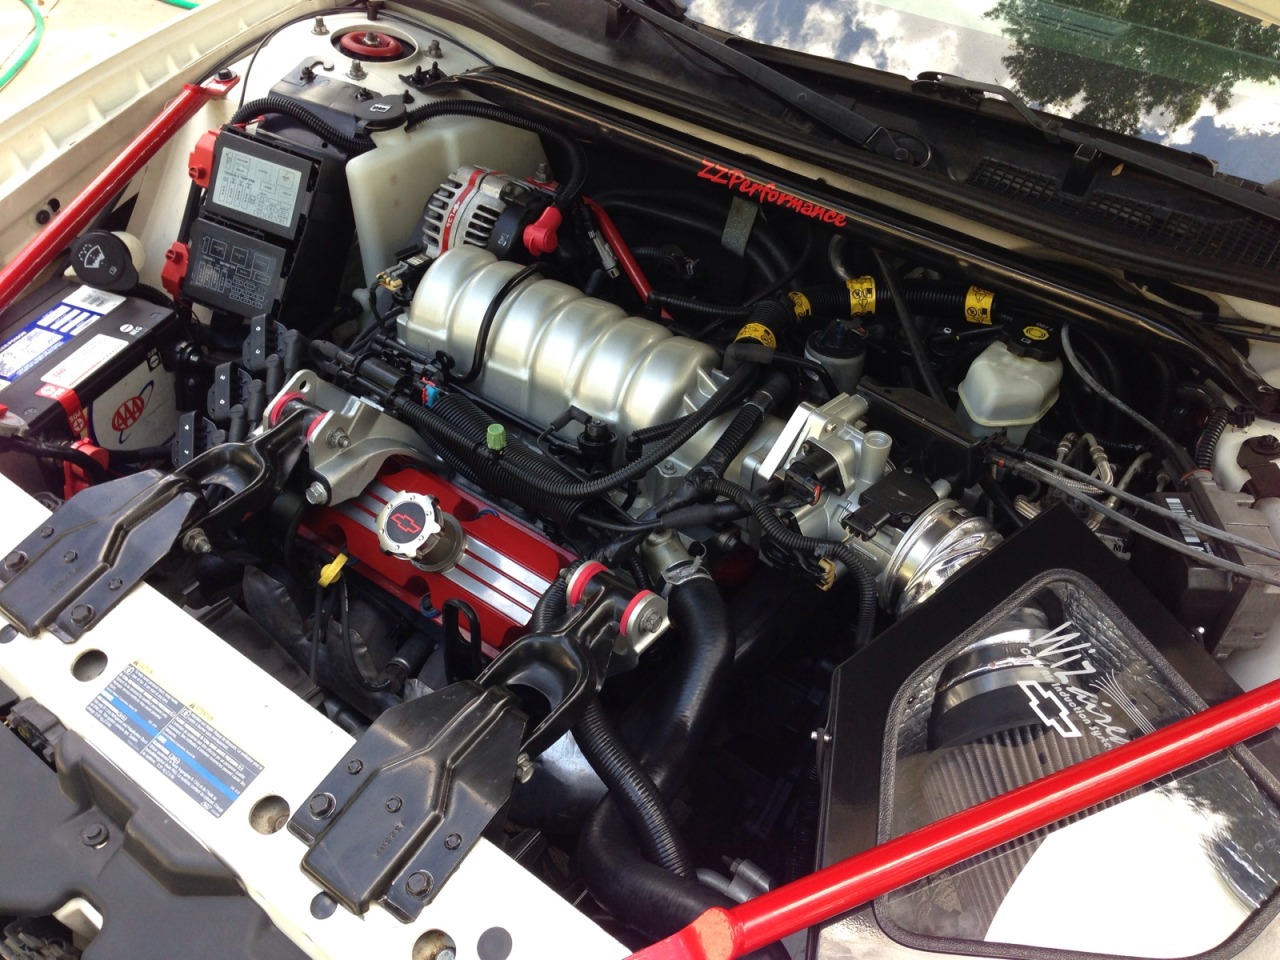
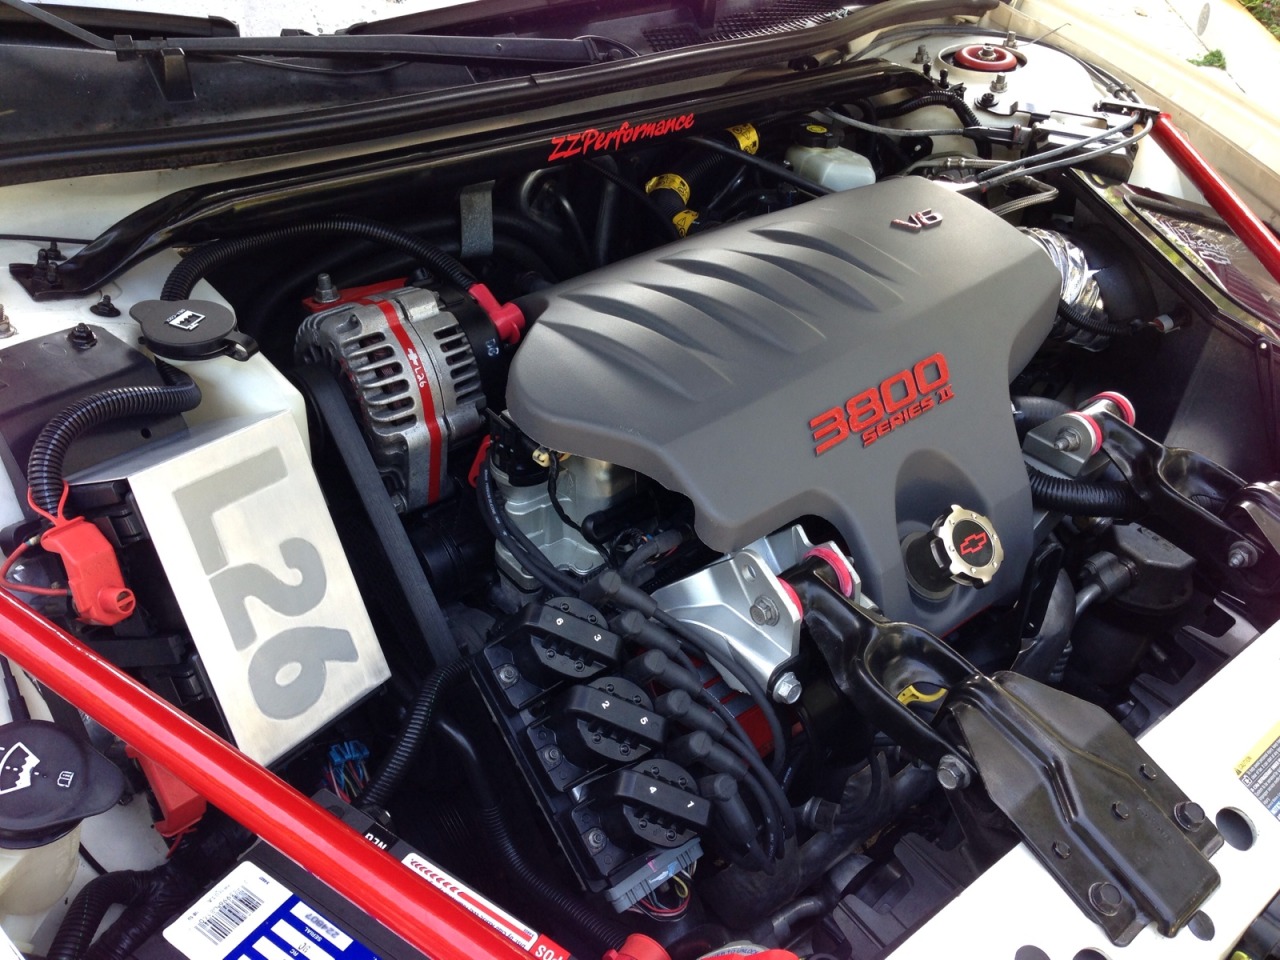
And here are the after pics

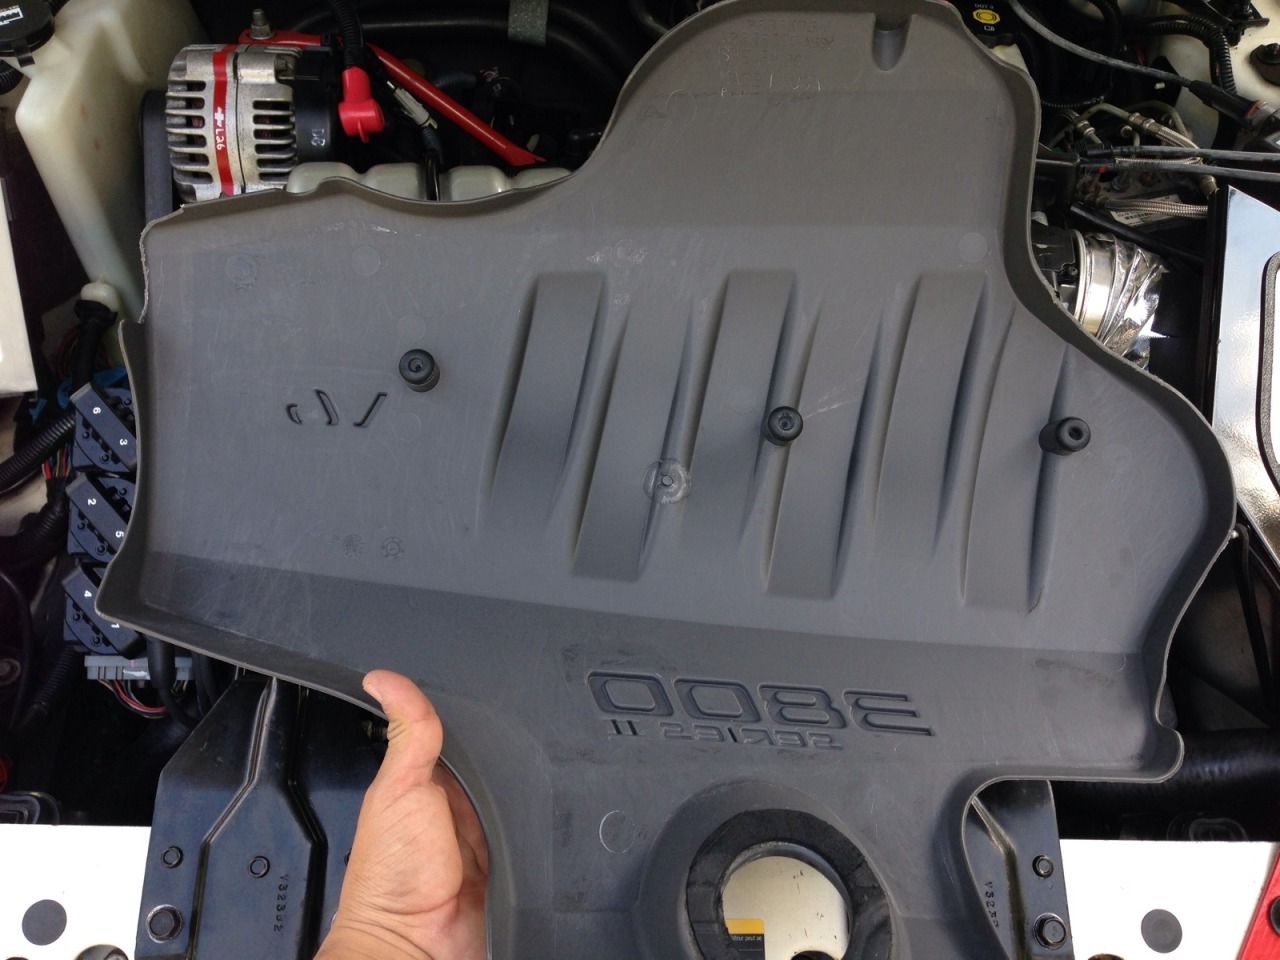
And now with my Fuse box cover that Mike made for me, also my Engine cover that I threw on there lol As you can see, I removed all the underside foam/insulation so that it wouldn't stain my UIM :P
:P
So it's pretty damn clean from the bottom
I used simple green, and a variety of different sized brushes but first I removed my headlights, the trim piece that sits around the hood latch, CAI Lid & filter and also stuck a few bags in the intake tube so nothing could get in there.
After that I used a leaf blower to blow out any loose dirt, leaves etc. I then covered up my alternator and coil packs with plastic bags and sprayed everything down with a garden hose... Followed by the simple green, generously all over the engine bay.
I took my time scrubbing everything I could with the brushes and hosing down in between so that it wouldn't dry up on me. After about an hour or so of scrubbing I used the leaf blower to get everything as dry as possible so that I could use my CD-2 Engine detailer right after
this stuff works Great if you like your engine bay to have that semi-glossy finish with none of the greasy look or feel... And lasts a good while too! You just spray it all over your engine bay... No need to wipe anything down as it'll settle real good on it's own Anyways Here's a few pics of how it turned out...
This was before, hard to tell but it was a little filthy haha
And here are the after pics
And now with my Fuse box cover that Mike made for me, also my Engine cover that I threw on there lol As you can see, I removed all the underside foam/insulation so that it wouldn't stain my UIM
:P So it's pretty damn clean from the bottom

Monte Of The Month - February 2010


Joined: Apr 2009
Posts: 11,981
From: Pittsburgh, PA

looks great man... I like the AAA battery you have....I need a new battery for my car and was gonna go with AAA, is it a decent battery?
Last edited by monte carlo 3831; Apr 10, 2013 at 09:52 PM.
my old one went out and the guy at the junkyard is pretty cool so i only got this one for $15! Haha my cheap self 
I'm probably going with with a Duralast Gold soon though


Joined: Apr 2010
Posts: 12,590
From: Mentor, Ohio
As always Frank, great work
I almost think you should run without the engine cover. I just found that little foam ring around the oil cap has messed the clear coat a little on my valve covers.
I almost think you should run without the engine cover. I just found that little foam ring around the oil cap has messed the clear coat a little on my valve covers.
Monte Of The Month -- May 2012
Monte Of The Year 2012
Monte Of The Month -- February 2017
Monte Of The Year 2012
Monte Of The Month -- February 2017

Joined: Jan 2008
Posts: 4,938
From: Mountains of Utah
Extra sharp Frankie.... Can see you have spent a fair amount of time under the hood. Nice finishing touches. I like your oil filler Bowtie cap too, pretty sweet.