
2001 Monte Carlo SS Projector Headlight HID Retrofit


This has been something that I had wanted to do for a long time and something that I would have purchased from a company if they had made a set that was affordable. There are some companies out there that will do a retrofit for you but they typically charge around $1000 to perform the job for you. I purchased a set of Morimoto Mini H1 HID Bi-Xeon projectors from theretrofitsource. com
I have taken the time to take a lot of photos along the way.
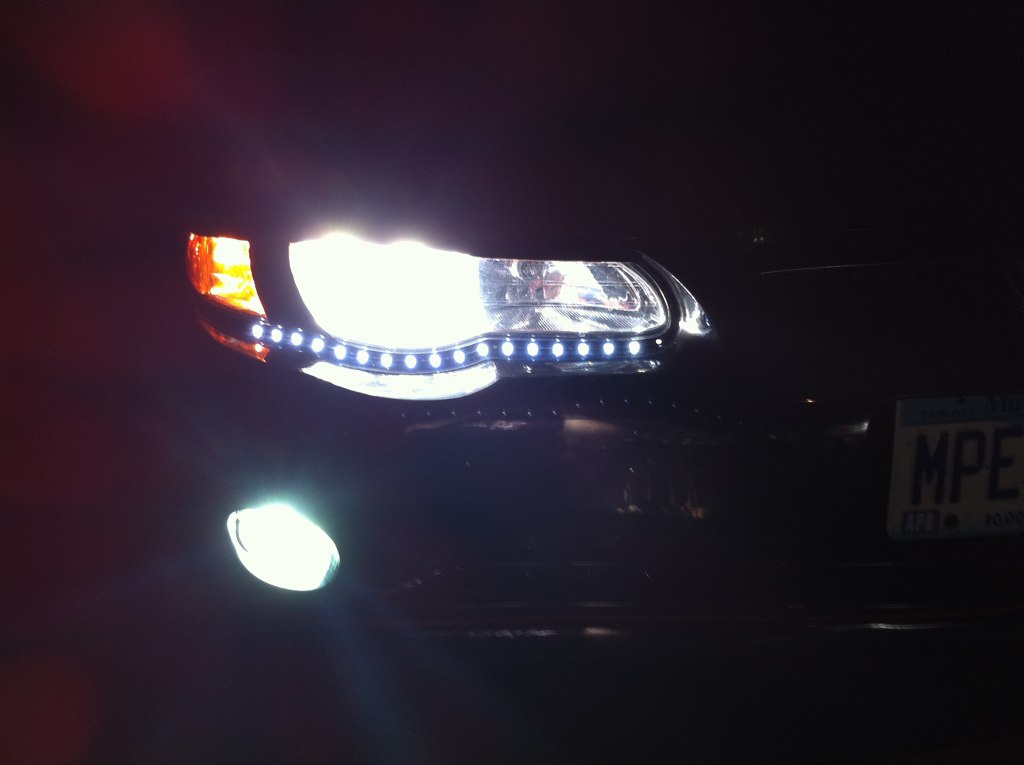
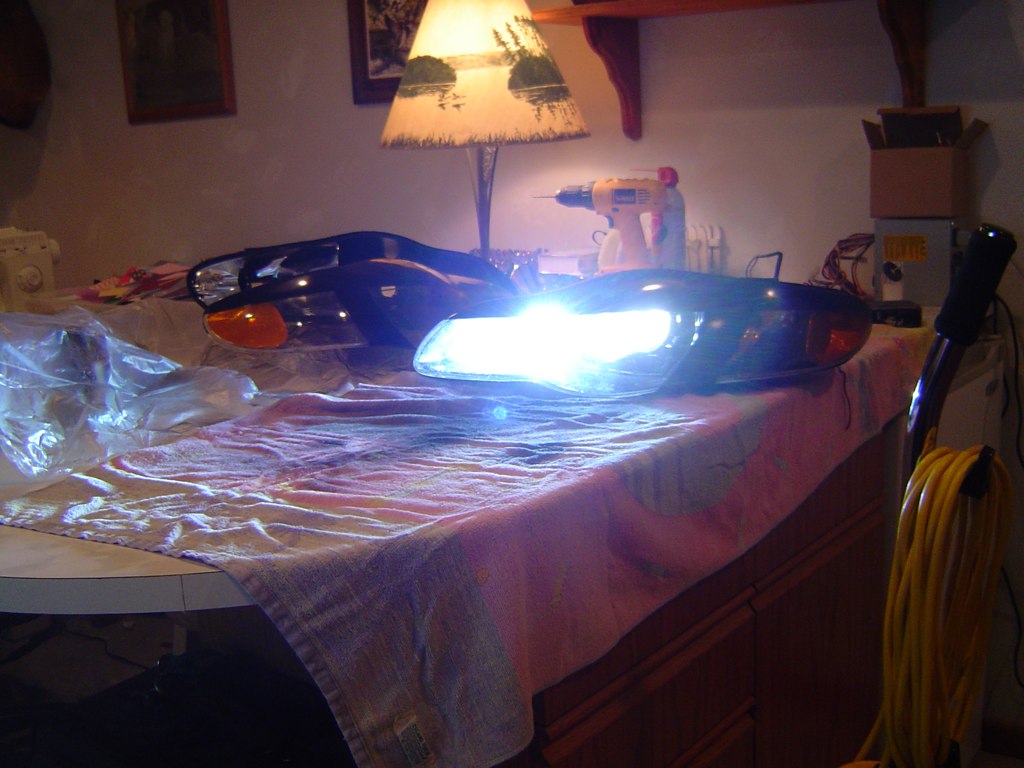
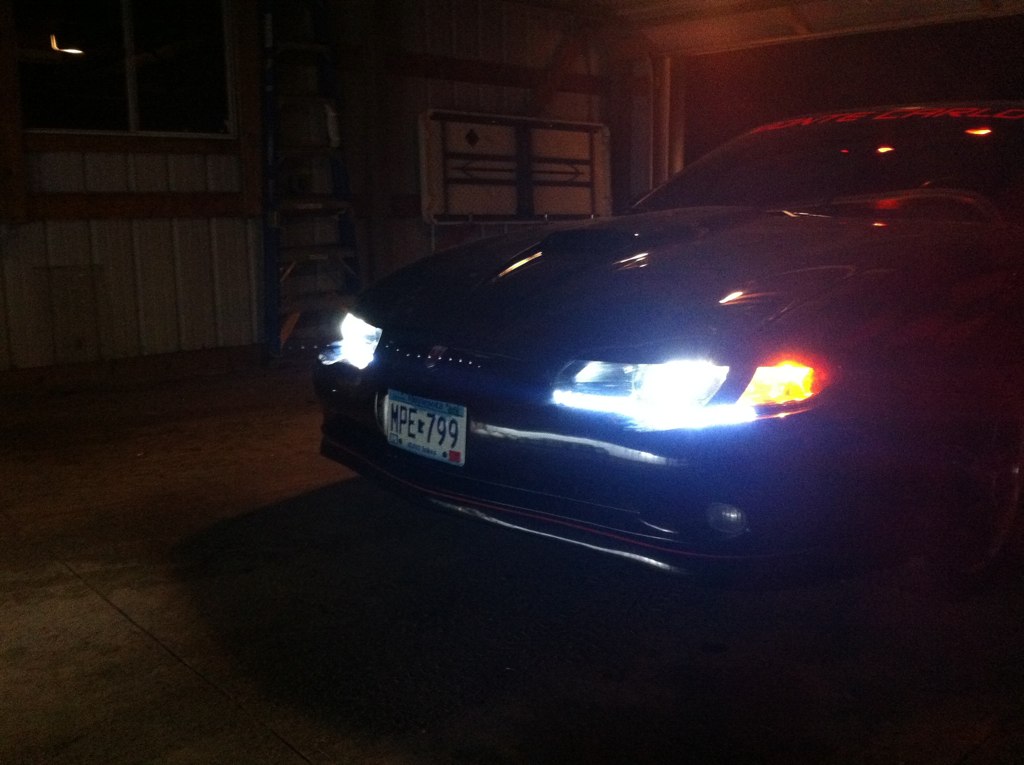
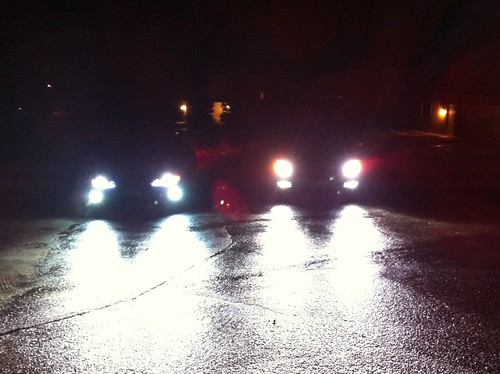
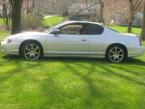
Here is a before shot with HIDs in lowbeams and fogs (standard reflectors at this point 6000k - the fogs were supposed to be 6000k but they look a little green for some reason....)

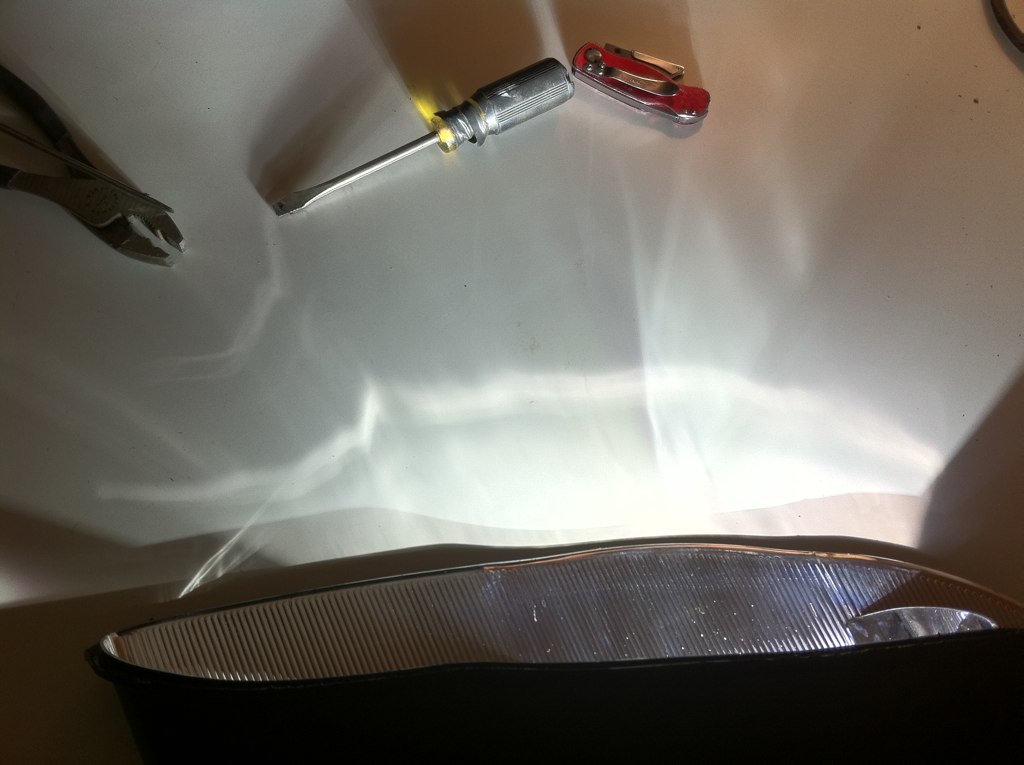
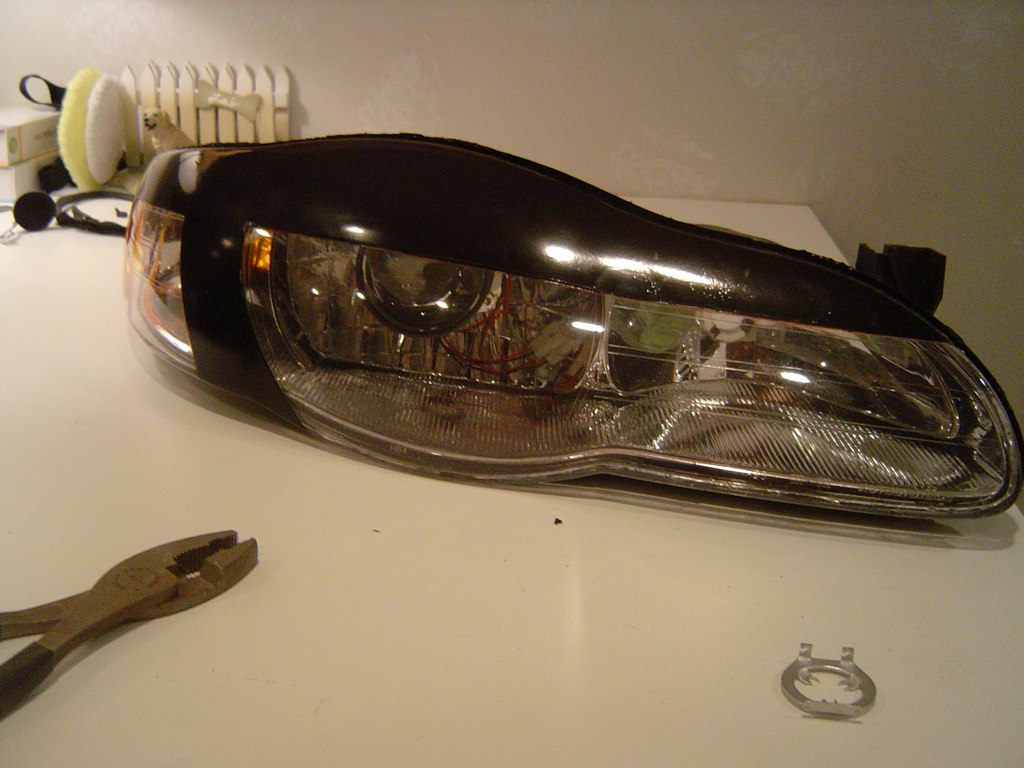
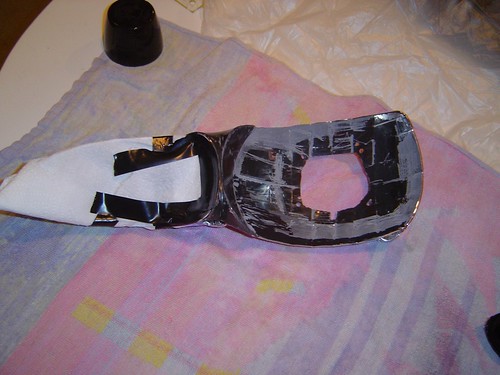
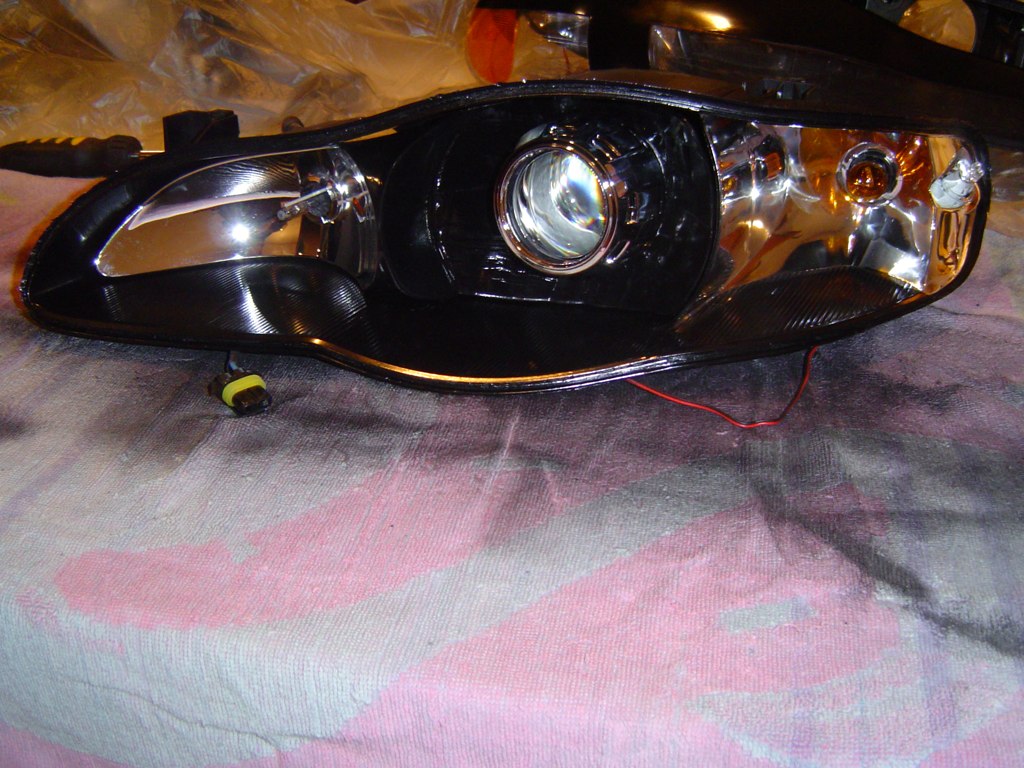
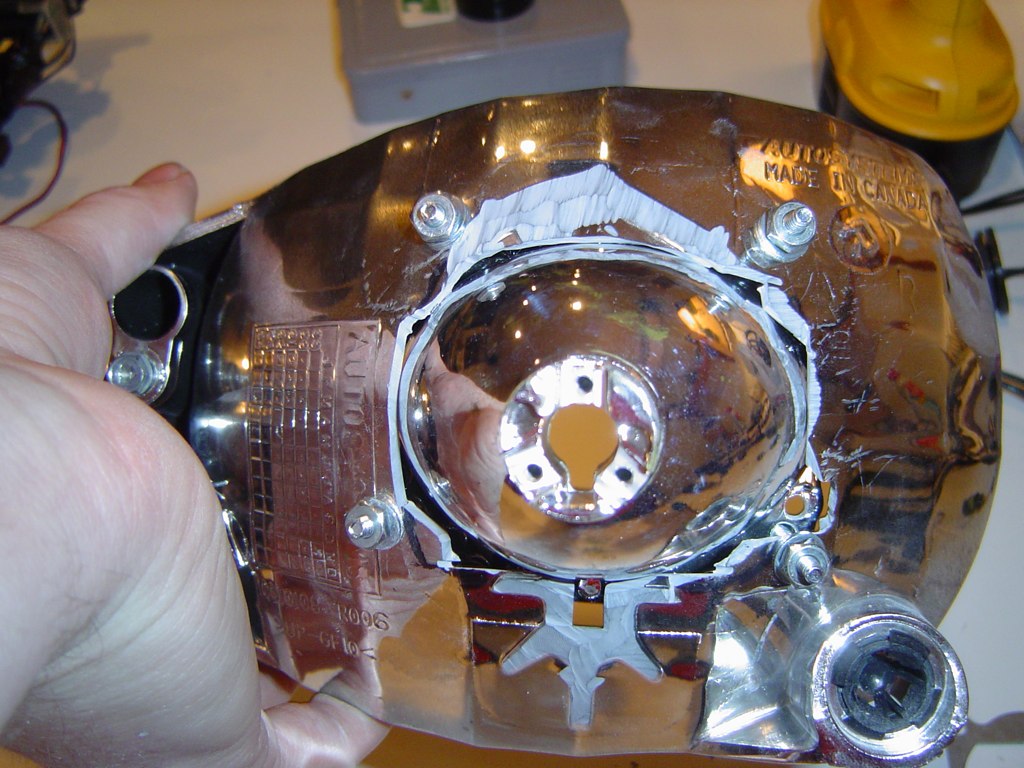
After a TON of work and attempting to use a heat gun and some other tools I was FINALLY able to separate the lens from the housing of the headlight. (My 2002 DTS was a lot easier to do just some heat and it was all good)
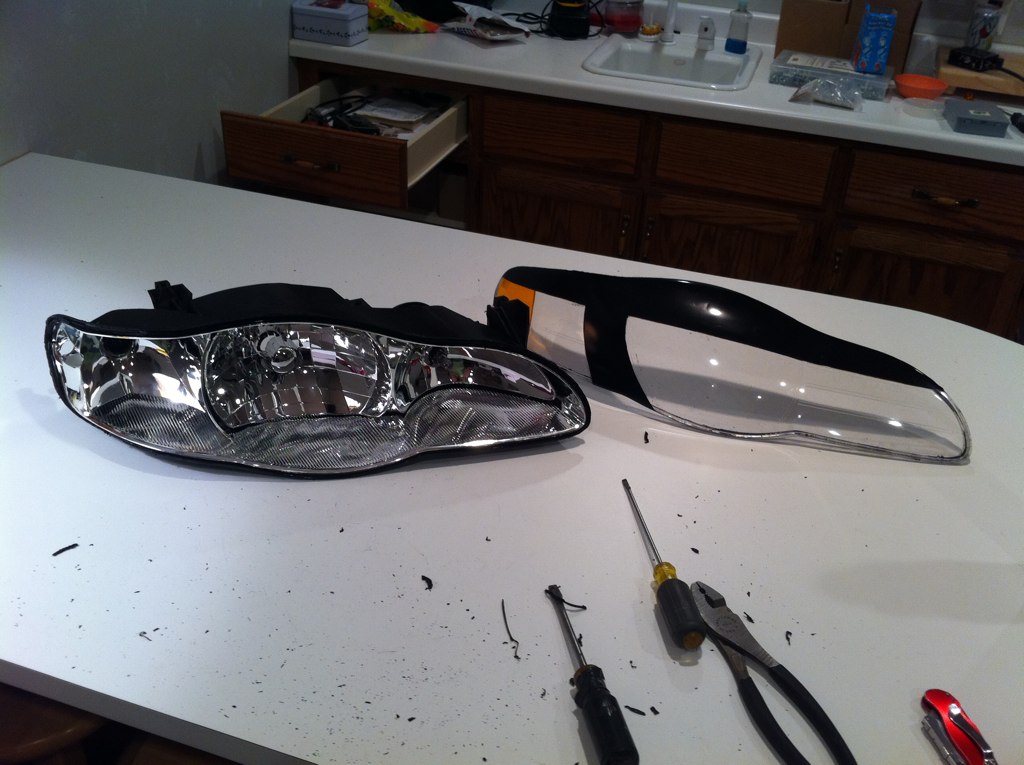
These headlights are the GM OEM Factory headlights, they are not designed to be taken apart and re-assembled. You will need to use some butyl rubber headlight sealant to put them back together and stay water tight.
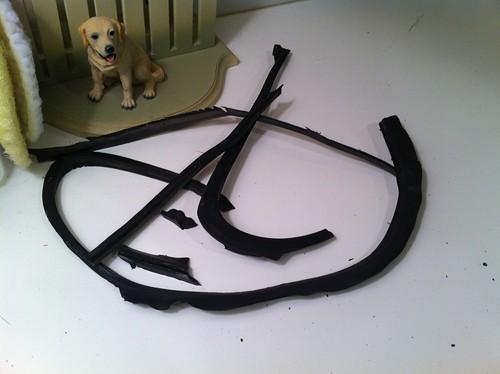
As you can see, only scraps remain from the first headlight, the second one did come off in mostly one piece, I did have to cut it in one spot.
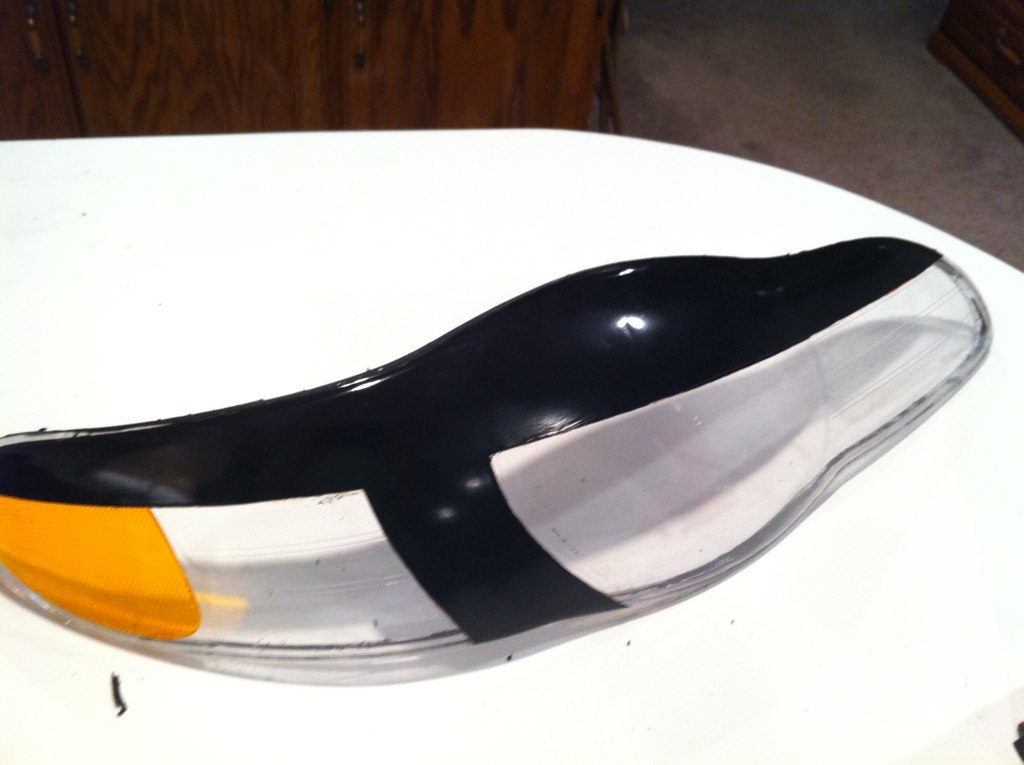
Below is a closeup of the customized eyebrow that I painted on the lens.
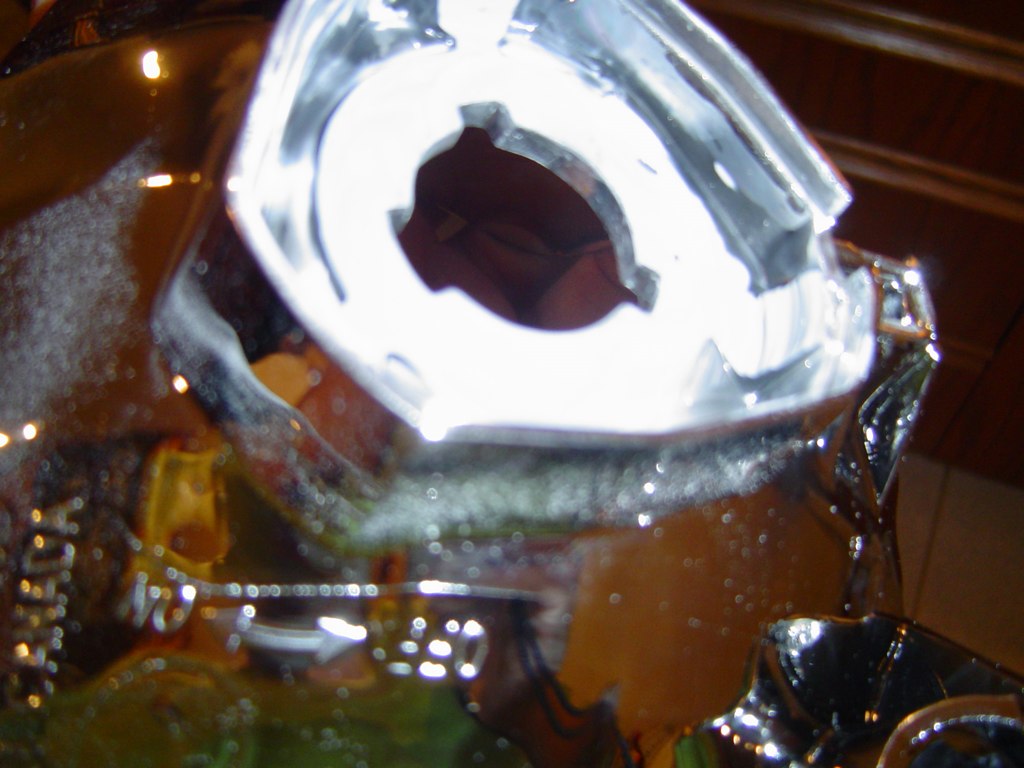
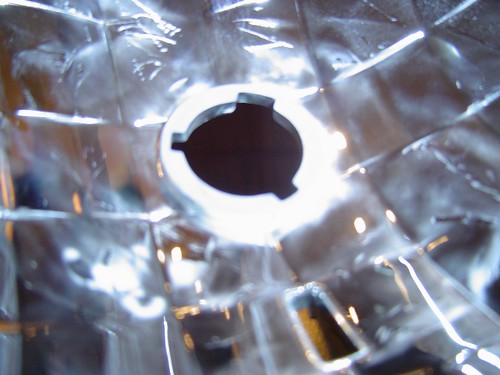
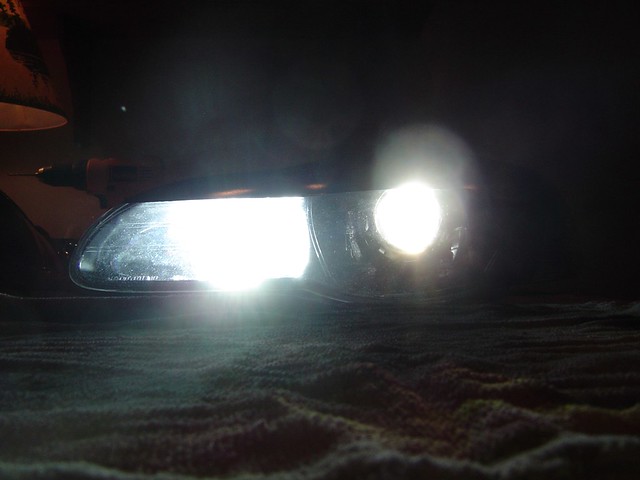
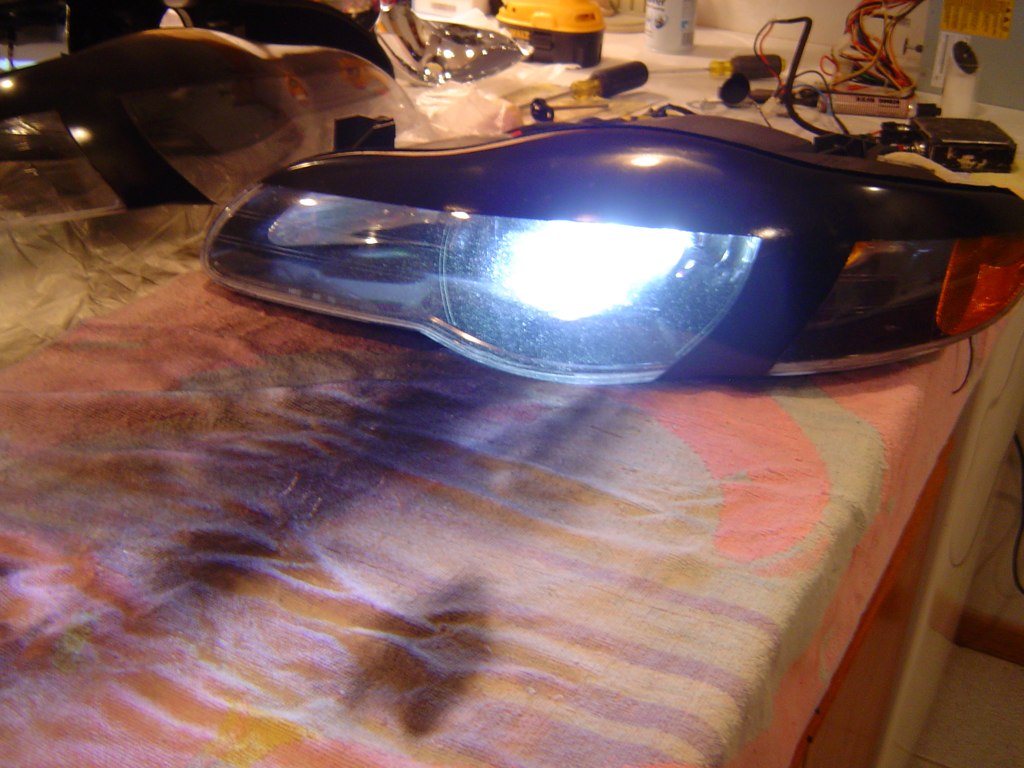
This is what you get for glare when you have the silver cap removed from the reflector that covers the end of the lamp, I know there are people out there that want to know what it looks like, well here you go!
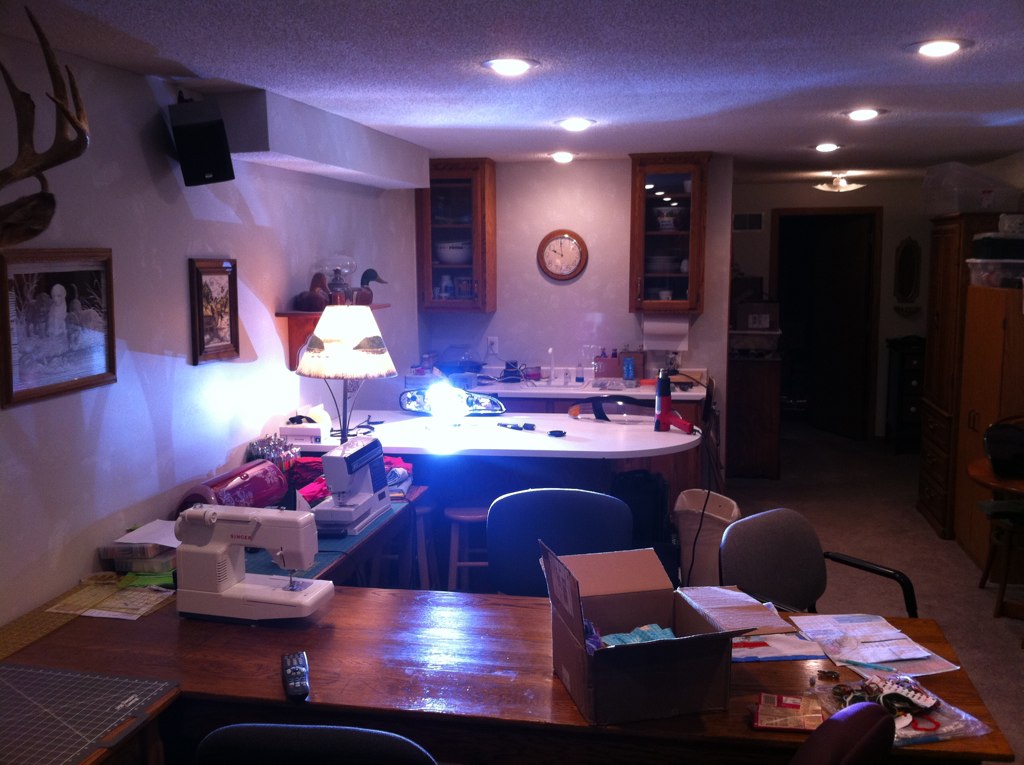
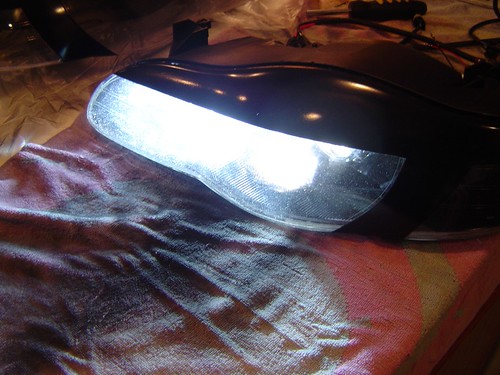
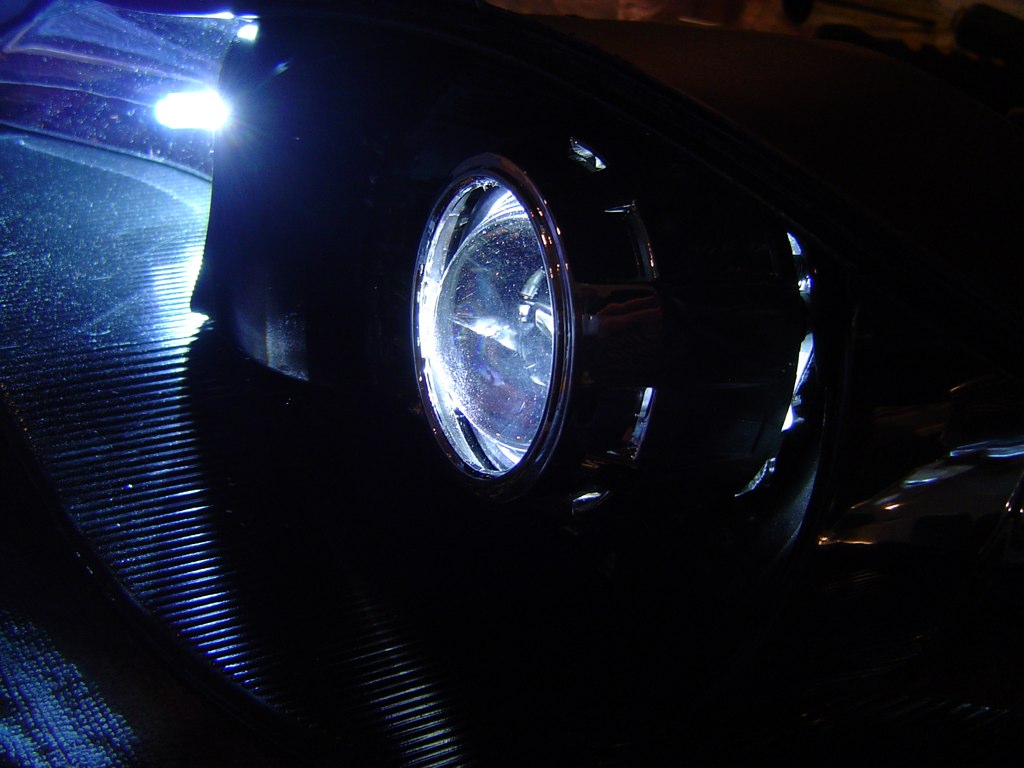
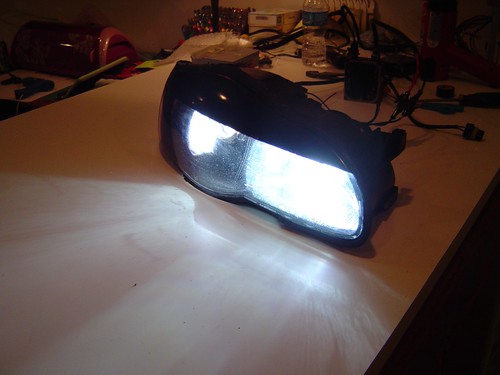
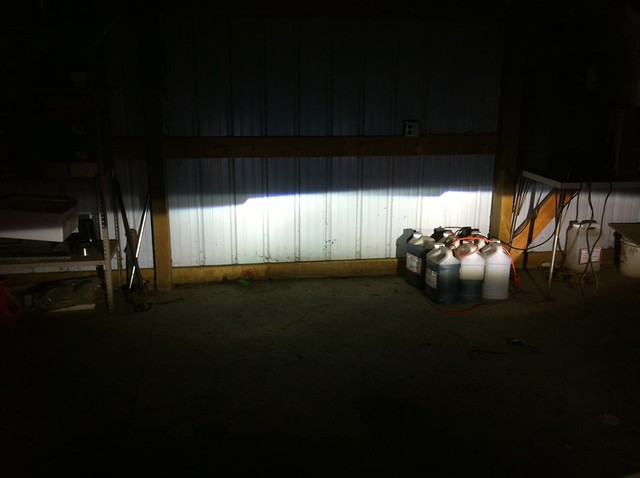
This is what the output looks like, this was a dark basement room, the only light was the one HID lamp in the low beam reflector.
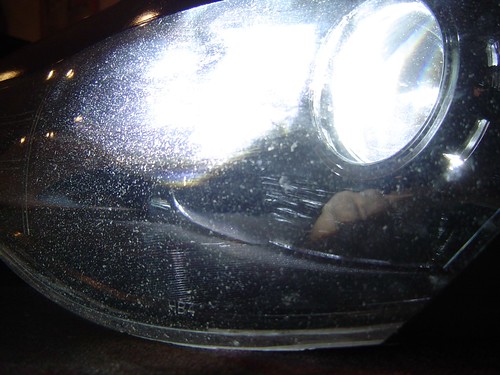
This shows the glare that is created from doing this.
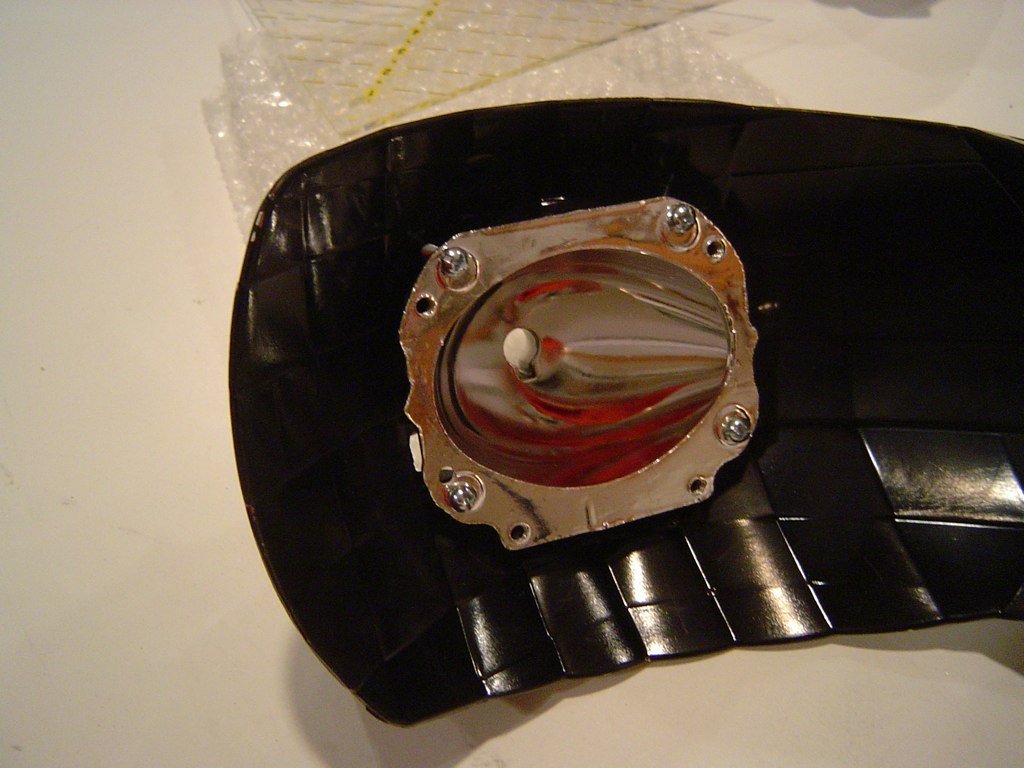
Here is a shot of the projector temporarily mounted using what is meant to mount it. (A threaded shaft that fits through the hole that the lamp originally came through. I decided to mount these a bit differently than the regular setup.) At this point you really could just put the shroud on the projector and close up the lens cover... well almost there are some mods that you need to do to the back of the reflector so you can mount the projector.
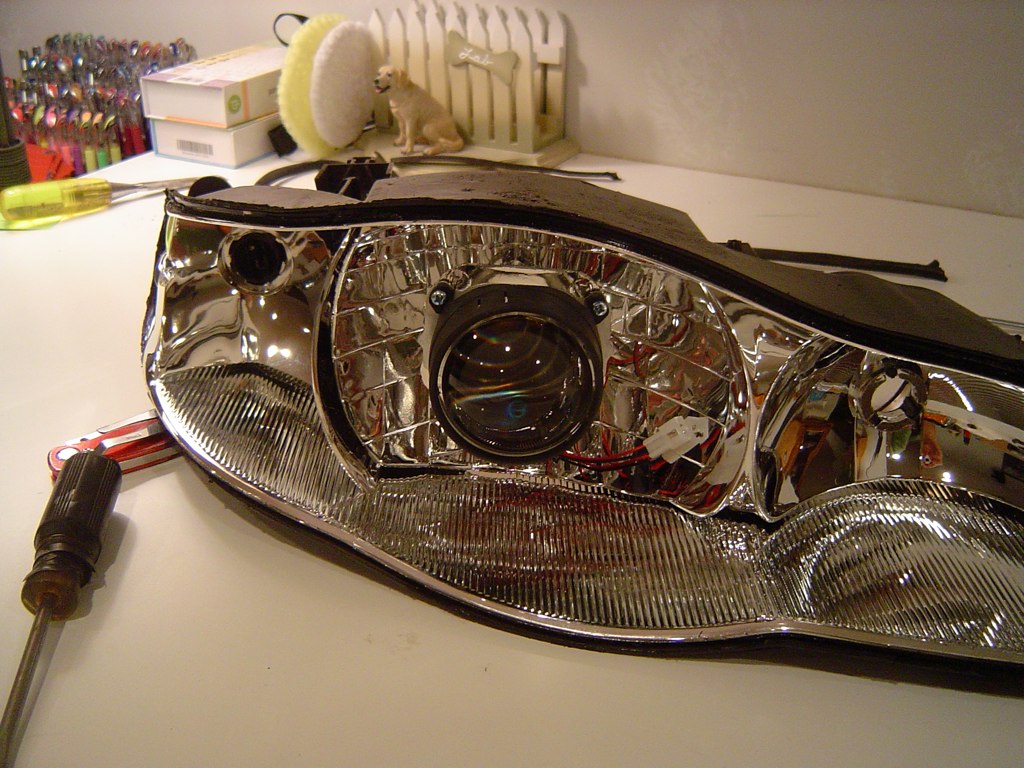
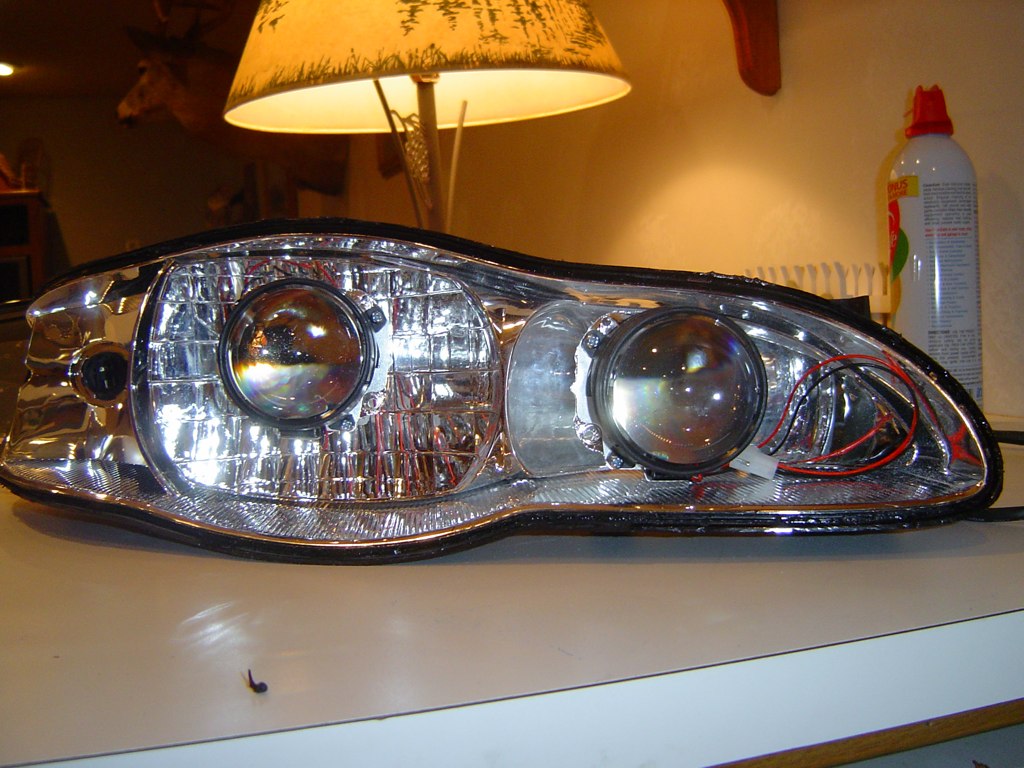
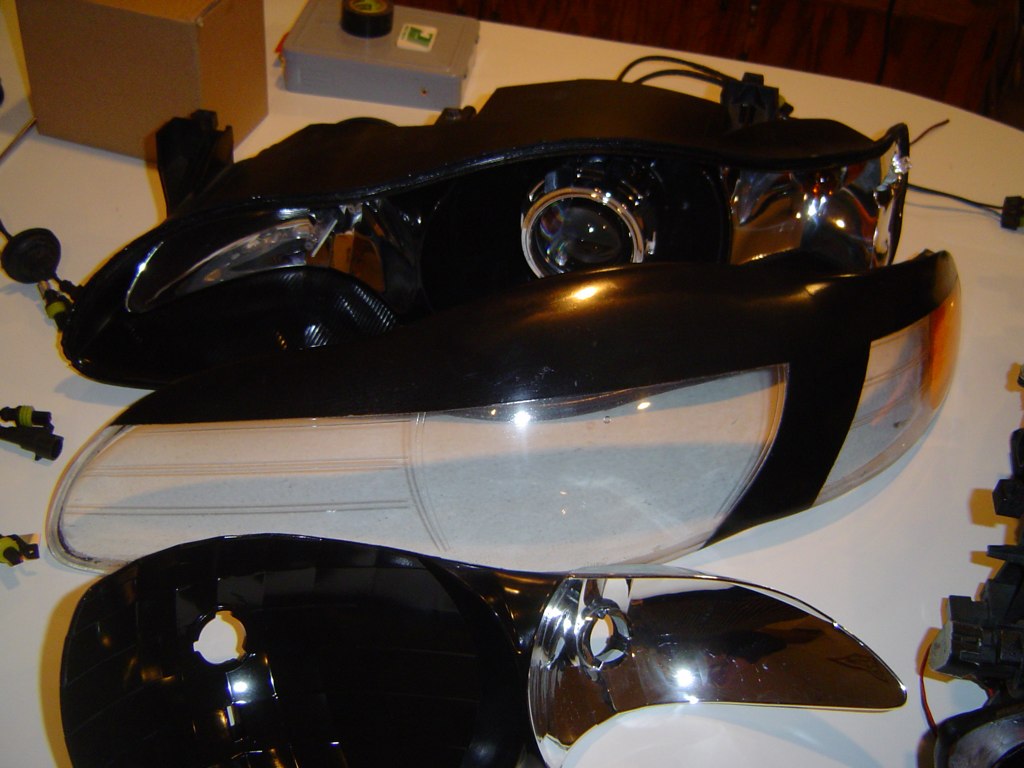
Here I have placed the lens on the housing to give an idea of what it would look like in this configuration.
Just for kicks I placed the second projector in the HighBeam spot to see what a quad retrofit would look like.
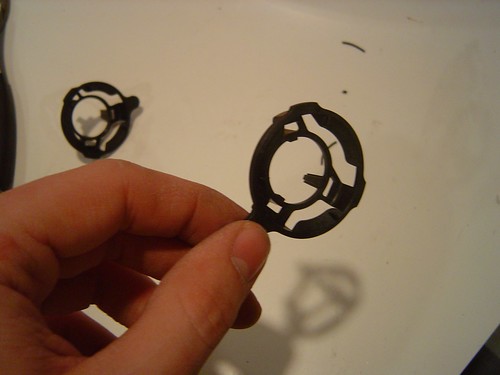
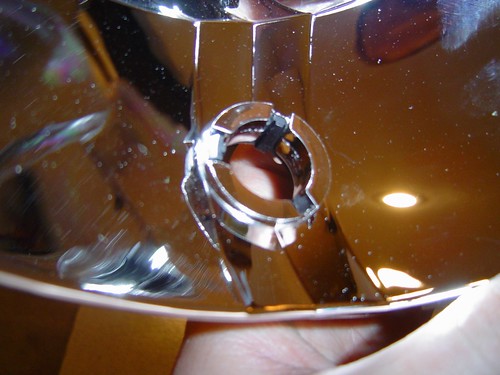
You will have to remove these little black lamp alignment pieces and do some dremel work to be able to mount the projector using the threaded shaft.
Dremel work done! Now you can thread the shaft on and tighten it up, making sure you have proper cutoff alignment. This method also allows for minor rotational alignment adjustments after the housing is sealed up. I would recommend this method as for some reason when adjusting the aiming of the headlights they change slightly with rotation (this is when you use the factory headlight adjustment *****)
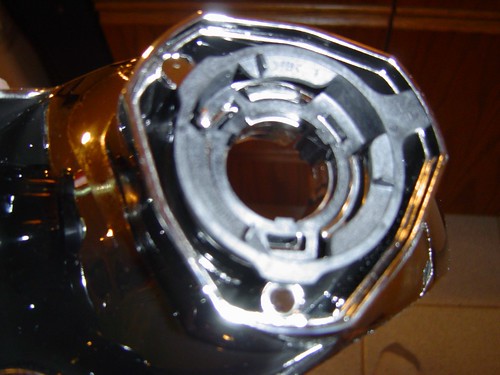
Ok now dremel work is actually done, the inside needed to be thinned out too at the base of the hole.
Here is a shot of how thick it originally was.
Inside of housing painted black! Covered the areas that reflect the turn signals though.
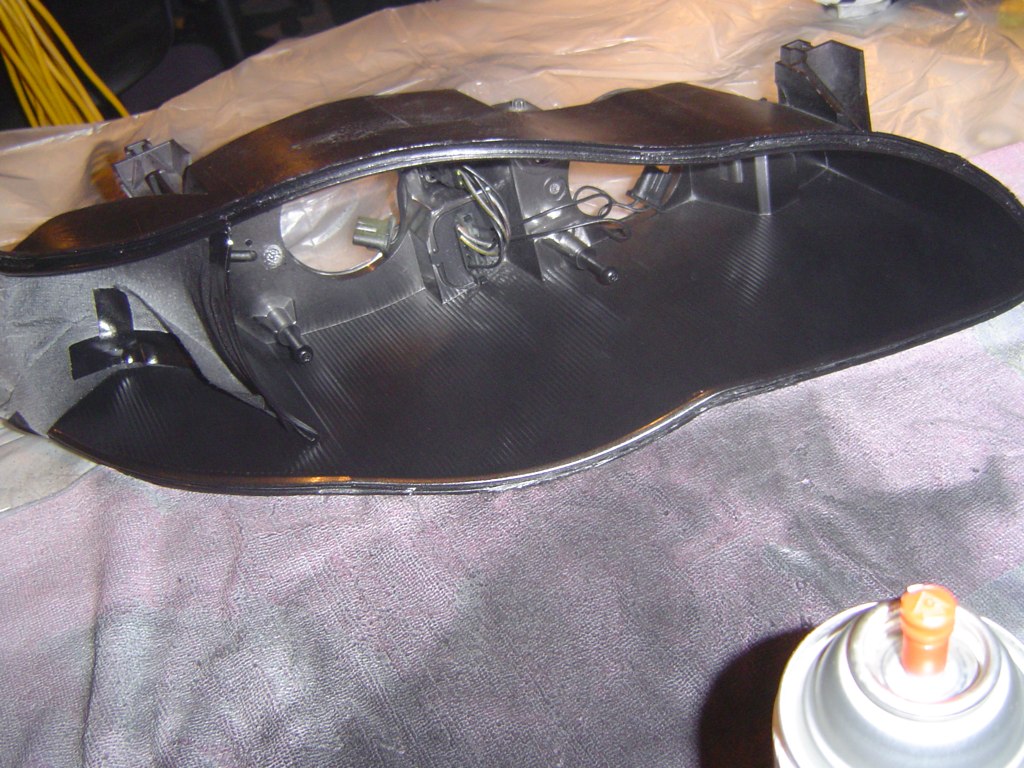
Painted low beam reflector, covered highbeam

Hole cut to allow me to recess the projector further into the housing. (Not something I would decide to do again.)
To be continued to next post.
I have taken the time to take a lot of photos along the way.
Here is a before shot with HIDs in lowbeams and fogs (standard reflectors at this point 6000k - the fogs were supposed to be 6000k but they look a little green for some reason....)
After a TON of work and attempting to use a heat gun and some other tools I was FINALLY able to separate the lens from the housing of the headlight. (My 2002 DTS was a lot easier to do just some heat and it was all good)
These headlights are the GM OEM Factory headlights, they are not designed to be taken apart and re-assembled. You will need to use some butyl rubber headlight sealant to put them back together and stay water tight.
As you can see, only scraps remain from the first headlight, the second one did come off in mostly one piece, I did have to cut it in one spot.
Below is a closeup of the customized eyebrow that I painted on the lens.
This is what you get for glare when you have the silver cap removed from the reflector that covers the end of the lamp, I know there are people out there that want to know what it looks like, well here you go!
This is what the output looks like, this was a dark basement room, the only light was the one HID lamp in the low beam reflector.
This shows the glare that is created from doing this.
Here is a shot of the projector temporarily mounted using what is meant to mount it. (A threaded shaft that fits through the hole that the lamp originally came through. I decided to mount these a bit differently than the regular setup.) At this point you really could just put the shroud on the projector and close up the lens cover... well almost there are some mods that you need to do to the back of the reflector so you can mount the projector.
Here I have placed the lens on the housing to give an idea of what it would look like in this configuration.
Just for kicks I placed the second projector in the HighBeam spot to see what a quad retrofit would look like.
You will have to remove these little black lamp alignment pieces and do some dremel work to be able to mount the projector using the threaded shaft.
Dremel work done! Now you can thread the shaft on and tighten it up, making sure you have proper cutoff alignment. This method also allows for minor rotational alignment adjustments after the housing is sealed up. I would recommend this method as for some reason when adjusting the aiming of the headlights they change slightly with rotation (this is when you use the factory headlight adjustment *****)
Ok now dremel work is actually done, the inside needed to be thinned out too at the base of the hole.
Here is a shot of how thick it originally was.
Inside of housing painted black! Covered the areas that reflect the turn signals though.
Painted low beam reflector, covered highbeam
Hole cut to allow me to recess the projector further into the housing. (Not something I would decide to do again.)
To be continued to next post.
Projector temporarily mounted and on while HID bare lamp was also in high beam and on. Hello glare!!
Alternate angles of the highbeam and lowbeam shot.
Really interesting angle here.
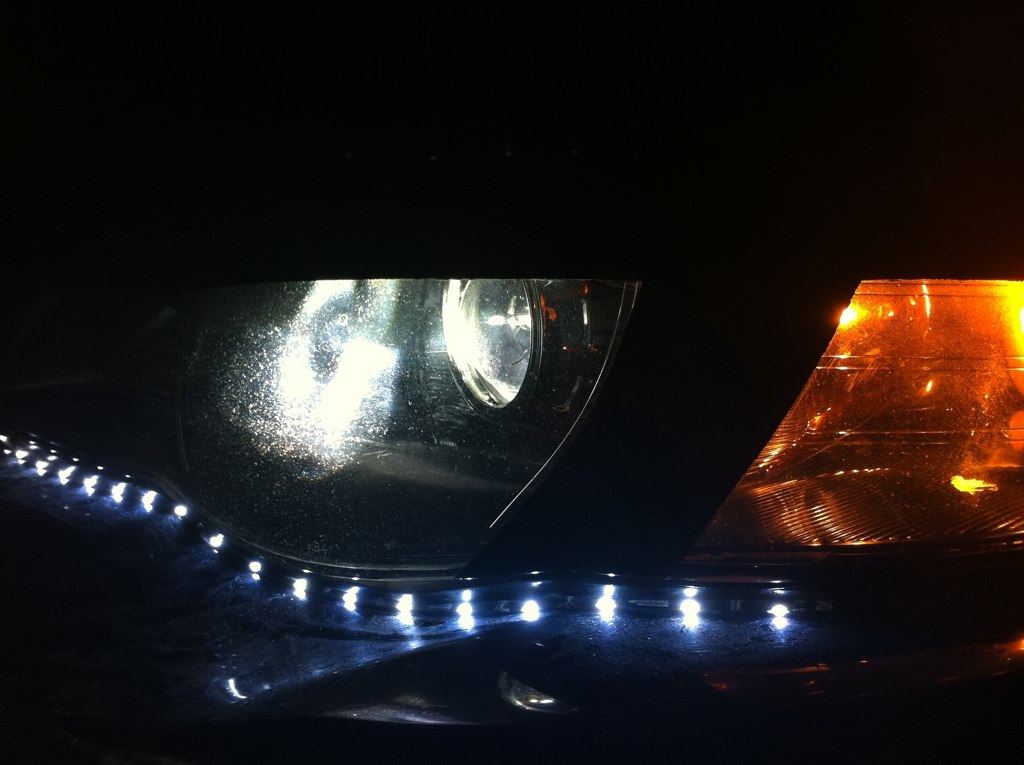
Lowbeam only shot of the projector.
Wow! my lens is so pitted!!!
First output shot of projector enjoy!
Check out that color flicker at the cutoff!!
Painted, mounted, shroud installed just needs lens cover!
It's getting closer!!
Headlight number 2 recessed the projector bowl.
Shot from the back.
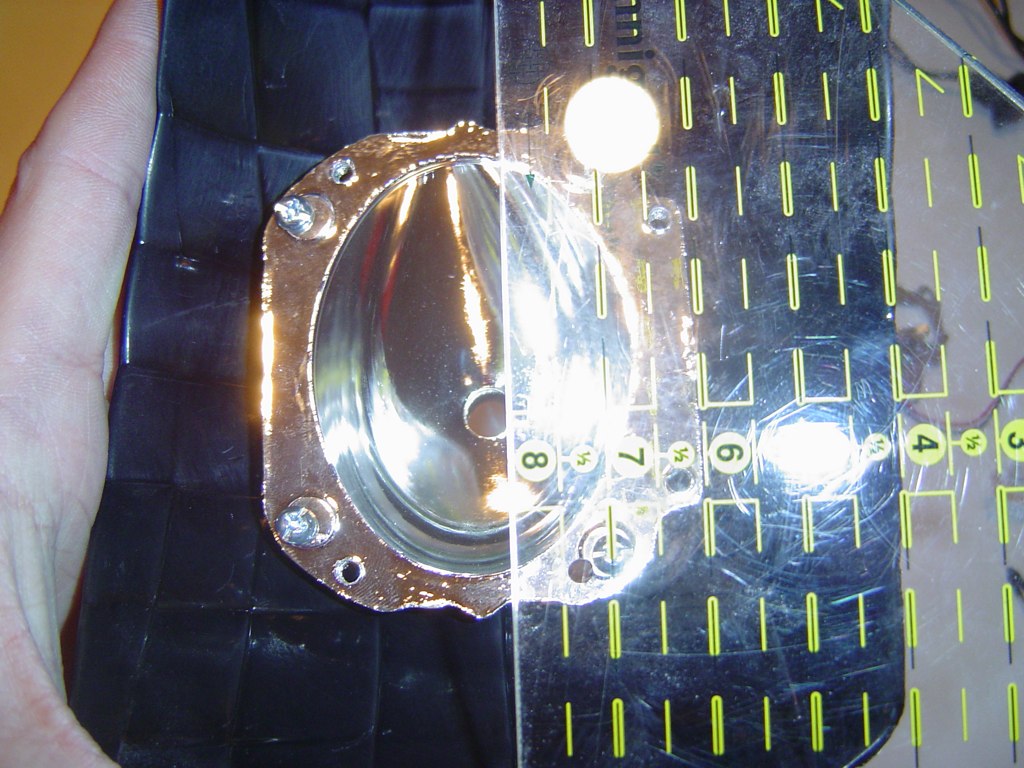
Aligning the bowl to get the right cutoff using some transparent grid lined tool that is made for crafting.
The horizontal reflector lines are parallel to the ground and the bulge on each side of the projector is as well.
Both beams again.
Front of car installed.
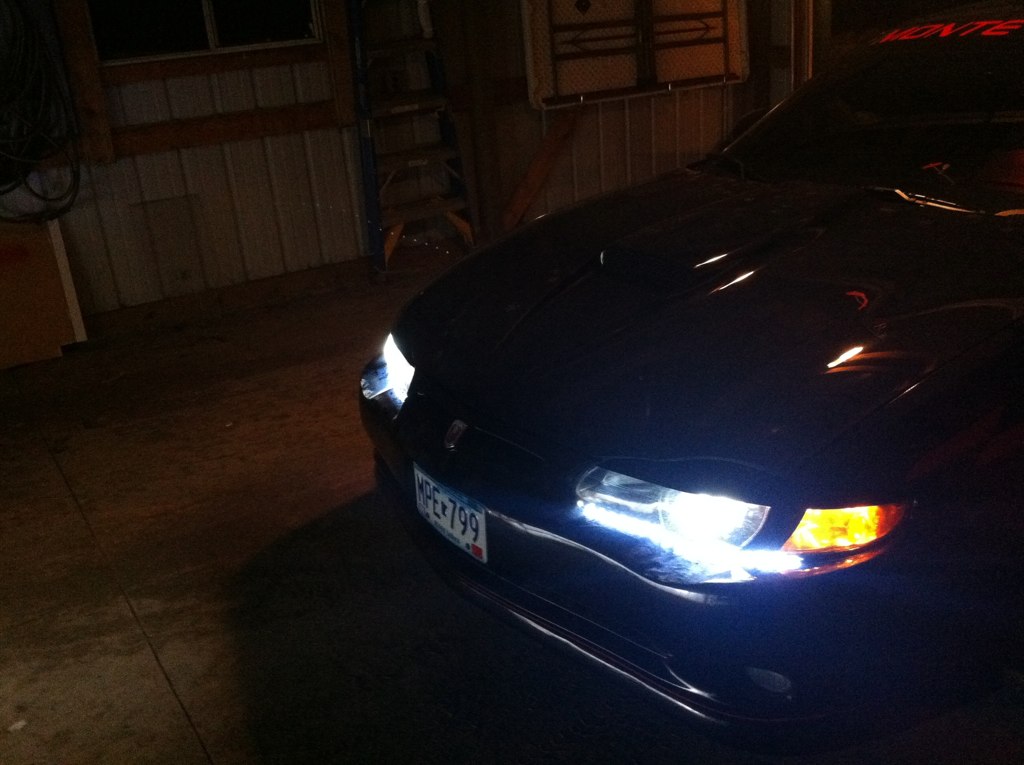
Rotation is off a bit, but after adjusting the lights to proper hight you can't notice that it is off, and the way that the headlights adjust the rotation actually is adjusted slightly as well.
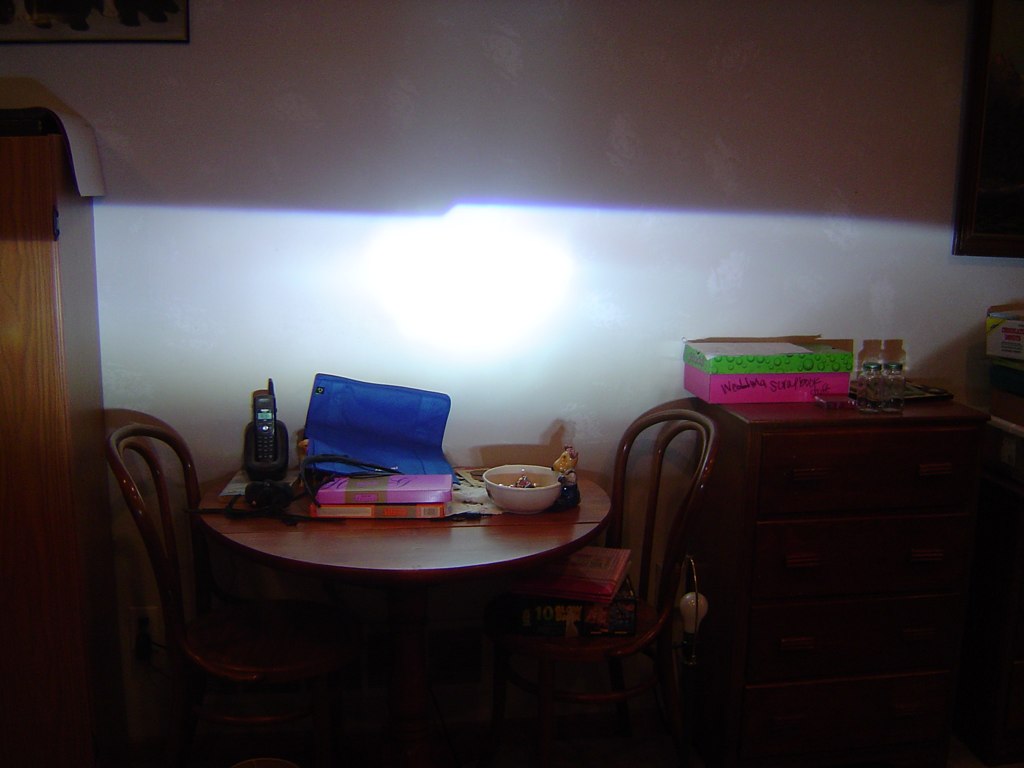
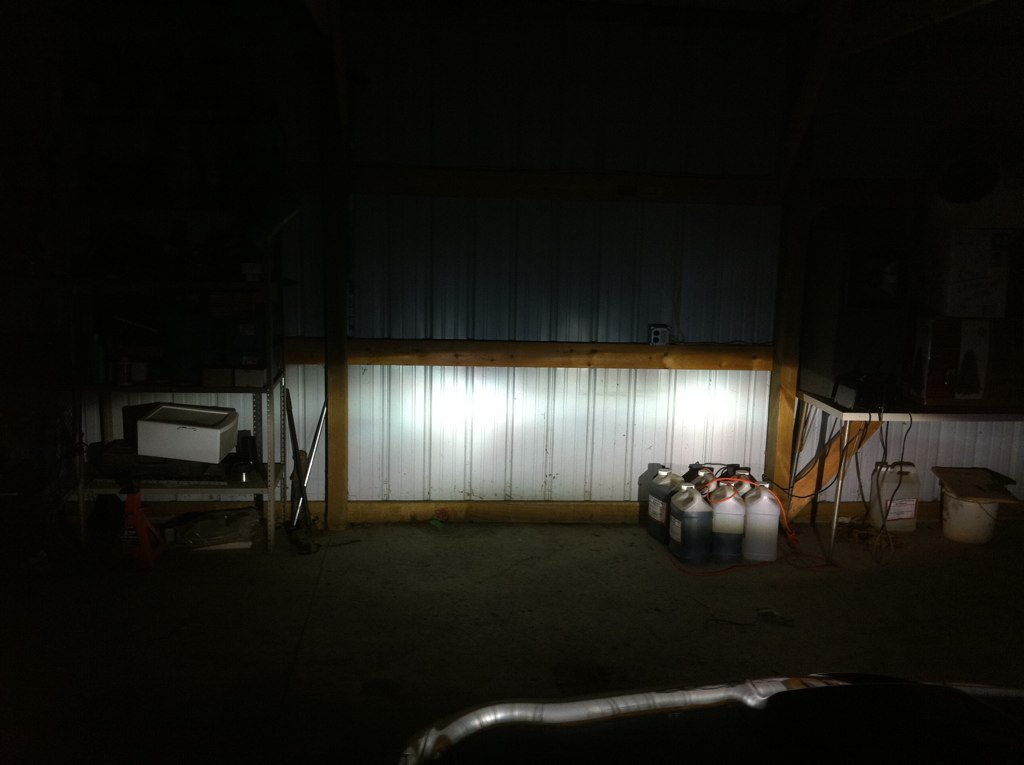
High beam shot on the wall, not too noticeable since I am so close to the wall... all of this was done during the winter and this car does not get out in the winter so that was as far back as I could get in the garage.
Close up installed.
One more after this one...
Alternate angles of the highbeam and lowbeam shot.
Really interesting angle here.
Lowbeam only shot of the projector.
Wow! my lens is so pitted!!!
First output shot of projector enjoy!
Check out that color flicker at the cutoff!!
Painted, mounted, shroud installed just needs lens cover!
It's getting closer!!
Headlight number 2 recessed the projector bowl.
Shot from the back.
Aligning the bowl to get the right cutoff using some transparent grid lined tool that is made for crafting.
The horizontal reflector lines are parallel to the ground and the bulge on each side of the projector is as well.
Both beams again.
Front of car installed.
Rotation is off a bit, but after adjusting the lights to proper hight you can't notice that it is off, and the way that the headlights adjust the rotation actually is adjusted slightly as well.
High beam shot on the wall, not too noticeable since I am so close to the wall... all of this was done during the winter and this car does not get out in the winter so that was as far back as I could get in the garage.
Close up installed.
One more after this one...
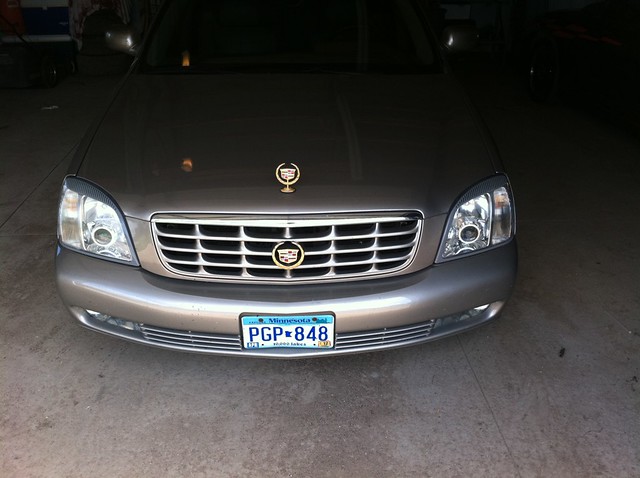
Caddy and Monte, reflector fogs still in this pic. Headlights cleared on the Caddy, not possible on the Monte, the Caddy has projector fogs as well, the Monte now has projector fogs instead but I don't have any pics at this time.


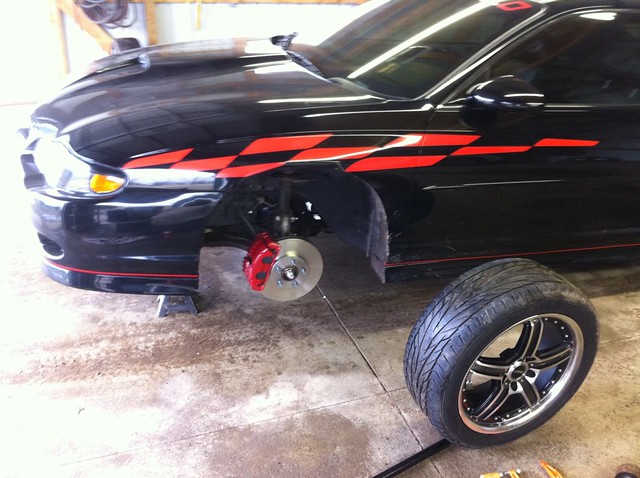
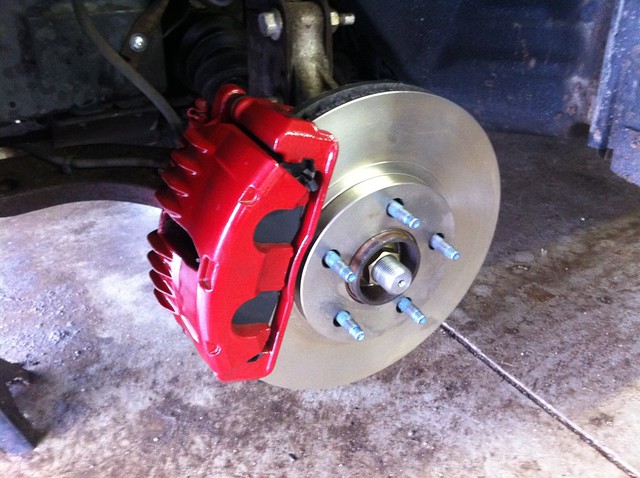
Big Brake upgrade...
Thats all for now
Big Brake upgrade...
Thats all for now


Thanks for the compliments everyone, I chose to do the "eyelid" things to reduce the bugeye headlights that we have. While I can appreciate the bow tie shape of the light I find the lens to just be so large.


The fact that the lens is so hard to remove without ruining the lens and housing at the same time is the only thing that really deters me from doing it. Perhaps a new set of the aftermarket housings that are already black on the inside may open up easier than the 10+ year old housings that I opened.
