
Mod Guide: How to install HID Headlights for 2000-2005 Monte Carlo
#1
 01-26-2010, 02:22 AM


Just put some HID headlights in the Monte Carlo and took some pics as i went. So i decided I might as well put it together into a nice little how to for all of you Monte fans, this was a last minute idea and the quality on my iphone isnt very good so bare with me.
This whole install if you dont know what your doing shouldnt take more than an hour and a half.
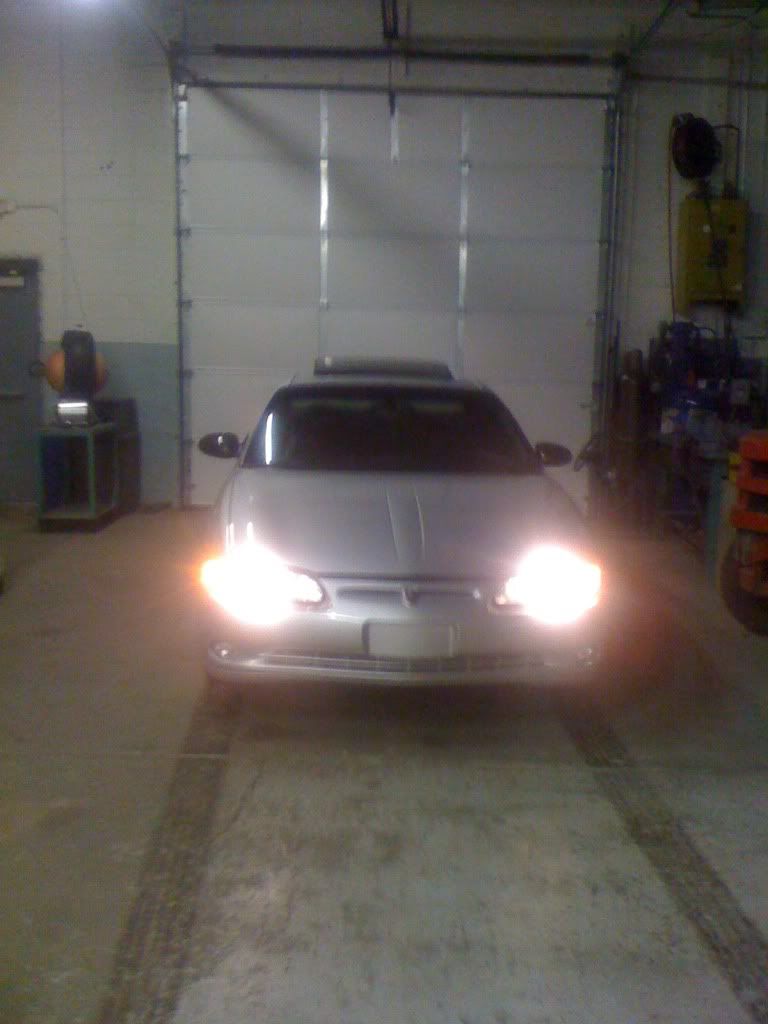
First off i got some before pics of my 2004 SS
Stocks
Ok the kit i bought was a xentec xenon HID 8000k Kit. i bought this off ebay for 39.99 and really wasnt expecting much but they turned out great.
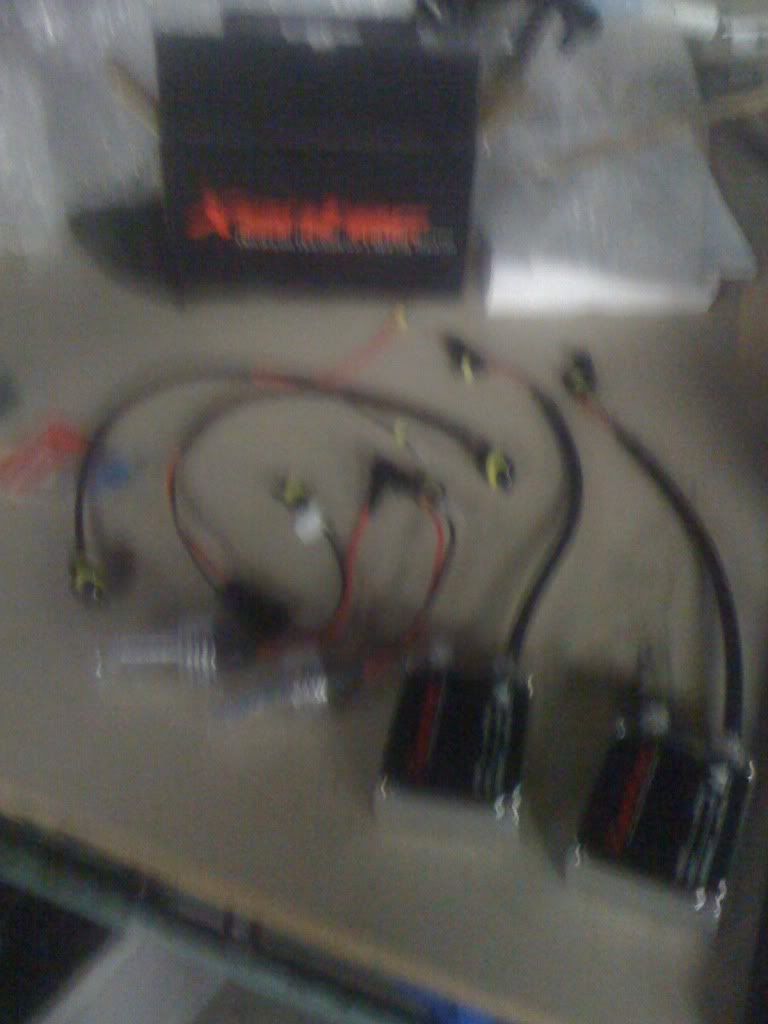
sorry again about quality you would think the iphone would have a better cam
In the kit that i bought there are 2 wires(2 set with 1 red and 1 black wire each) that connect to the headlight through a plug. the plug does not come connected to the wire. You have to manually stick the wires through the plug and they will permanently lock in place. Do not open the box and install the plug to the wires. I did and it caused me to rip my big rubber grommit because the plug was to big. you will install the plug later.
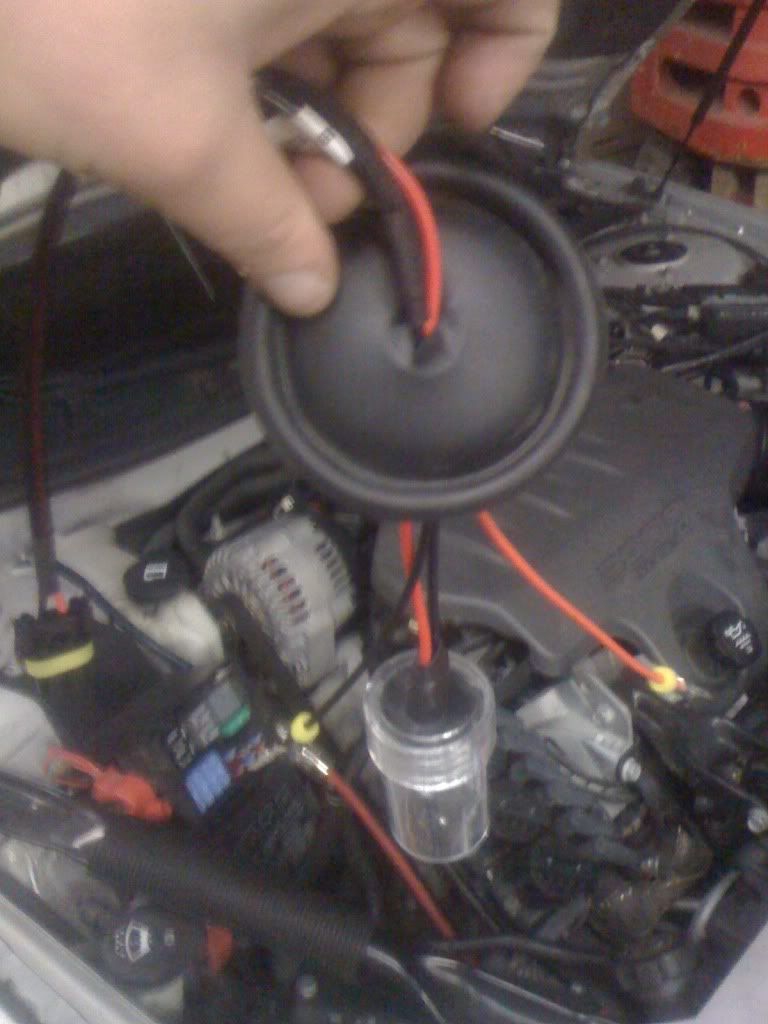
Normally if everything is factory all the wiring is done inside the headlight but because theres new wiring that needs to be done and a box that wont fit inside the headlight we need to cut a whole in the rubber gromit. First off make sure you got the right rubber gromit and headlight! Turn your lights on and take note of which headlight it is and make sure its not the daytime running lights. The daytimes are separate and are going to remain unaffected in this install.
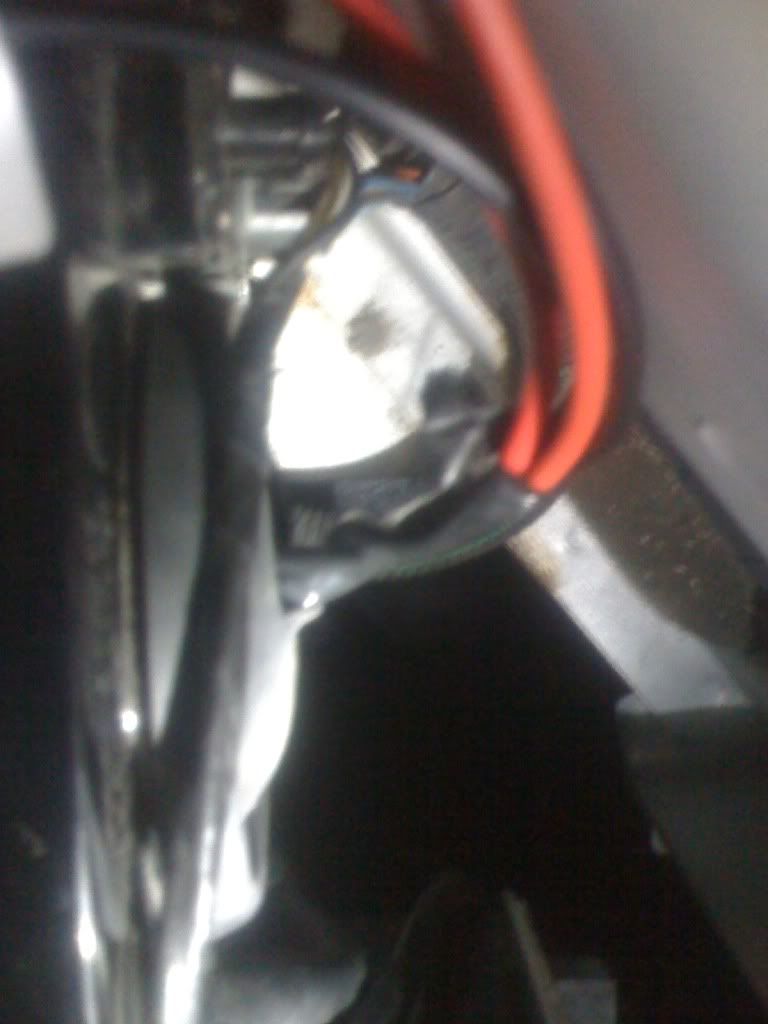
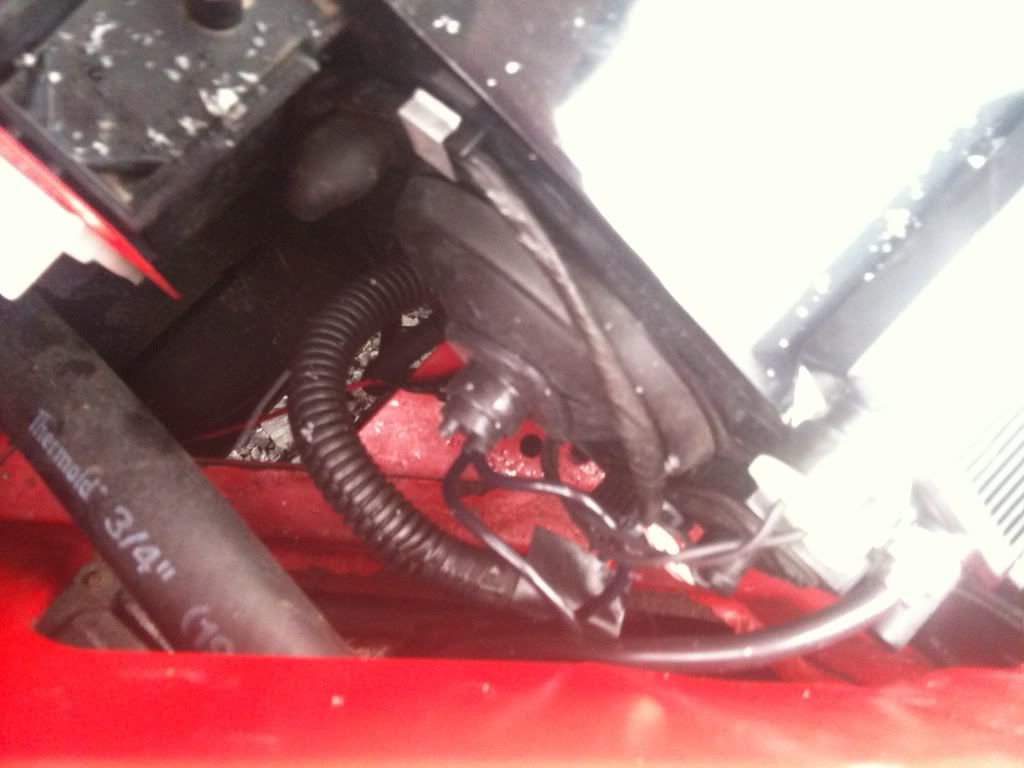
so once you have the correct grommit, bend it in half and cut a tiny hole in the center with some wire strippers. after the hole is there your going to need to stick both sets of cables (input and output) through the hole. Use your own common sense to figure out which way the wires go in(it will be obvious when you have kit in front of you). after you have the wires stuck through the hole THEN you put the plug mentioned earlier onto the wires. by putting the plug on after this step you avoid having to stick this big bulky plug through the rubber gromit and risk ripping it(happened to me).
When installing the plug onto the wire you just slide them in and they snap right in and are permanent. there is no indication on the kit i have for which wire goes into which hole (positive or negative) but it doesnt matter because you can flip the plug upside down and it will still plug in.
We are going to seal the hole that we cut for the wires but not untill later.
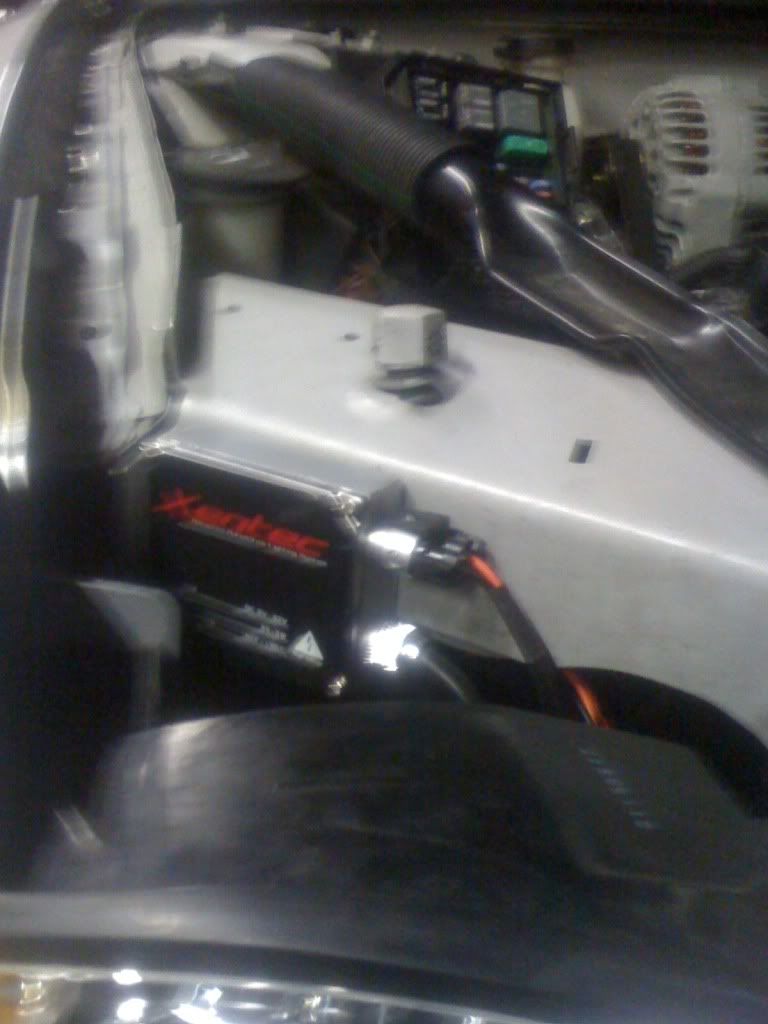
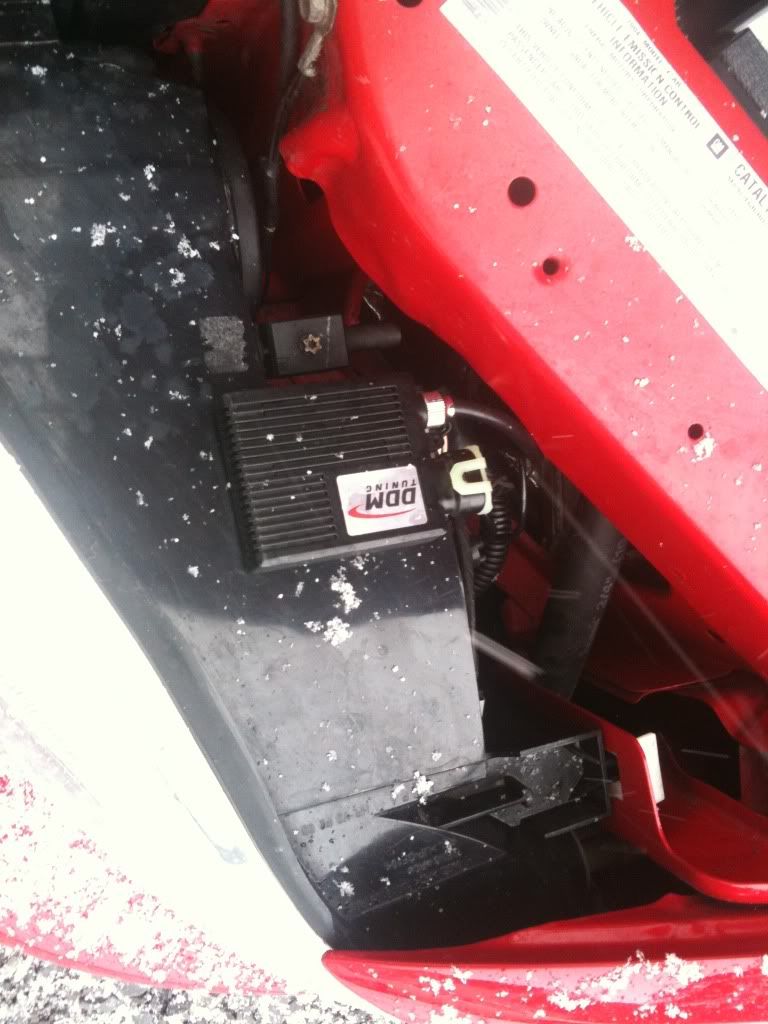
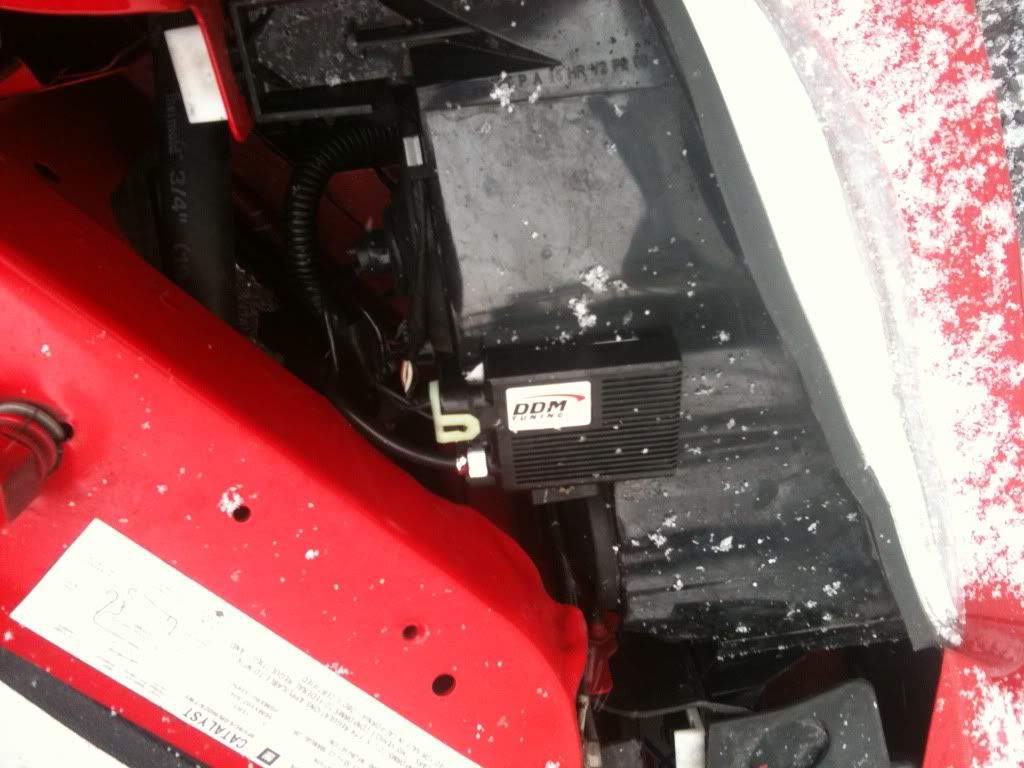
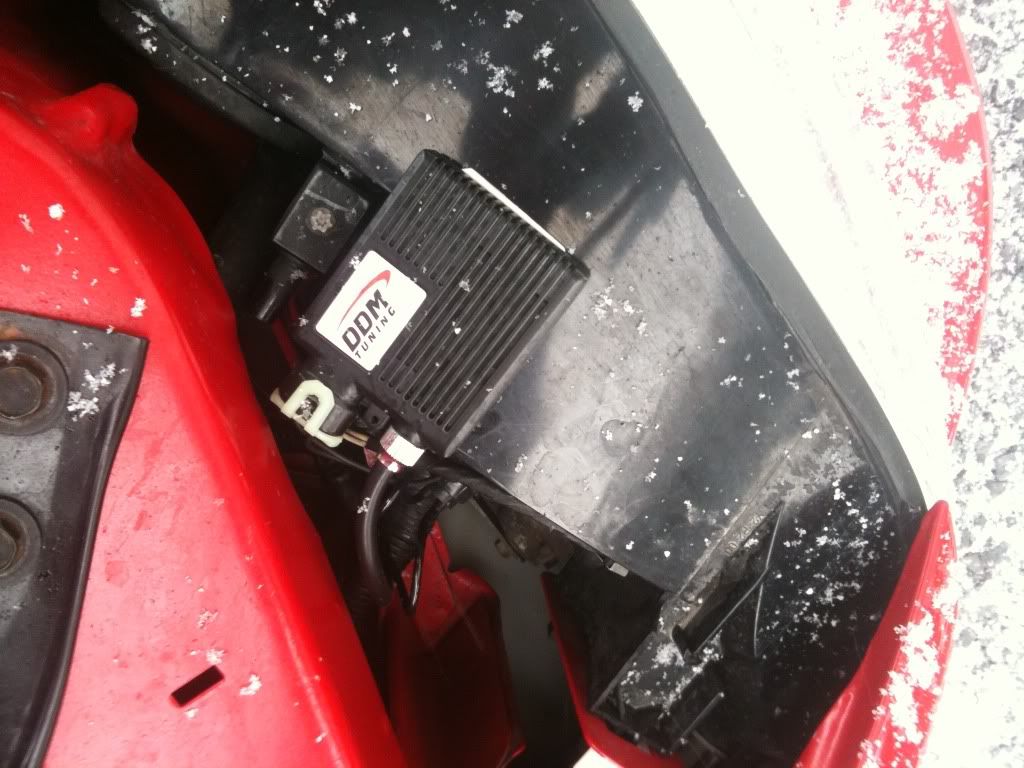
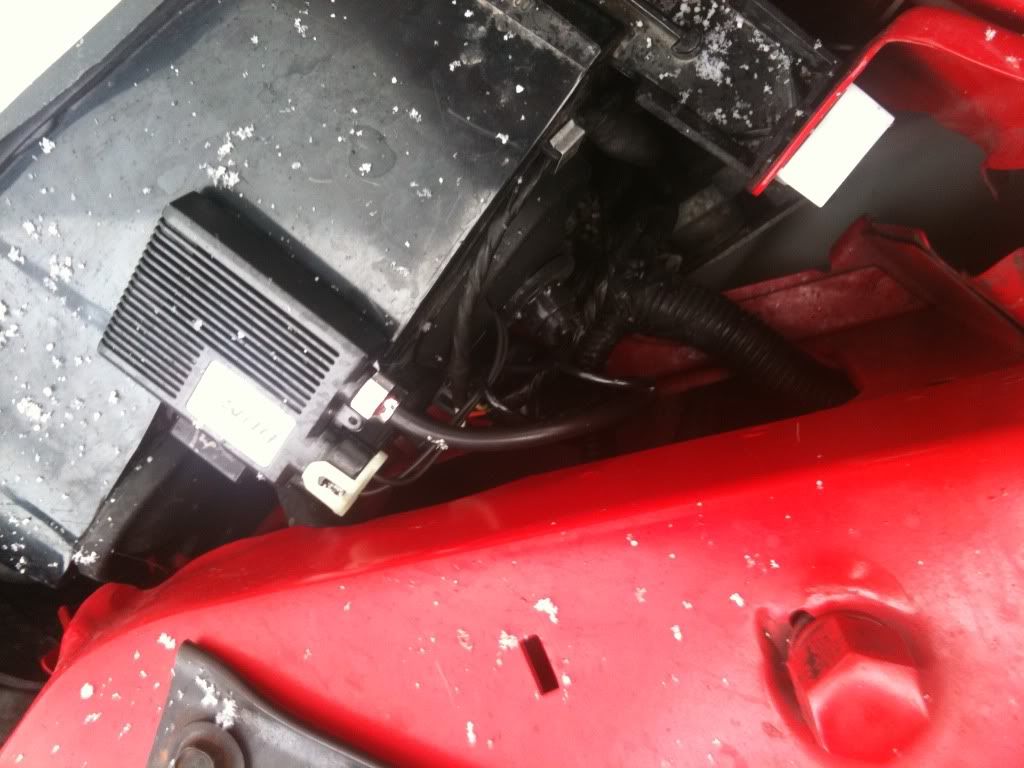
The next step is to mount the Ballast. I mounted mine right behind the headlight. the Ballast came with some heavy duty double sideded tape that works good. just unpeel press and hold.
Easy Squeezy Lemon Peezy.
so now that the ballast is mounted and the wires are ran through the gromit its time to plug everything in and give it a test. unscrew the plastic protective cap and screw the new hid xenon bulb exactly where the stock headlight was, put the gromit back on and make sure everything is connected.
The next step is go inside your Monte and there is this little **** to left of your steering wheel about nipple high if your sitting, well if you wrap 2 fingers around this **** and pull on it will turn your headlights on")
The next step is to get out and put on a big ol grin.
either that or you got angry cause it didnt work. if theres no lighting whatso ever from your new bulbs flip the plug that you put together upside down and plug it in (make sure you turn the headlights off of course)
you cant see it but i got the worlds biggest grin on my face when i took this pic
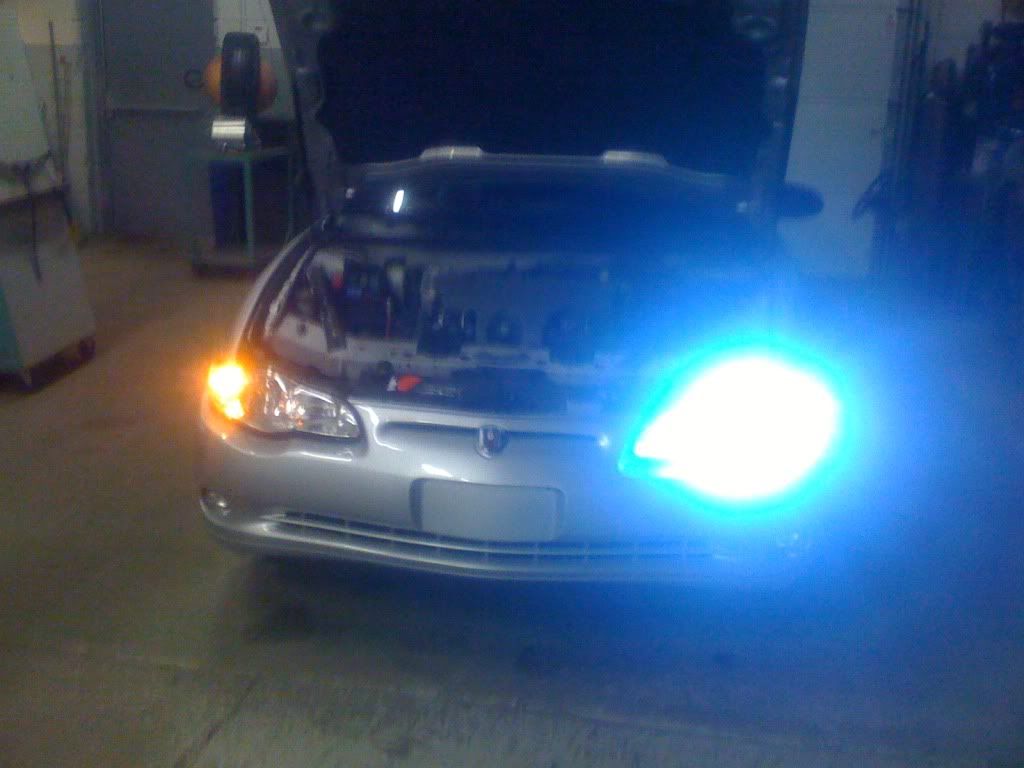
Awesome it worked.
Now that you know everything works its time to seal the hole in the rubber grommit. there are plenty of methods to do this but ill tell you the way i did. Gently pull the wires so theres not to much slack inside the headlight housing and then electrical tape all the wires together. make a " clump of electrical tape in one spot so that when you release the wires from your grip they try and slide back through the gromit but the electrical tape clump is bigger than the grommit hole so it stops it and kinda seals it. after its taped i was really heavy with silicone and just glued around the rubber and the tape so that it was sealed.
The last and final step is repeat everything over again on the other side. and then hop in that bad boy and blind the world.
Before
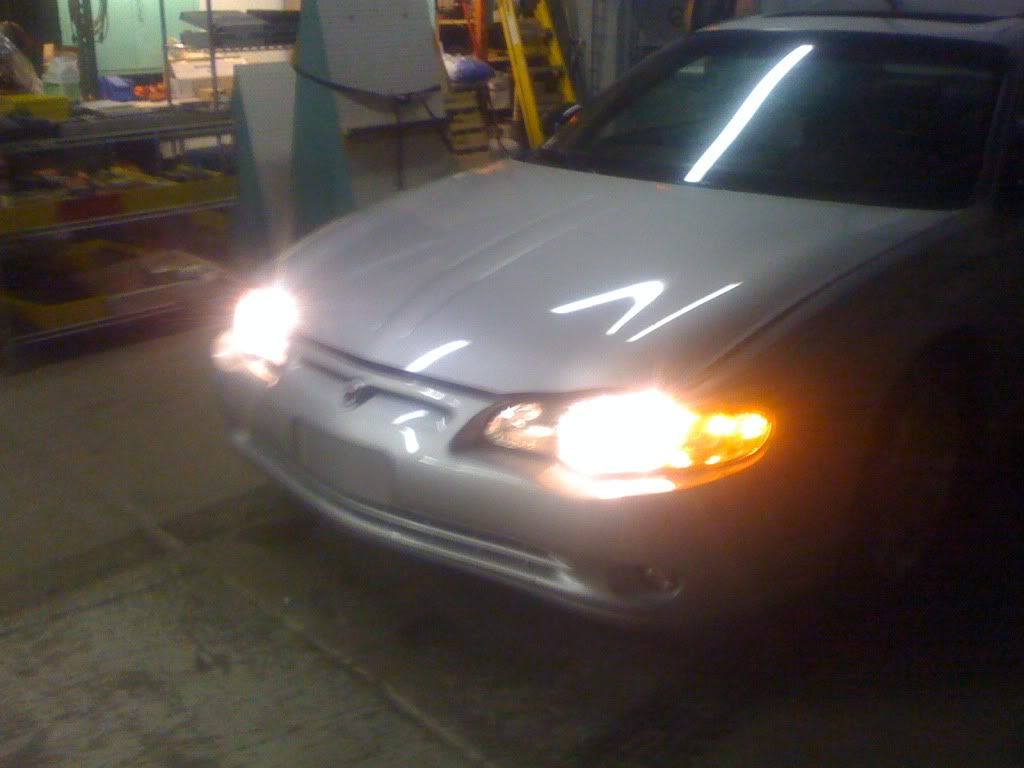
After
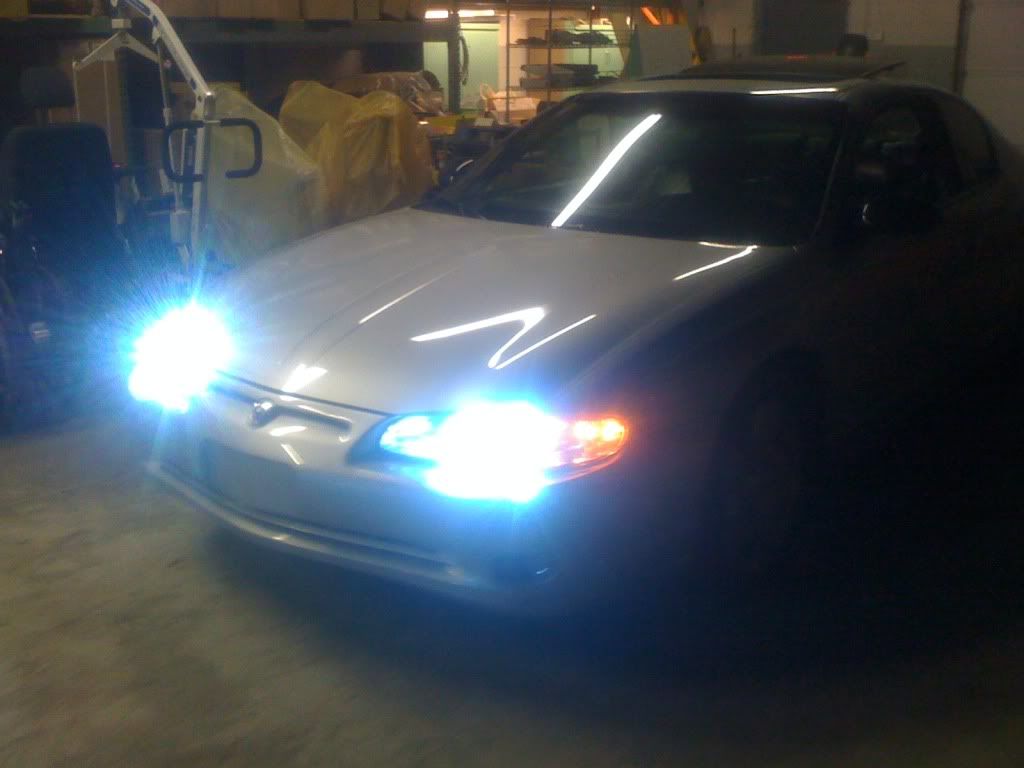
See any difference? its time to stand out
This whole install if you dont know what your doing shouldnt take more than an hour and a half.
First off i got some before pics of my 2004 SS
Stocks
Ok the kit i bought was a xentec xenon HID 8000k Kit. i bought this off ebay for 39.99 and really wasnt expecting much but they turned out great.
sorry again about quality you would think the iphone would have a better cam
In the kit that i bought there are 2 wires(2 set with 1 red and 1 black wire each) that connect to the headlight through a plug. the plug does not come connected to the wire. You have to manually stick the wires through the plug and they will permanently lock in place. Do not open the box and install the plug to the wires. I did and it caused me to rip my big rubber grommit because the plug was to big. you will install the plug later.
Normally if everything is factory all the wiring is done inside the headlight but because theres new wiring that needs to be done and a box that wont fit inside the headlight we need to cut a whole in the rubber gromit. First off make sure you got the right rubber gromit and headlight! Turn your lights on and take note of which headlight it is and make sure its not the daytime running lights. The daytimes are separate and are going to remain unaffected in this install.
so once you have the correct grommit, bend it in half and cut a tiny hole in the center with some wire strippers. after the hole is there your going to need to stick both sets of cables (input and output) through the hole. Use your own common sense to figure out which way the wires go in(it will be obvious when you have kit in front of you). after you have the wires stuck through the hole THEN you put the plug mentioned earlier onto the wires. by putting the plug on after this step you avoid having to stick this big bulky plug through the rubber gromit and risk ripping it(happened to me).
When installing the plug onto the wire you just slide them in and they snap right in and are permanent. there is no indication on the kit i have for which wire goes into which hole (positive or negative) but it doesnt matter because you can flip the plug upside down and it will still plug in.
We are going to seal the hole that we cut for the wires but not untill later.
The next step is to mount the Ballast. I mounted mine right behind the headlight. the Ballast came with some heavy duty double sideded tape that works good. just unpeel press and hold.
Easy Squeezy Lemon Peezy.
so now that the ballast is mounted and the wires are ran through the gromit its time to plug everything in and give it a test. unscrew the plastic protective cap and screw the new hid xenon bulb exactly where the stock headlight was, put the gromit back on and make sure everything is connected.
The next step is go inside your Monte and there is this little **** to left of your steering wheel about nipple high if your sitting, well if you wrap 2 fingers around this **** and pull on it will turn your headlights on
The next step is to get out and put on a big ol grin.
either that or you got angry cause it didnt work. if theres no lighting whatso ever from your new bulbs flip the plug that you put together upside down and plug it in (make sure you turn the headlights off of course)
you cant see it but i got the worlds biggest grin on my face when i took this pic
Awesome it worked.
Now that you know everything works its time to seal the hole in the rubber grommit. there are plenty of methods to do this but ill tell you the way i did. Gently pull the wires so theres not to much slack inside the headlight housing and then electrical tape all the wires together. make a " clump of electrical tape in one spot so that when you release the wires from your grip they try and slide back through the gromit but the electrical tape clump is bigger than the grommit hole so it stops it and kinda seals it. after its taped i was really heavy with silicone and just glued around the rubber and the tape so that it was sealed.
The last and final step is repeat everything over again on the other side. and then hop in that bad boy and blind the world.
Before
After
See any difference? its time to stand out
#2
01-26-2010, 10:20 AM


yeah i just some ddm tuning 6000k and i mounted the ballasts on the headlight , i take mine out all the time to i didnt want to have something mounted to the car , ill try and go get pics.
#3
01-26-2010, 10:21 AM
o yeah , did you disable your drl and auto lights, at least you have to disable the drls or you will burn your bulbs or ballasts .


#5
01-26-2010, 10:43 AM
DRL use the High-Beams, so if he just did his lows it won't matter
sorry but they use the low beam
sorry but they use the low beam
#7
01-26-2010, 11:01 AM

Join Date: Sep 2008
Location: Southeast PA
Posts: 25,137
In the daylight I turn my car on, and the inside lights (the High-beams) are lit. (Although at a lower voltage)
At night the outer (larger) lights pop on, the low-beams.
At night the outer (larger) lights pop on, the low-beams.
#8
01-26-2010, 11:03 AM

Sorry, but no they don't! The DRL's use the high beams...go stand infront of a Monte (and many other GM cars) and look at it with the DRL's on...and with the plain low beam headlights on...they come from two different spots in the headlight unit. Then turn on your high beams...you will see the high beam and DRL comes from the same bulb...
 This is how both my Monte, and my mom's Bonneville are.
#10
01-26-2010, 11:09 AM
are you guys totally sure , i could have sworn . i bought the bbe kit to disable the drls and the auto lights because i dint like them . Now i was damn sure i had to have the drl disable because it would run the lows at half power . I really don't believe im wrong , i wouldn't have spent the money on it . I researched and was sure .
Im gonna be pissed that i was wrong , if i am wrong .
Im gonna be pissed that i was wrong , if i am wrong .