Restore Guide: ***Painted valve cover and filter holder***


Thread Starter
|

Joined: Jun 2010
Posts: 51
From: M�rida, Yucat�n, M�xico
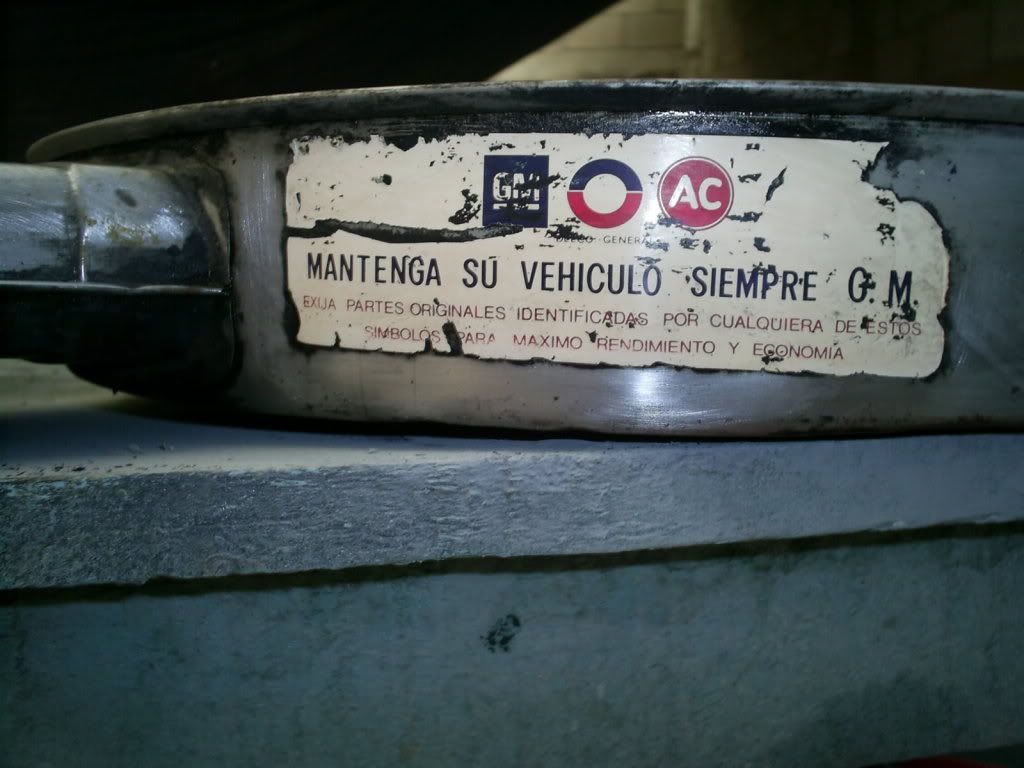
Que tal amigos, aqu� les comparto un peque�o how to de pintura, en este caso se trata de las tapas de punter�as y portafiltro de aire del motor 350 de mi Chevrolet Monte Carlo 1983. Hello friends, I'l show you a small "HOW TO" for your Valve Covers and Air Filter. This will be on an 83 Monte Carlo with a 350.
�Qu� requerimos para hacer esta actividad? List of whats needed:
1.- � litro de removedor de pintura A quart of paint remover
2.- Brocha Paint Brush
3.- Cu�a de metal A metal scraper
4.- Lija Sandpaper
5.- Detergente en polvo Powdered Soap
6.- Una fibra o esponja A rag or sponge
7.- Cubeta A bucket
8.- Peri�dico Newspaper
9.- Cepillo de alambre A wire brush
10.- Pinturas de alta temperatura Duplicolor (primer, m�s los colores que ustedes deseen). Yo utilice negro mate y azul Ford. High Temp Duplicolor paint ( Includes primer and color of your choise ). I used Flat Black and Ford Blue.
RECOMENDACIONES: Recomendations.
Extremen cuidados a la hora de aplicar el removedor de pintura, c�branse la piel y ojos, eviten que haya ni�os a su alrededor, pues es un liquido verdaderamente agresivo y quema al entrar en contacto con la piel. Use with extreme caution when using the paint stripper. Avoid contact with skin and eyes. Dont have children present with using. The stripper is very aggressive and will burn on contact with skin.
Vayamos a las fotos: Lets go with the pics.
1.- Omit� las fotos del retiro de las tapas pues no en todos los autos se retiran de la misma forma. I did not *** how to remove the Valve Covers or the air cleaner due to the fact that not all cars are rmoved the same or have the same accessories.
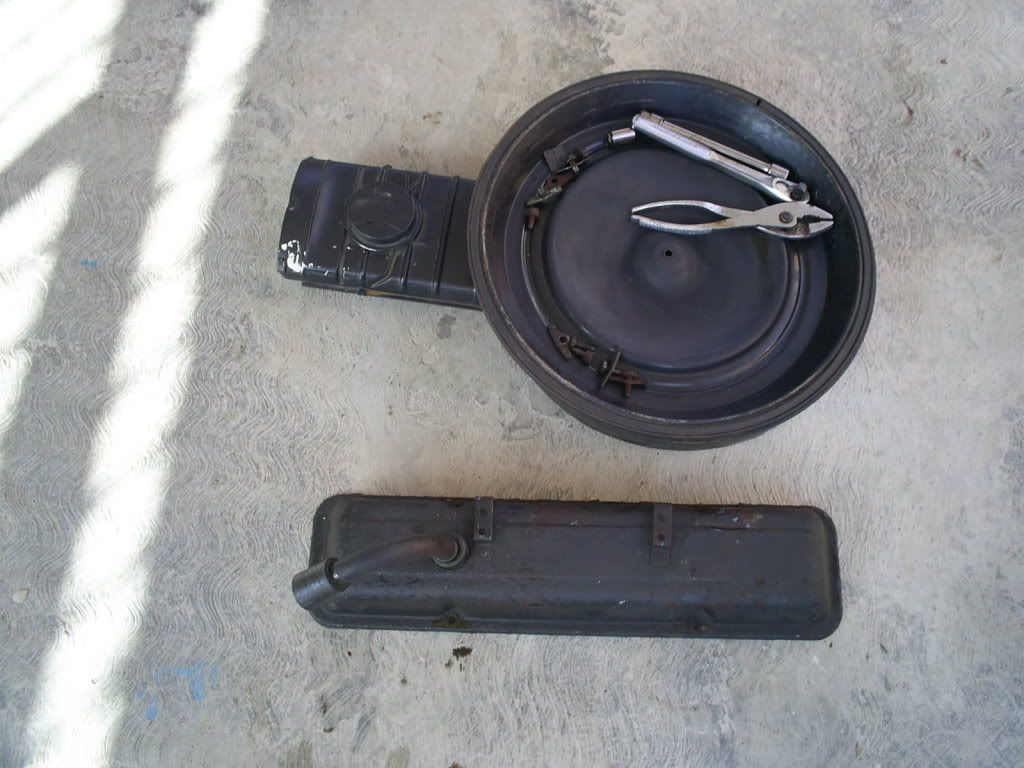
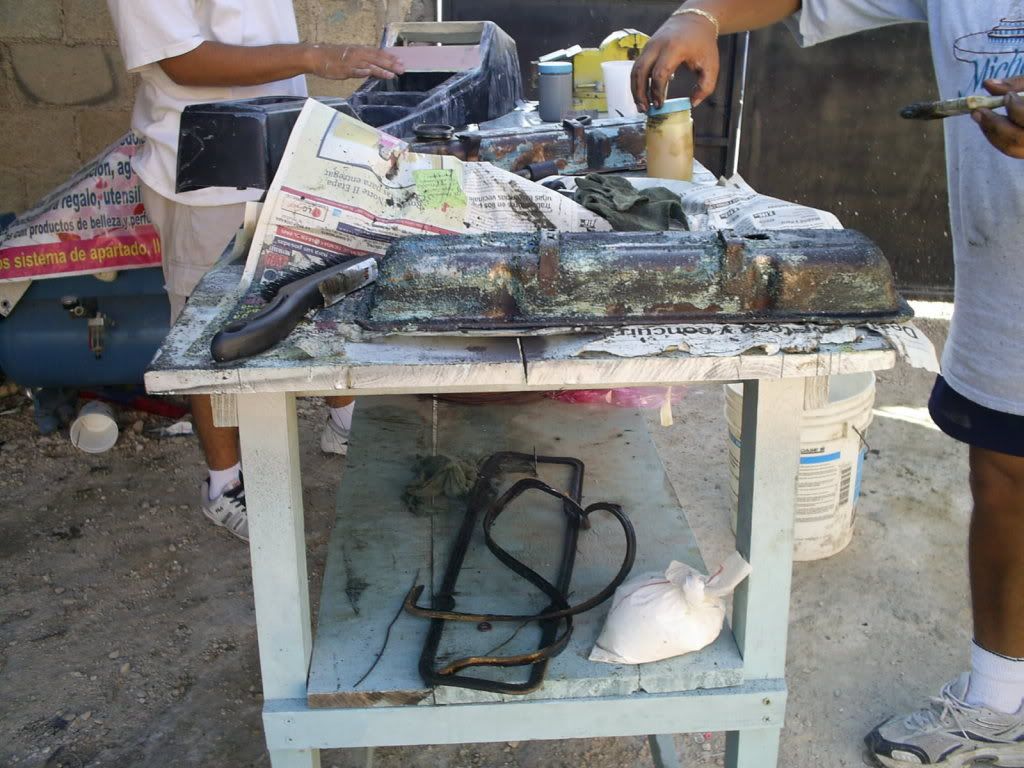
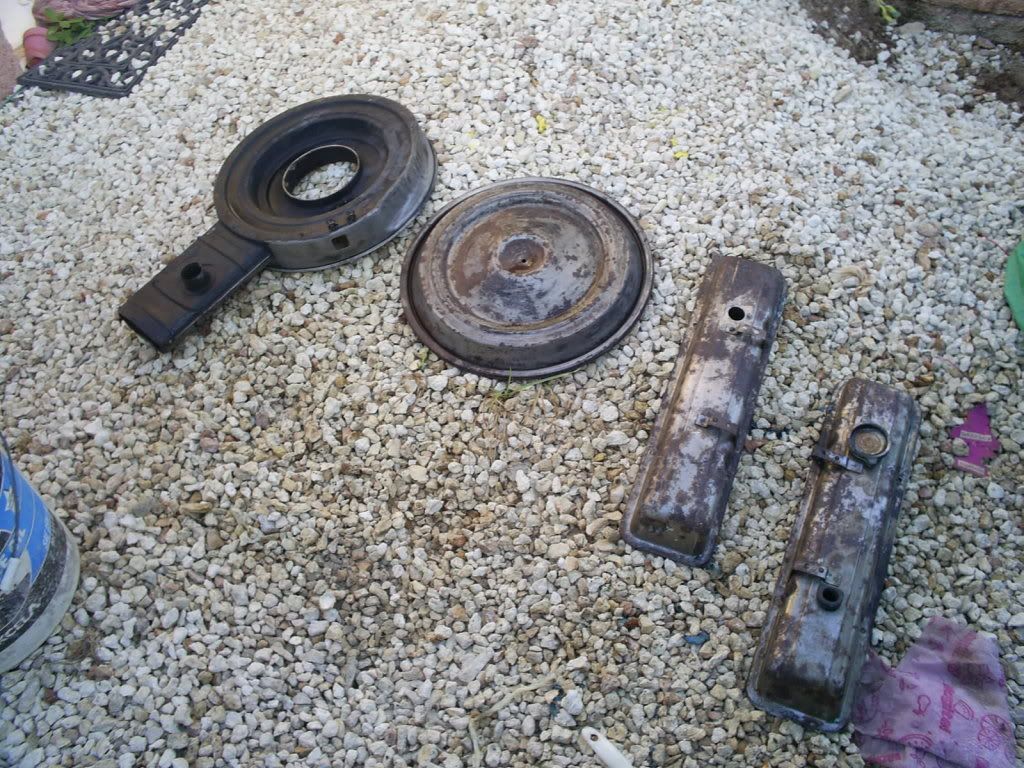
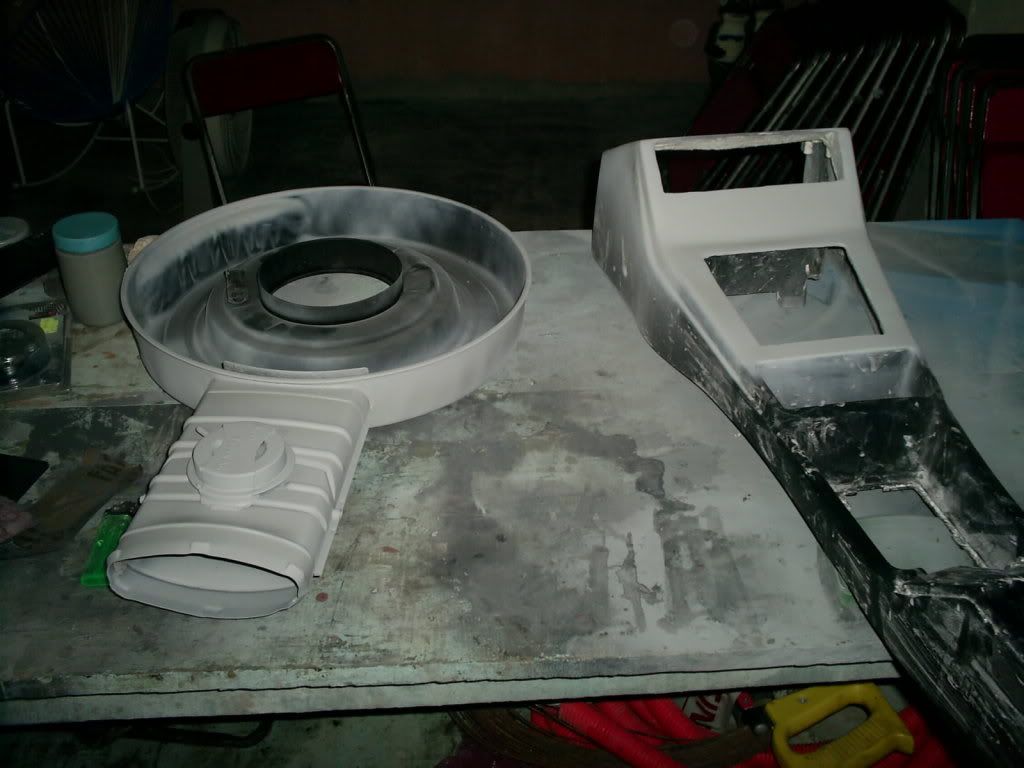
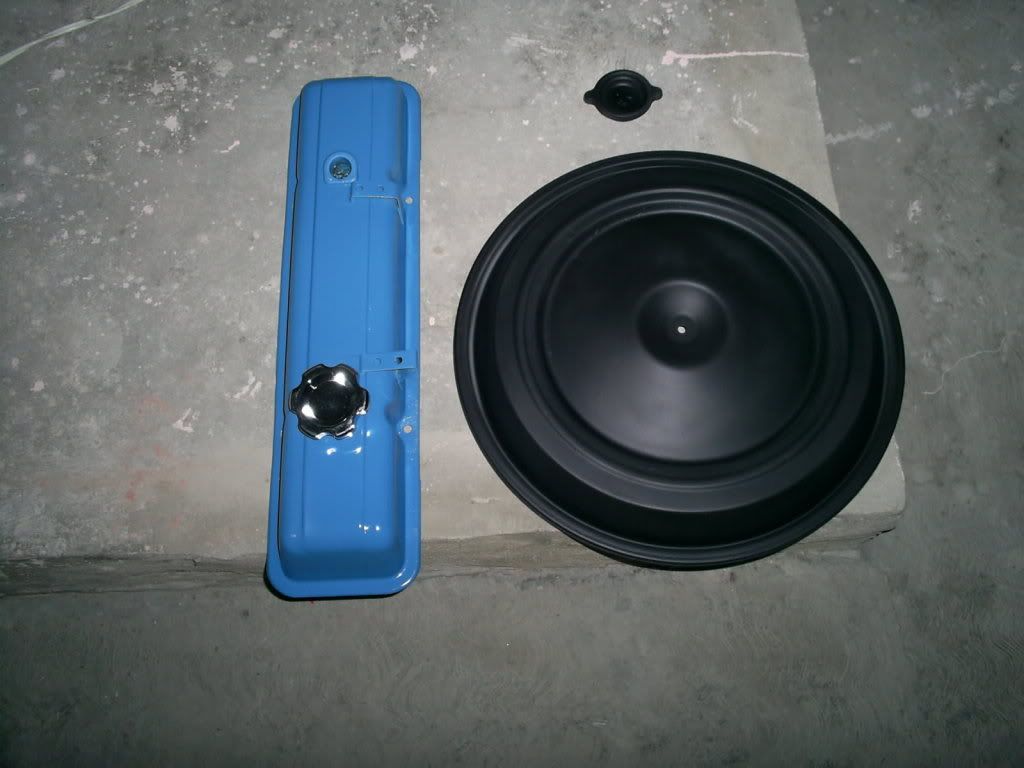
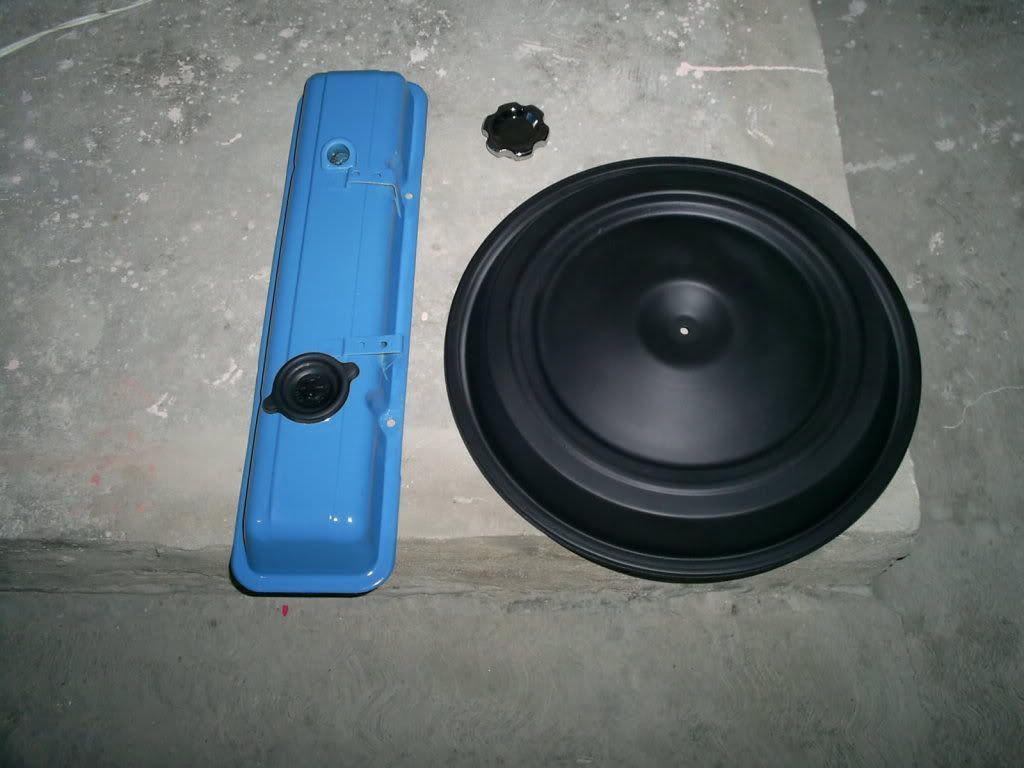
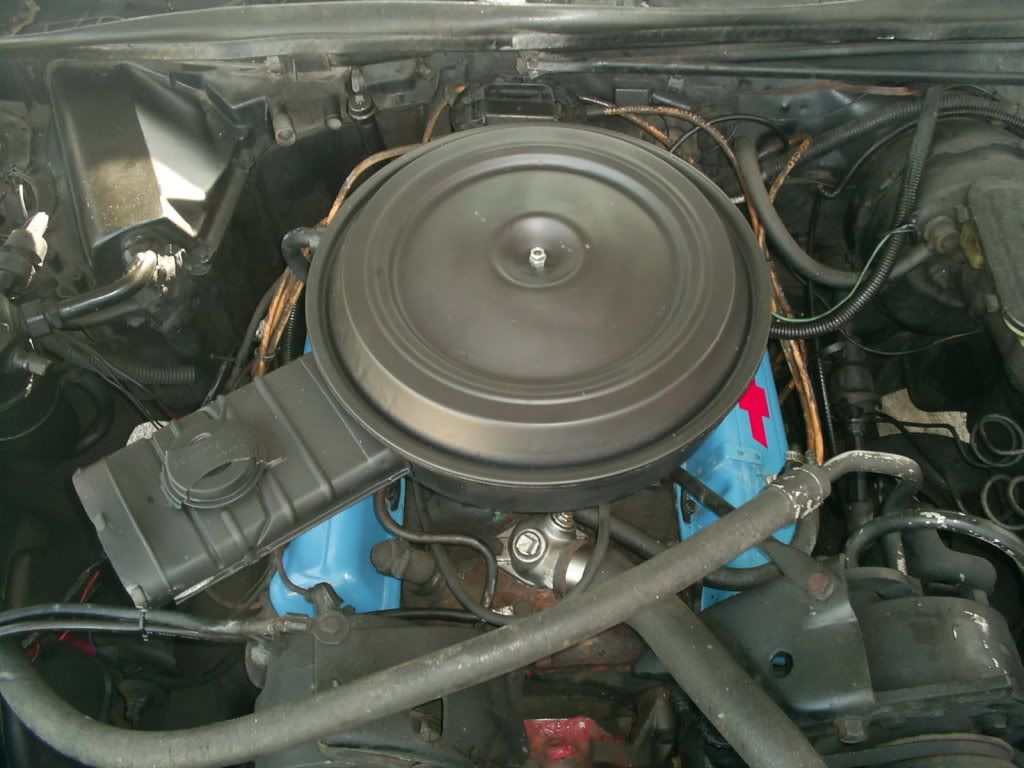
2.- Aqu� apreciamos las tapas y portafiltro antes de empezar. Here we can see the covers and air filter before starting.
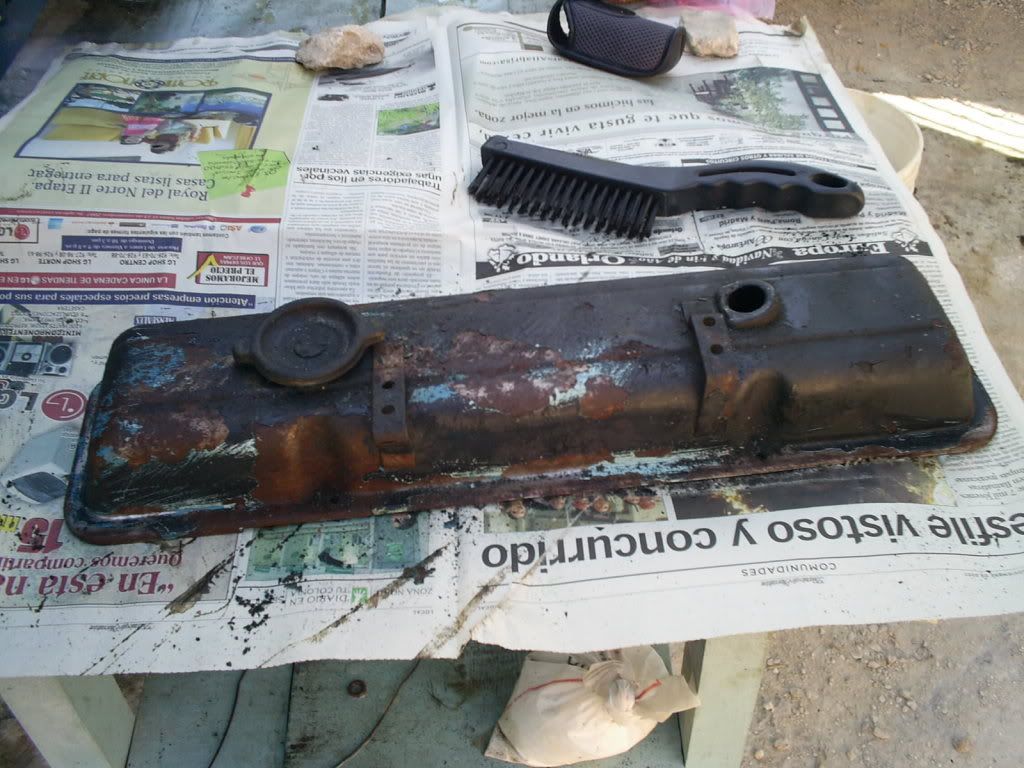
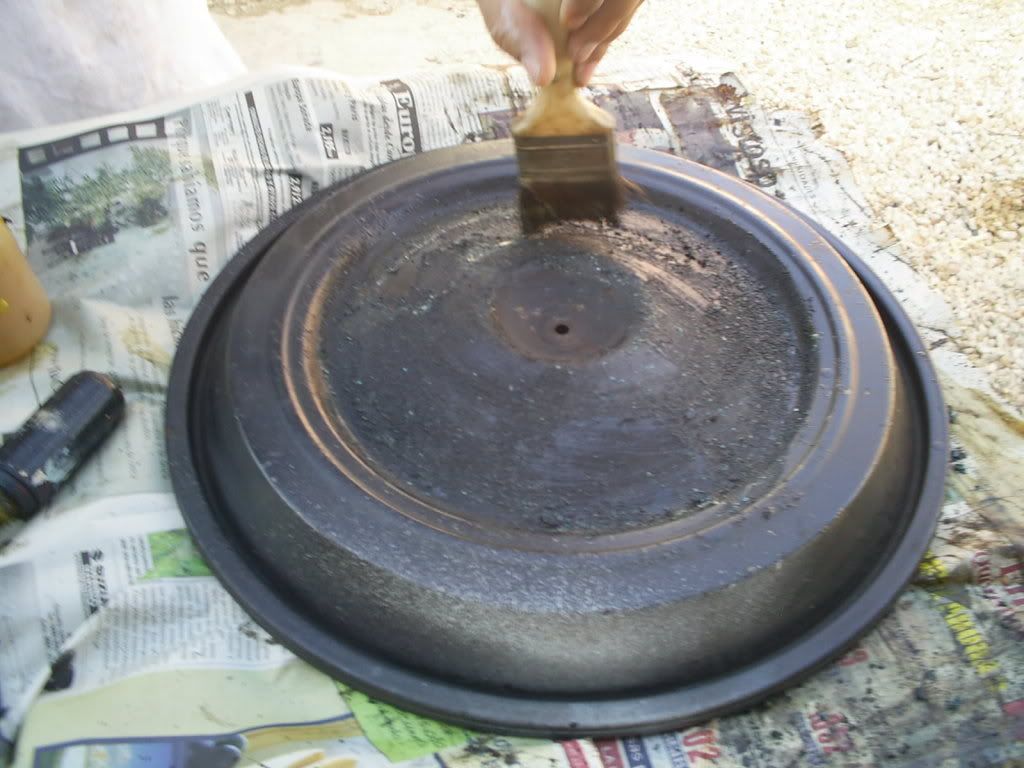
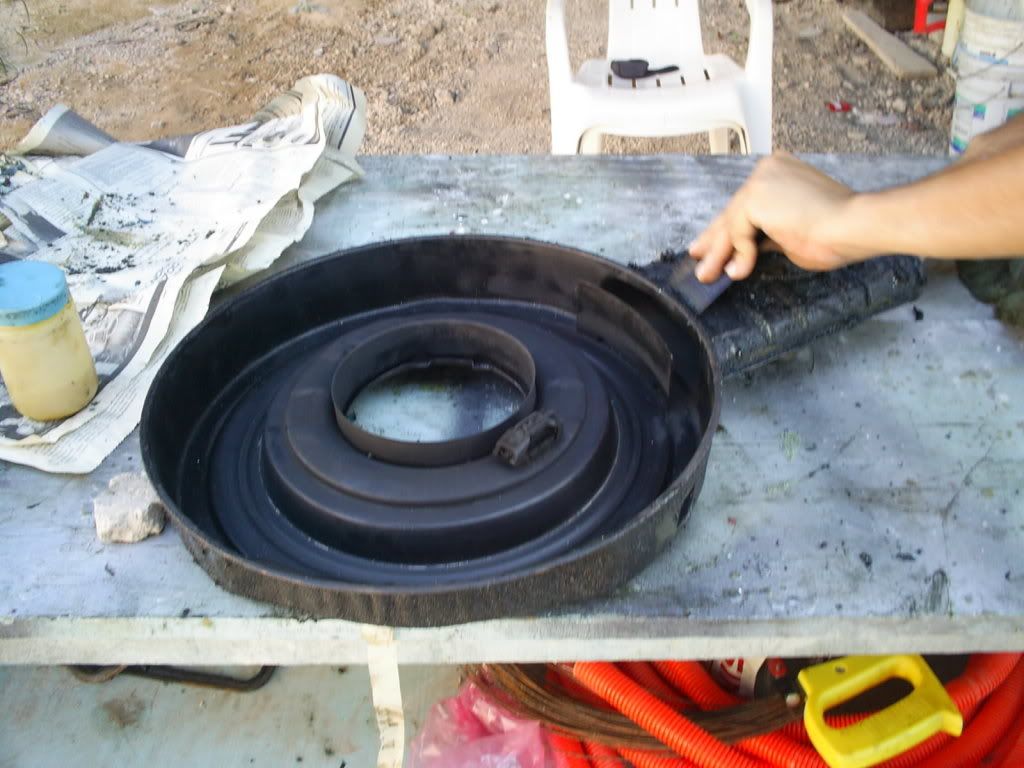
3.- Empecemos a aplicar el removedor de pintura a cada una de las piezas, con el debido cuidado, y con la ayuda de la cu�a met�lica raspamos la pintura vieja. We will start by applying the paint stripper to all of the piece, using caution. With the help of the both the Wire Brush and the Metal scraper, we remove all of the old paint.
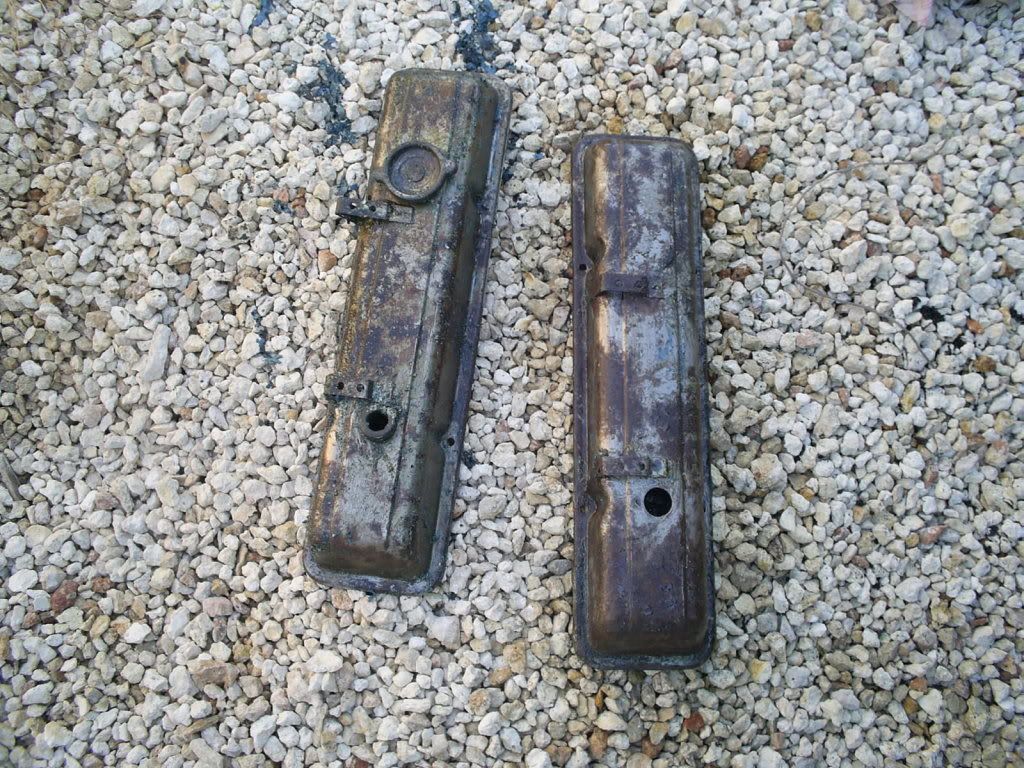
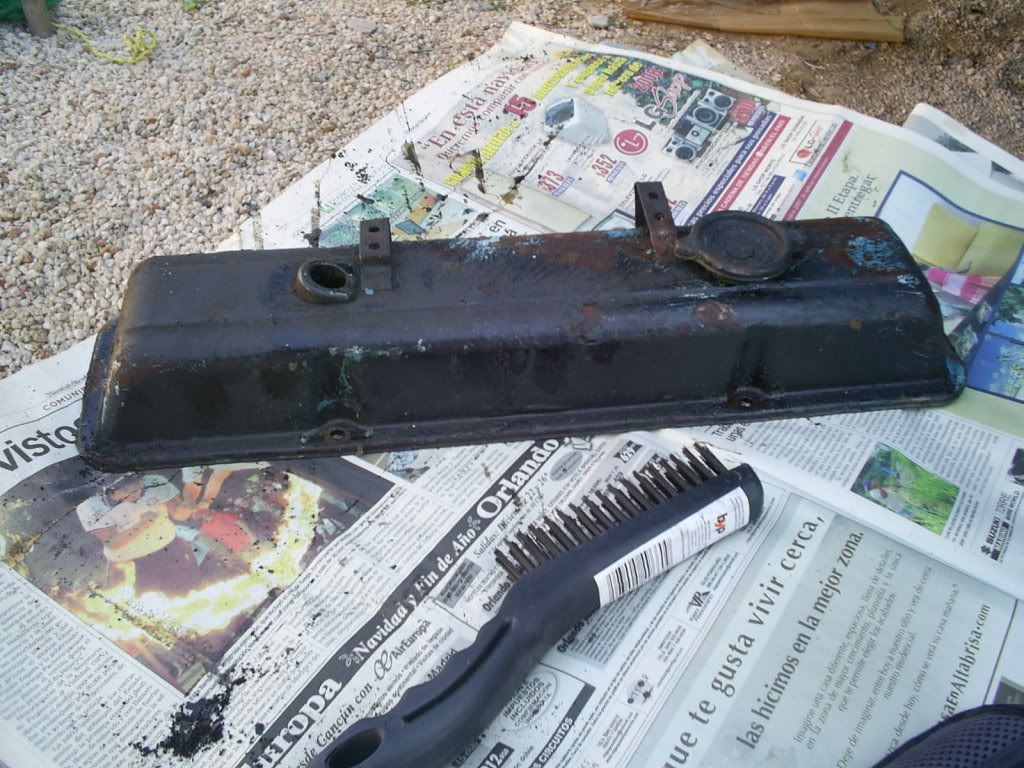
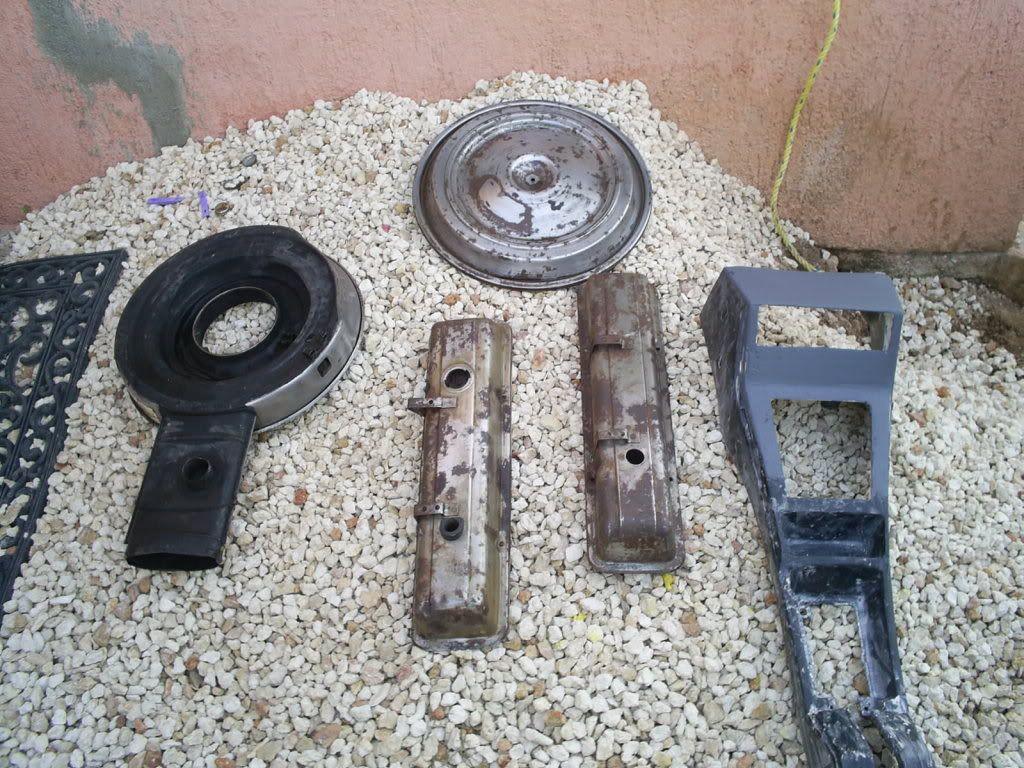
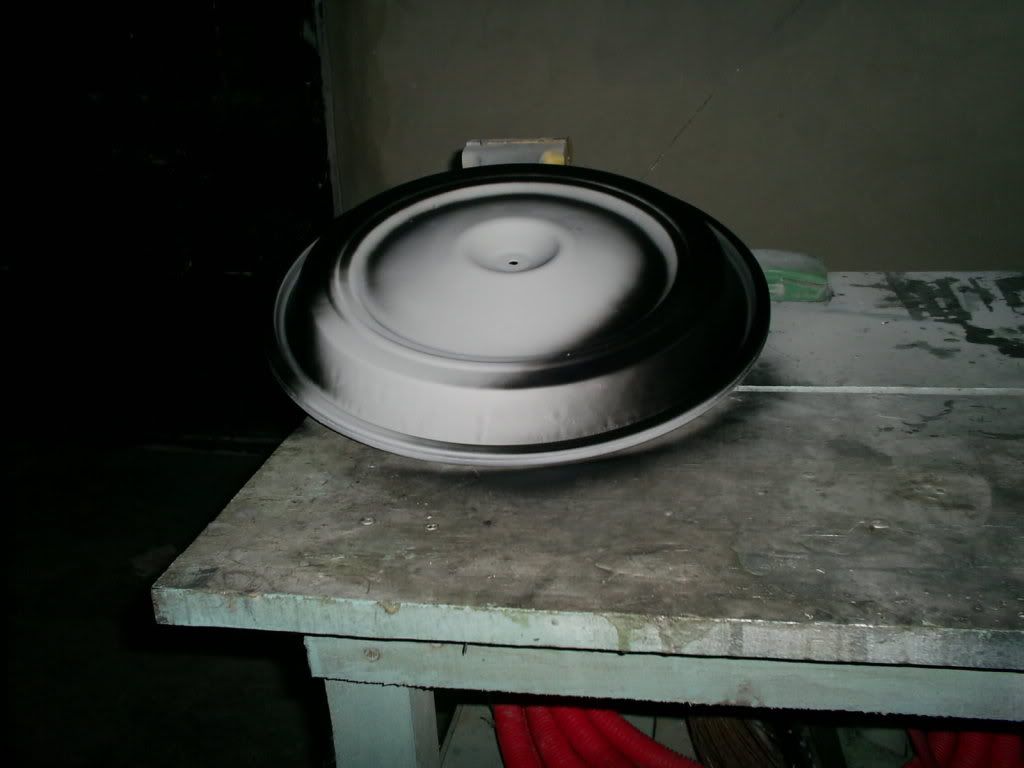
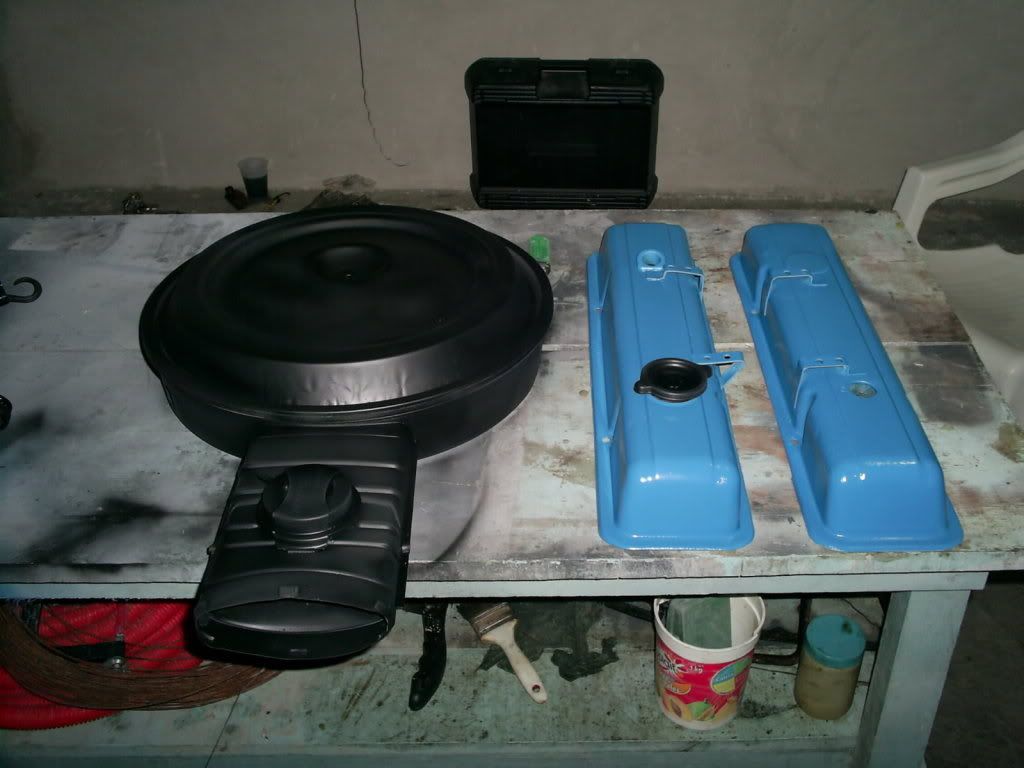
4.- Aqu� apreciamos las piezas ya sin pintura y lavadas con agua y jab�n here we can see how they look after being stripped and washed with soap and water.
5.- Aplicamos primer (de 2 a 3 capas es suficiente). Apply primer ( 2-3 coats will suffice ).
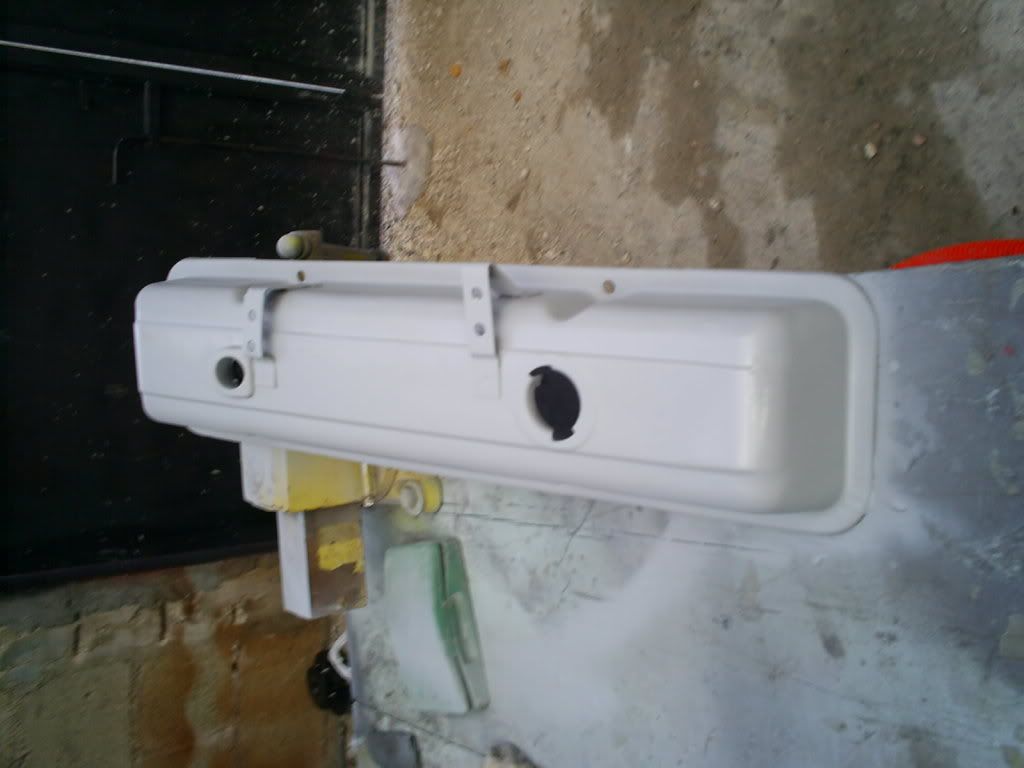
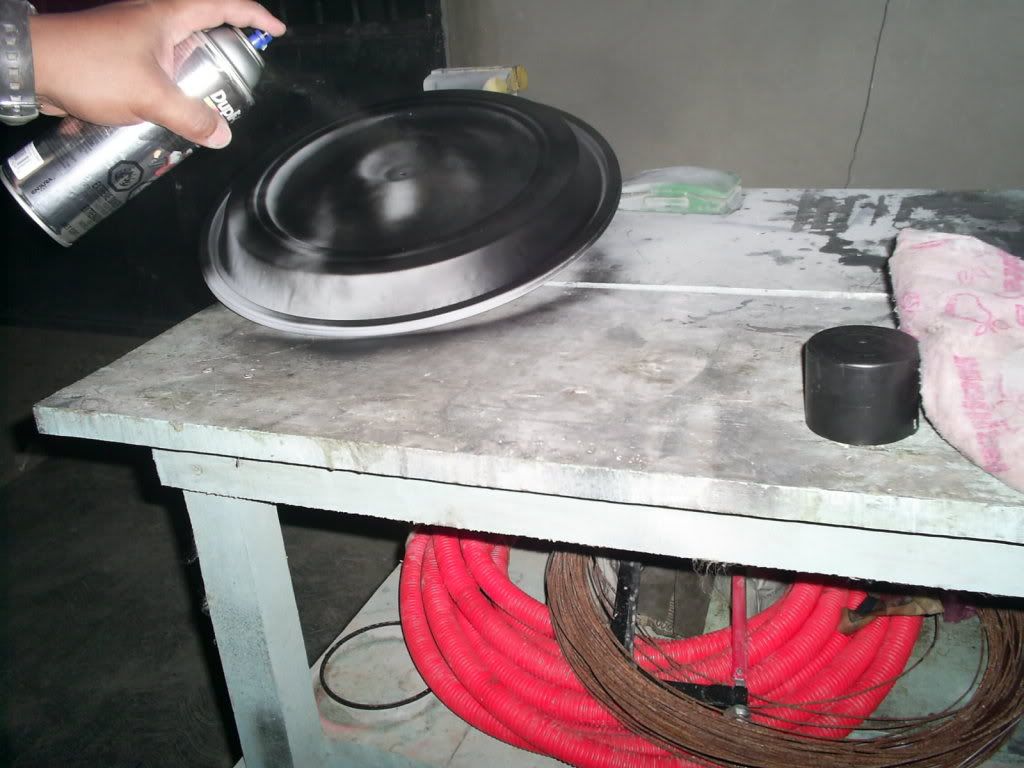
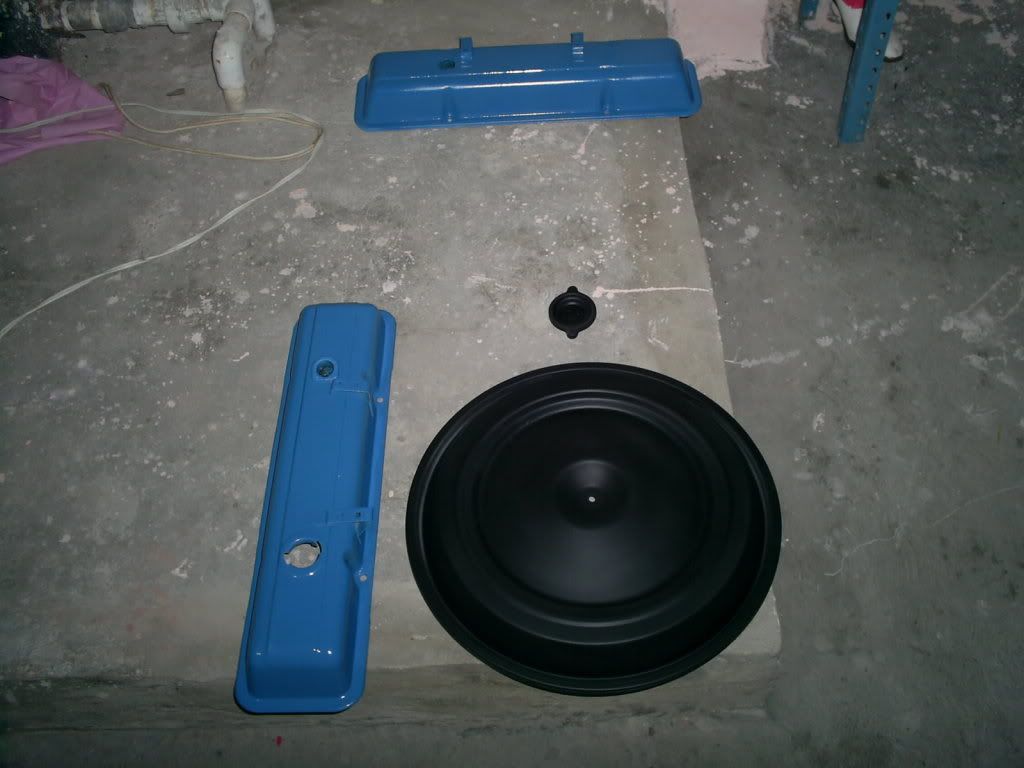
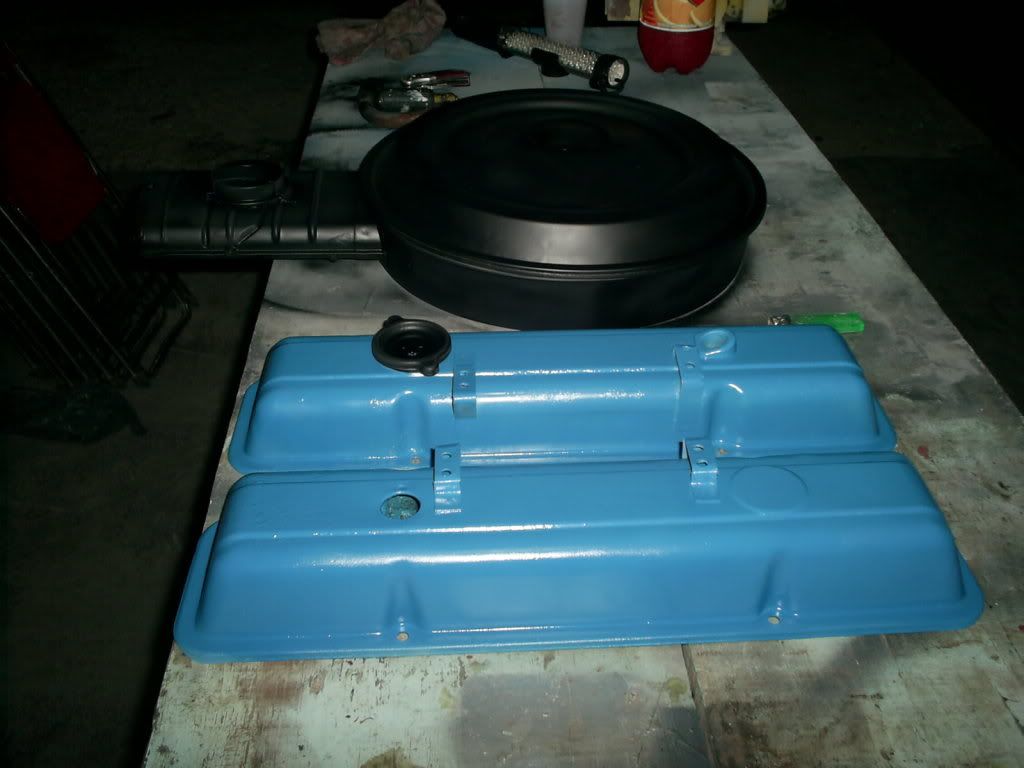
6.- Aplicamos la pintura de nuestra elecci�n. We now apply the color of your choice.
Suerte, espero y les sea de utilidad este peque�o tutorial. Good Luck. I hope you will find useful this small "HOW TO".
�Qu� requerimos para hacer esta actividad? List of whats needed:
1.- � litro de removedor de pintura A quart of paint remover
2.- Brocha Paint Brush
3.- Cu�a de metal A metal scraper
4.- Lija Sandpaper
5.- Detergente en polvo Powdered Soap
6.- Una fibra o esponja A rag or sponge
7.- Cubeta A bucket
8.- Peri�dico Newspaper
9.- Cepillo de alambre A wire brush
10.- Pinturas de alta temperatura Duplicolor (primer, m�s los colores que ustedes deseen). Yo utilice negro mate y azul Ford. High Temp Duplicolor paint ( Includes primer and color of your choise ). I used Flat Black and Ford Blue.
RECOMENDACIONES: Recomendations.
Extremen cuidados a la hora de aplicar el removedor de pintura, c�branse la piel y ojos, eviten que haya ni�os a su alrededor, pues es un liquido verdaderamente agresivo y quema al entrar en contacto con la piel. Use with extreme caution when using the paint stripper. Avoid contact with skin and eyes. Dont have children present with using. The stripper is very aggressive and will burn on contact with skin.
Vayamos a las fotos: Lets go with the pics.
1.- Omit� las fotos del retiro de las tapas pues no en todos los autos se retiran de la misma forma. I did not *** how to remove the Valve Covers or the air cleaner due to the fact that not all cars are rmoved the same or have the same accessories.
2.- Aqu� apreciamos las tapas y portafiltro antes de empezar. Here we can see the covers and air filter before starting.
3.- Empecemos a aplicar el removedor de pintura a cada una de las piezas, con el debido cuidado, y con la ayuda de la cu�a met�lica raspamos la pintura vieja. We will start by applying the paint stripper to all of the piece, using caution. With the help of the both the Wire Brush and the Metal scraper, we remove all of the old paint.
4.- Aqu� apreciamos las piezas ya sin pintura y lavadas con agua y jab�n here we can see how they look after being stripped and washed with soap and water.
5.- Aplicamos primer (de 2 a 3 capas es suficiente). Apply primer ( 2-3 coats will suffice ).
6.- Aplicamos la pintura de nuestra elecci�n. We now apply the color of your choice.
Suerte, espero y les sea de utilidad este peque�o tutorial. Good Luck. I hope you will find useful this small "HOW TO".
Last edited by The Popcorn King; Jun 20, 2010 at 02:14 PM.


Thread Starter
|
Joined: Jun 2010
Posts: 51
From: M�rida, Yucat�n, M�xico
Thanks for traslating into english the how to.
Good Luck +
Last edited by osantisbon; Jun 20, 2010 at 03:37 PM.