Restore Guide: ***Inner Restoration***


Thread Starter
|

Joined: Jun 2010
Posts: 51
From: M�rida, Yucat�n, M�xico
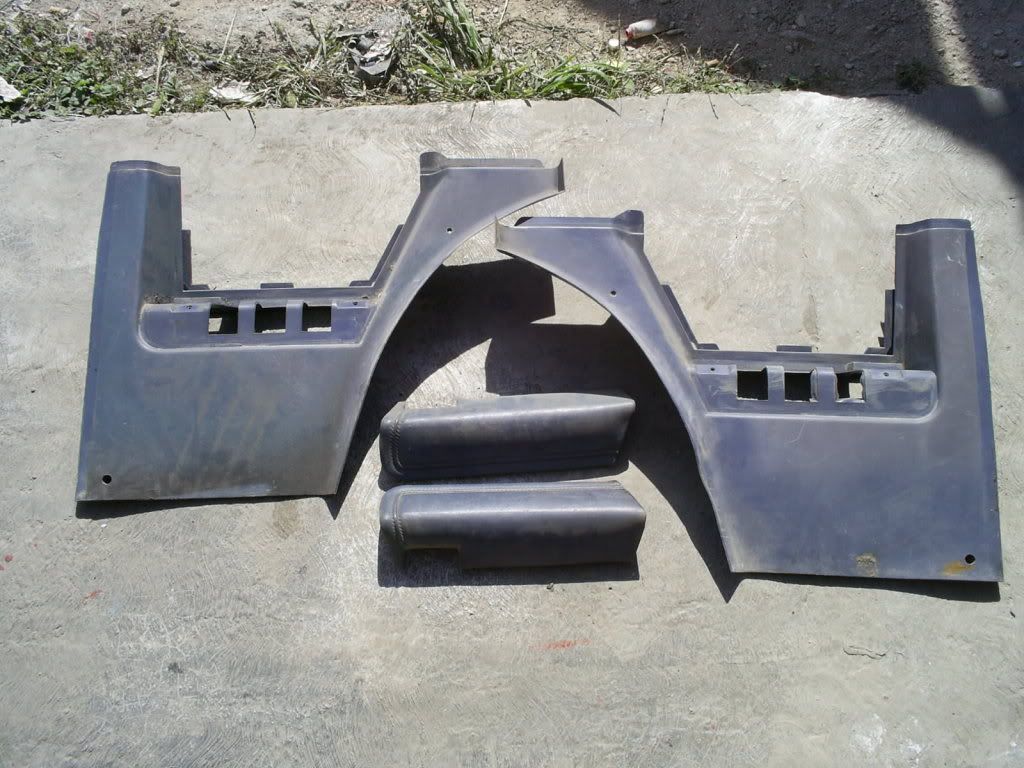
Que tal, les comparto la restauracion de los paneles interiores, los cuales en este caso son de plastico, tienen una antiguedad 27 a�os, por lo que estan algo deteriorados.
Hi, I would like to share with you my interior panel restoration. In this example, they are 27 years old plastic panels. A bit old and deteriorated.
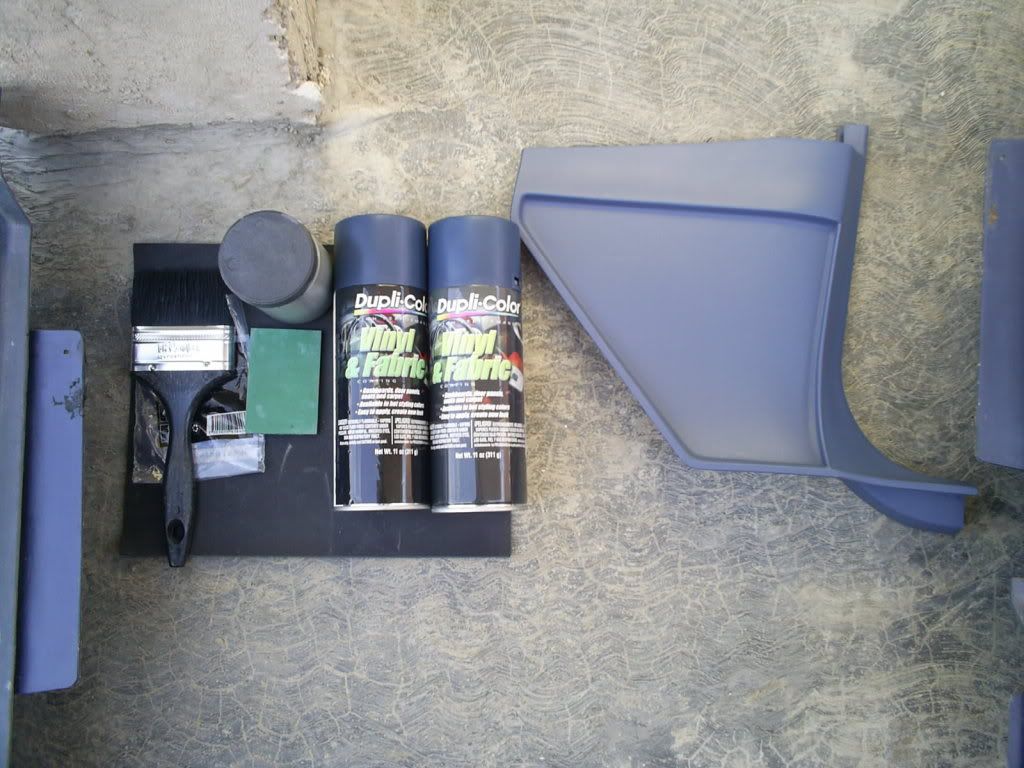
Lista de materiales a utilizar. List of materials.
1.- Lija fina (no les pongo numero de grano, ya que depende de que tan maltratados esten los paneles). Fine Sandpaper ( the grit depnds on the condition of the panels ).
2.- rellenador plastico (plaste) Plastic Filler
3.- Cu�a de goma Spreader
4.- Thinner Thinner
5.- Trapo Rags
6.- Carton o periodico News paper or cardboard
7.- Pintura duplicolor vinyl & Fabric del color de su preferencia o bien como mi caso elegi el color original. (Blue medium) Duplicolor Vinyl And Fabric Die. ( Your color will vary. Mine was Med Blue )
8.- Detergente en polvo Powder laundry detergent
9.- Cepillo de cerdas de plastico Paint Brush
Comencemos......... Lets begin
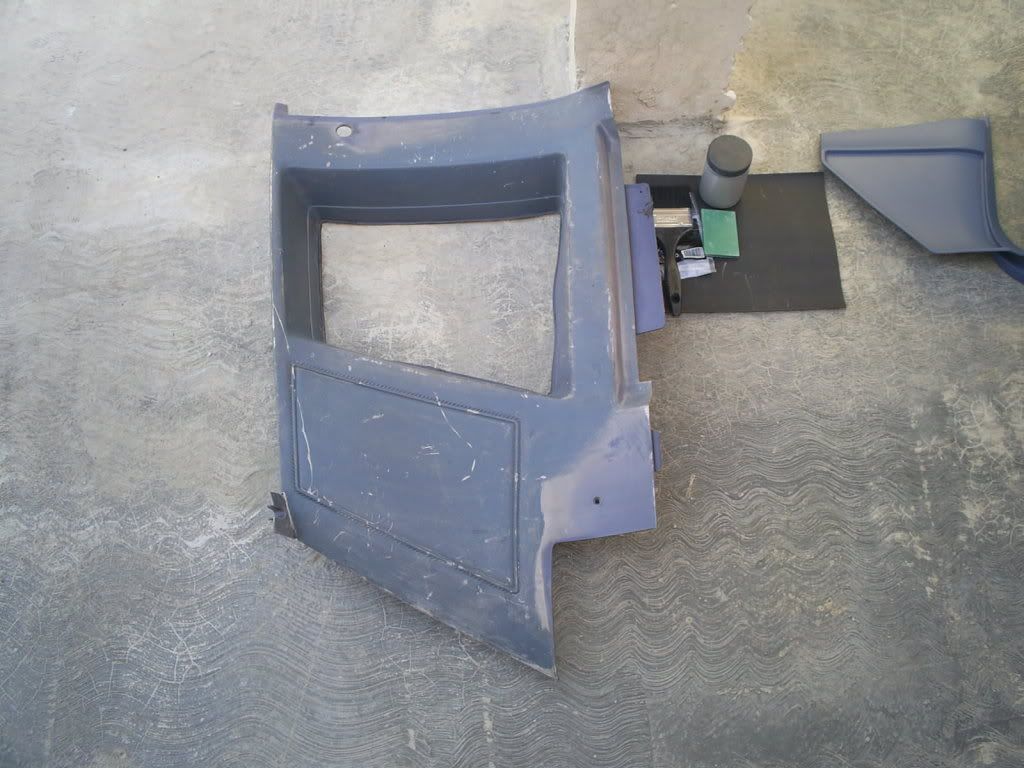
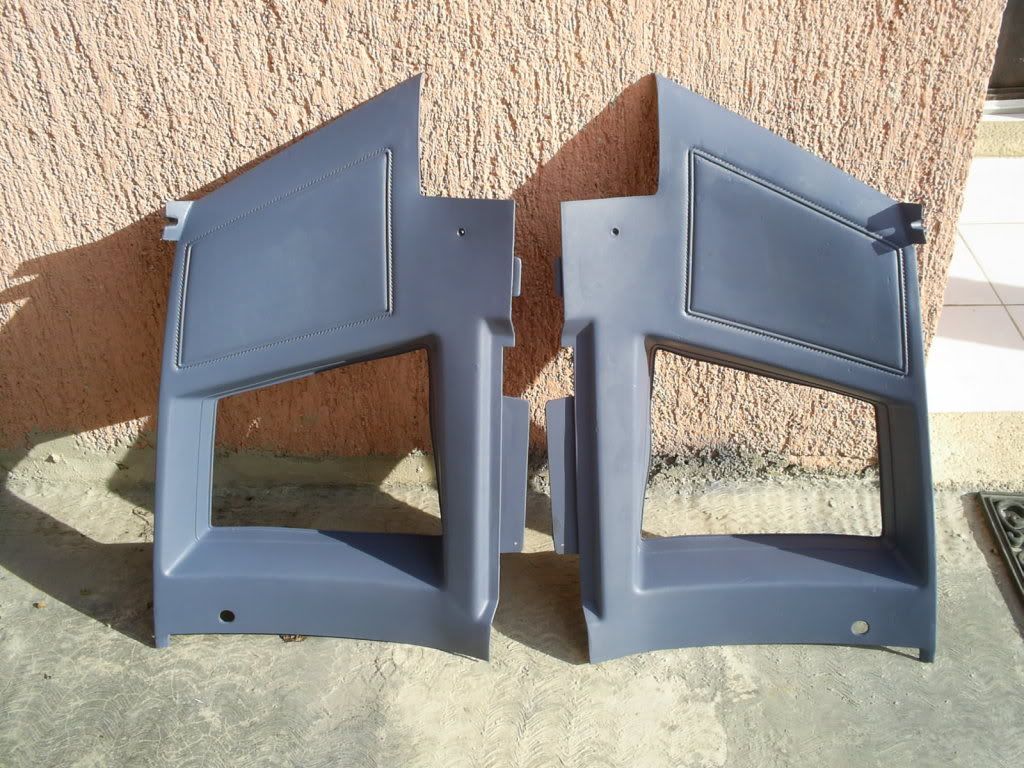
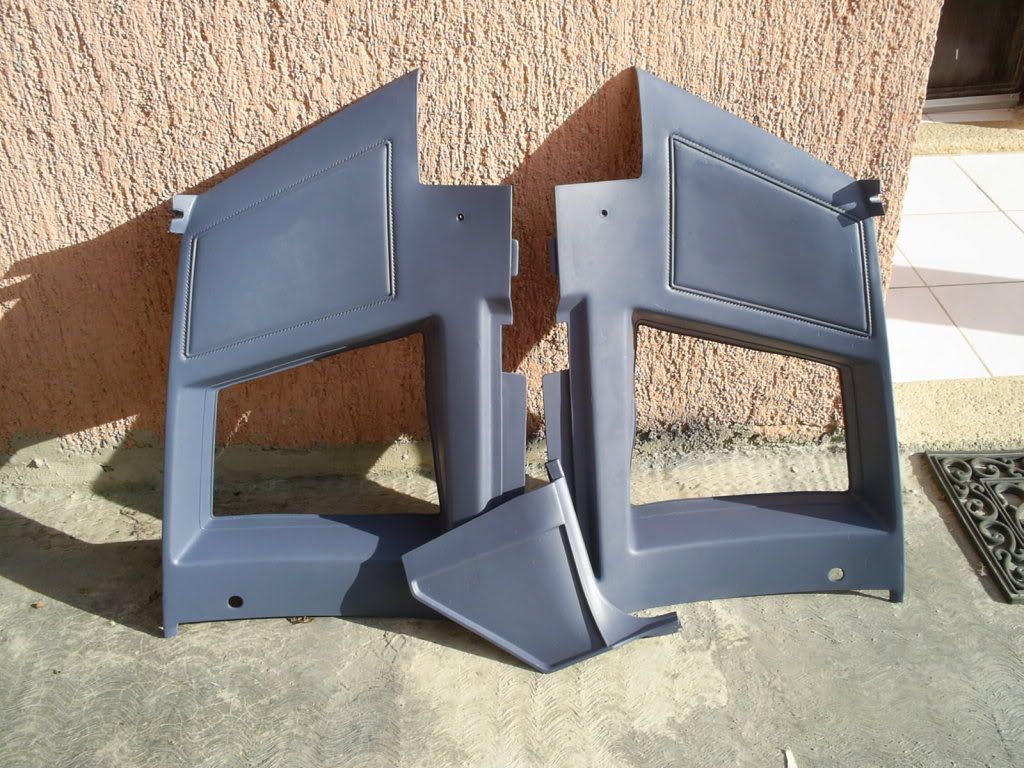
1.- Aqui los paneles y parte de los materiales. Here we see the panels and part of the supplies.
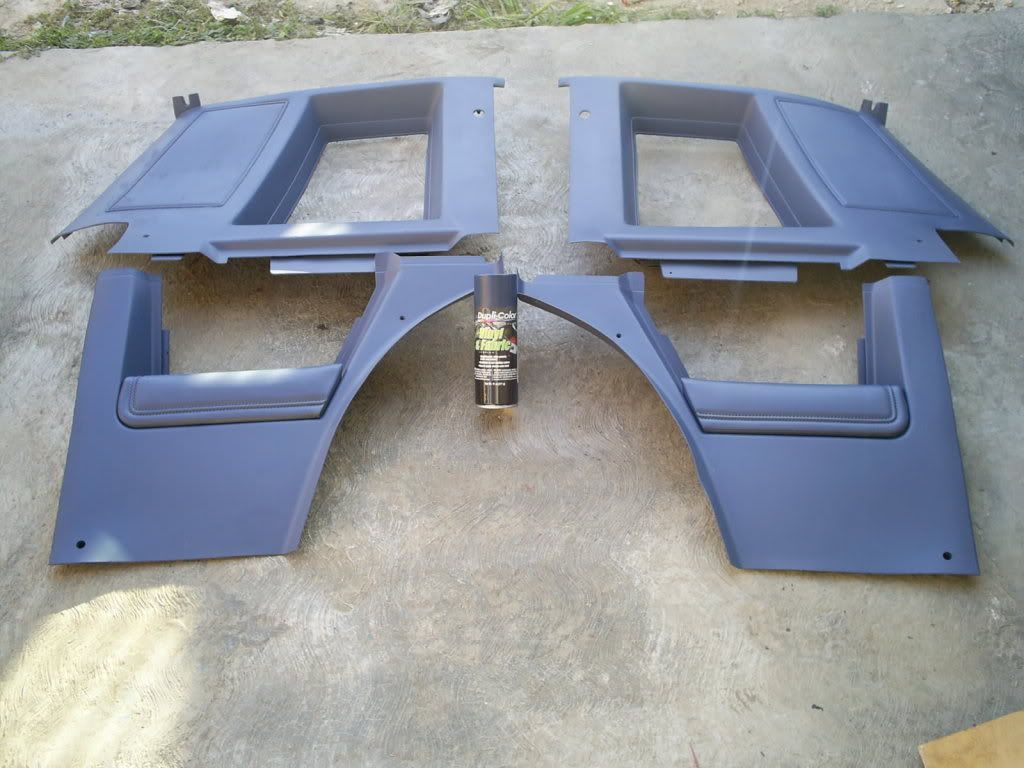
En esta foto podemos apreciar el kick panel, ya pintado, pues en el hice la prueba, la cual me agrado mucho. Here we can appreciate the finished kickpanel. This was my "TEST PANEL" to see my results. I love it.
2.- Lavamos los paneles con agua y jabon ayudandonos con el trapo y cepillo, con esto nos aseguramos de remover polvo y grasa pegada. We start by washing the panels with soap and water using both the rags and brush to get in all the crevices. This will insure that all dust, dirt, and grease is removed.
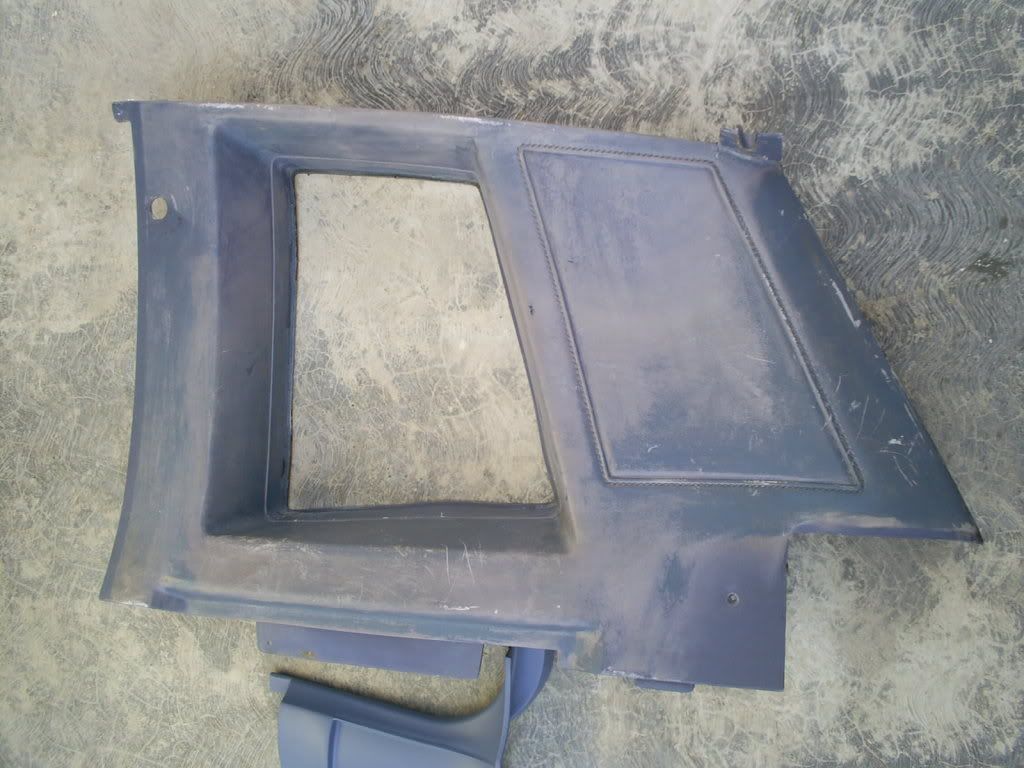
3.- una lavados y secos, los lijamos y aplicamos el rellenador plastico en las areas da�adas por rayones, desgaste, etc. volvemos a lijar hasta dejar liso. Once washed and dried, we start to sand and fill the damaged areas due to scratches and gouges.
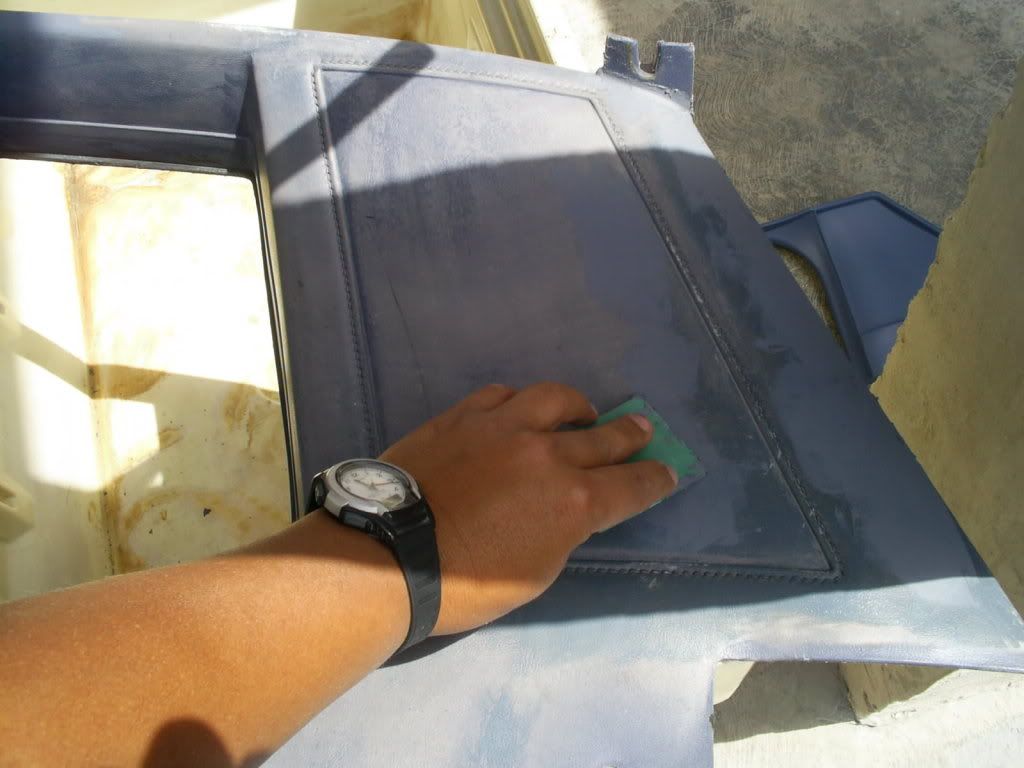
4.- Una vez que lijamos y quedaron a nuestro gusto, debemos limpiar con un trapo humedecido con thinner todos los paneles y ahora si aplicamos la pintura. Once you have sanded the panels to your taste, they need to be cleaned with thinner. Use the rags to wipe them down. Now its time for the Duplicolor.
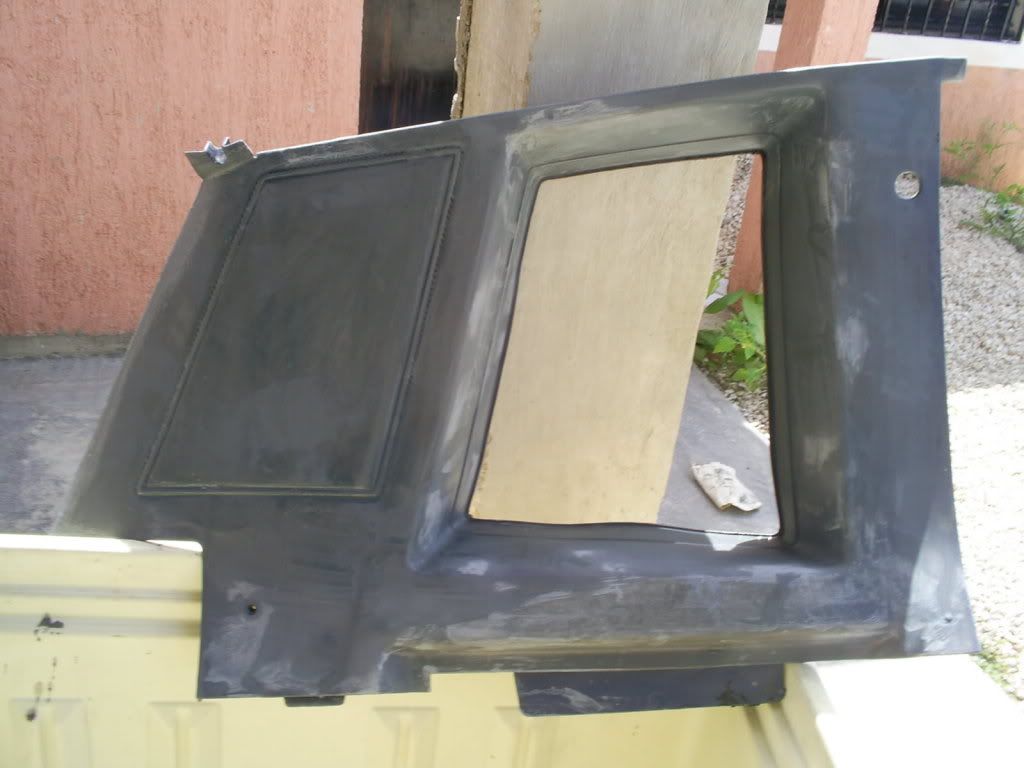
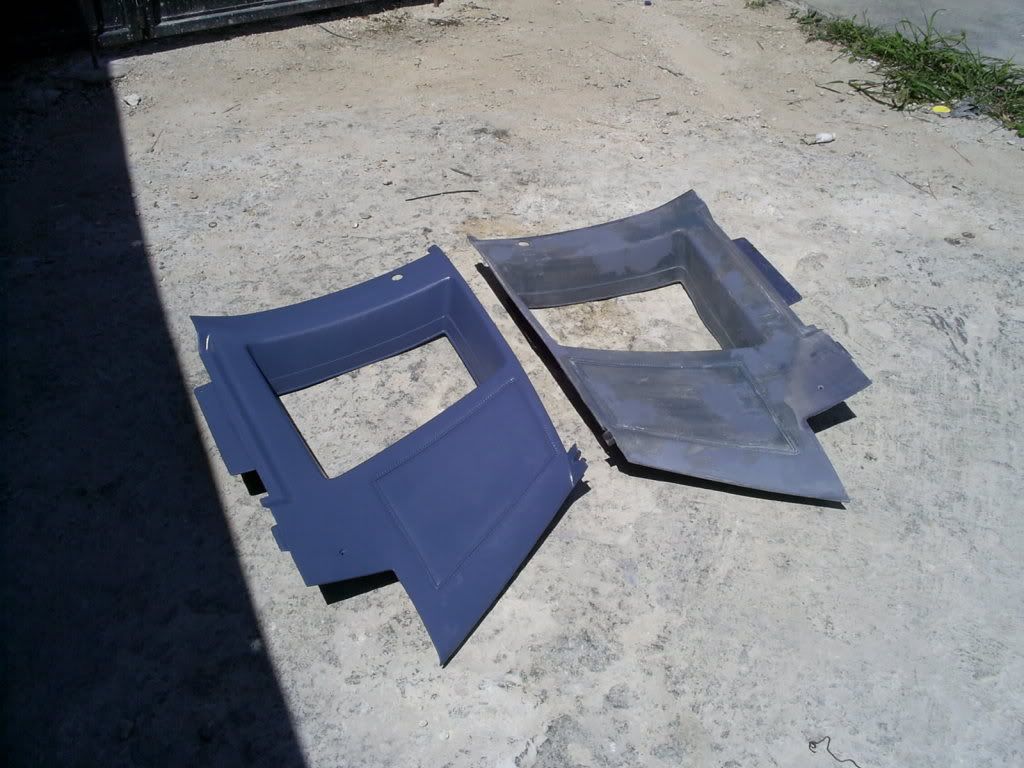
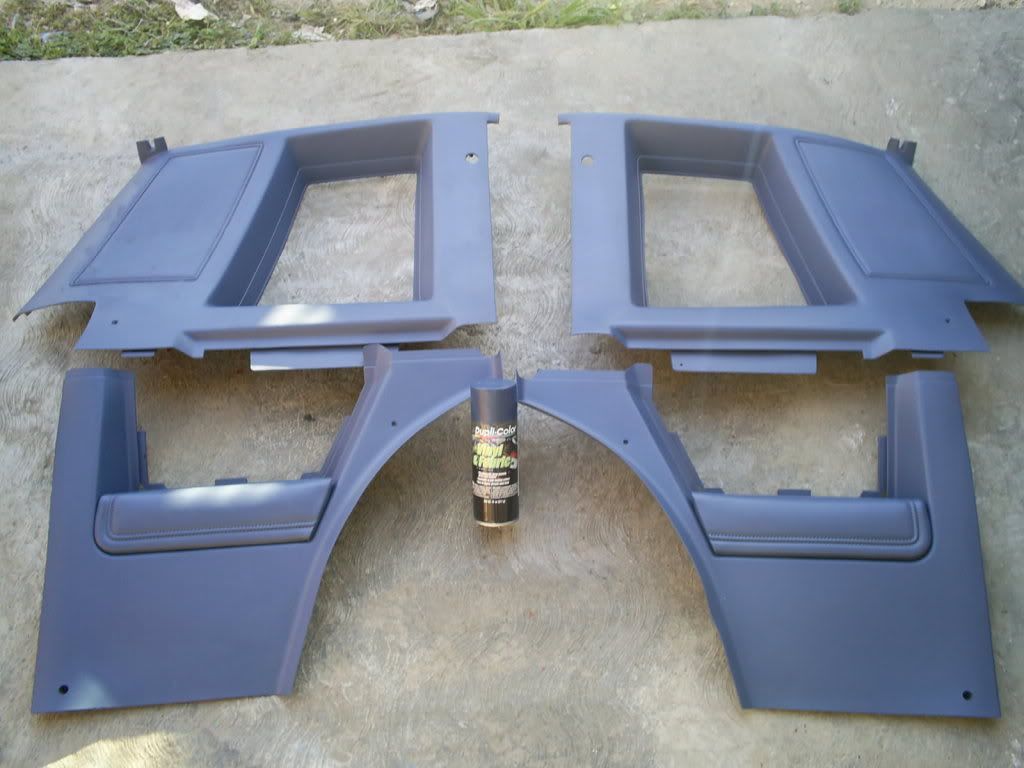
Aqui notamos la diferencia. Here we can see the difference.
**Observacion: No use promotor de adherencia ya que segun la pagina web de duplicolor este producto ya contiene dicho promotor, m�s sin embargo no es mala idea aplicarlo, solo recuerden que sea de la misma marca ya que de usar otra, puede reaccionar con la pintura. *SIDE NOTE* I did not use an adhesion promoter since the Duplicolor web site mentioned that it alraedy contains an adhesion promoter. Though its not a bad idea to use some anyways. I recommend using the same brand due to a possible reaction with the paint if another brand is used.
Amigos espero se animen a realizar este trabajo en sus MC, es muy sencillo. I hope i inspired some of you to repair your Monte Carlo interiors. Its real easy to do.
Hi, I would like to share with you my interior panel restoration. In this example, they are 27 years old plastic panels. A bit old and deteriorated.
Lista de materiales a utilizar. List of materials.
1.- Lija fina (no les pongo numero de grano, ya que depende de que tan maltratados esten los paneles). Fine Sandpaper ( the grit depnds on the condition of the panels ).
2.- rellenador plastico (plaste) Plastic Filler
3.- Cu�a de goma Spreader
4.- Thinner Thinner
5.- Trapo Rags
6.- Carton o periodico News paper or cardboard
7.- Pintura duplicolor vinyl & Fabric del color de su preferencia o bien como mi caso elegi el color original. (Blue medium) Duplicolor Vinyl And Fabric Die. ( Your color will vary. Mine was Med Blue )
8.- Detergente en polvo Powder laundry detergent
9.- Cepillo de cerdas de plastico Paint Brush
Comencemos......... Lets begin
1.- Aqui los paneles y parte de los materiales. Here we see the panels and part of the supplies.
En esta foto podemos apreciar el kick panel, ya pintado, pues en el hice la prueba, la cual me agrado mucho. Here we can appreciate the finished kickpanel. This was my "TEST PANEL" to see my results. I love it.
2.- Lavamos los paneles con agua y jabon ayudandonos con el trapo y cepillo, con esto nos aseguramos de remover polvo y grasa pegada. We start by washing the panels with soap and water using both the rags and brush to get in all the crevices. This will insure that all dust, dirt, and grease is removed.
3.- una lavados y secos, los lijamos y aplicamos el rellenador plastico en las areas da�adas por rayones, desgaste, etc. volvemos a lijar hasta dejar liso. Once washed and dried, we start to sand and fill the damaged areas due to scratches and gouges.
4.- Una vez que lijamos y quedaron a nuestro gusto, debemos limpiar con un trapo humedecido con thinner todos los paneles y ahora si aplicamos la pintura. Once you have sanded the panels to your taste, they need to be cleaned with thinner. Use the rags to wipe them down. Now its time for the Duplicolor.
Aqui notamos la diferencia. Here we can see the difference.
**Observacion: No use promotor de adherencia ya que segun la pagina web de duplicolor este producto ya contiene dicho promotor, m�s sin embargo no es mala idea aplicarlo, solo recuerden que sea de la misma marca ya que de usar otra, puede reaccionar con la pintura. *SIDE NOTE* I did not use an adhesion promoter since the Duplicolor web site mentioned that it alraedy contains an adhesion promoter. Though its not a bad idea to use some anyways. I recommend using the same brand due to a possible reaction with the paint if another brand is used.
Amigos espero se animen a realizar este trabajo en sus MC, es muy sencillo. I hope i inspired some of you to repair your Monte Carlo interiors. Its real easy to do.
Last edited by The Popcorn King; Jun 18, 2010 at 10:00 AM. Reason: Translated.


Thread Starter
|
Joined: Jun 2010
Posts: 51
From: M�rida, Yucat�n, M�xico
Thank you very much for posting and translating.
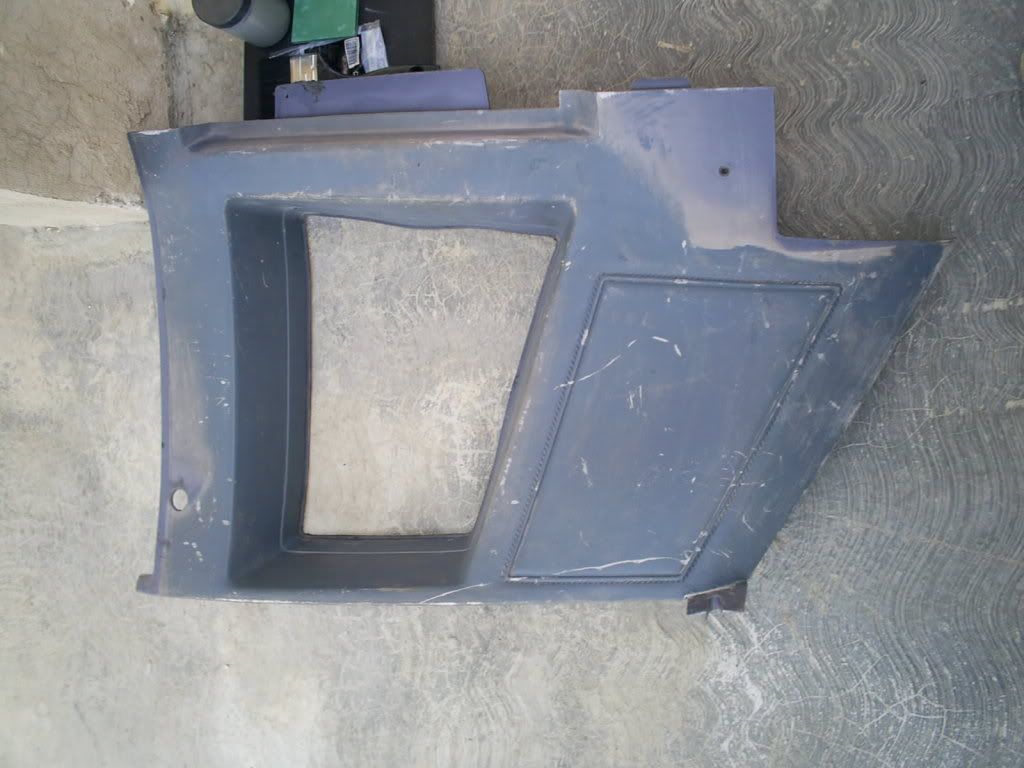
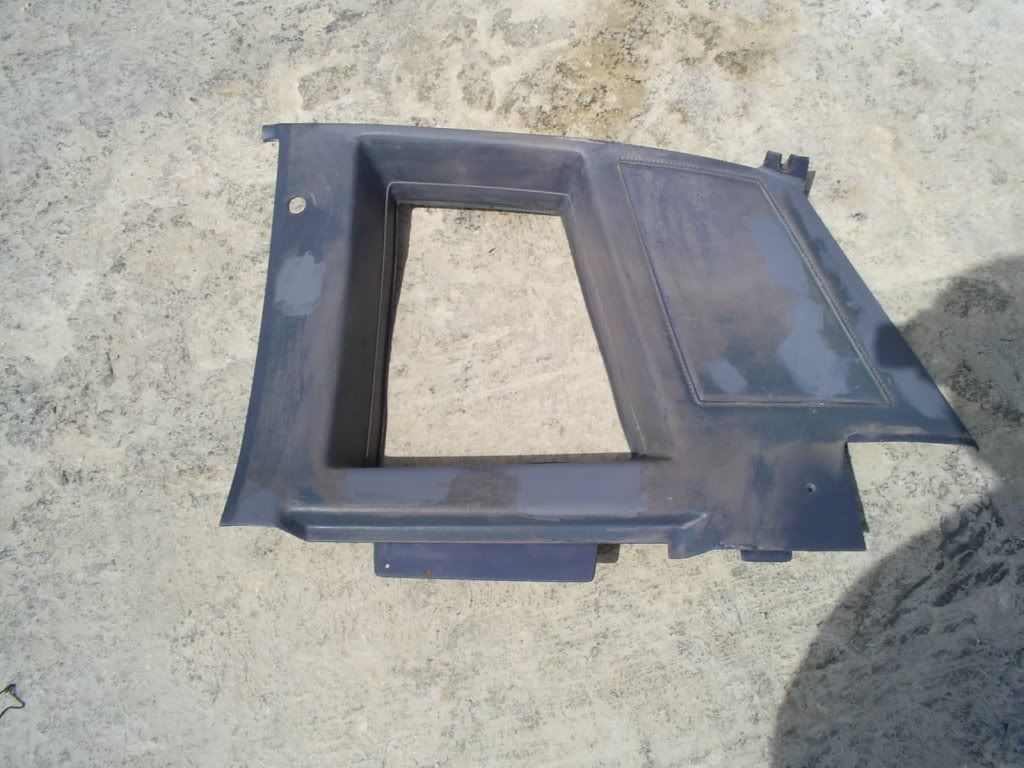
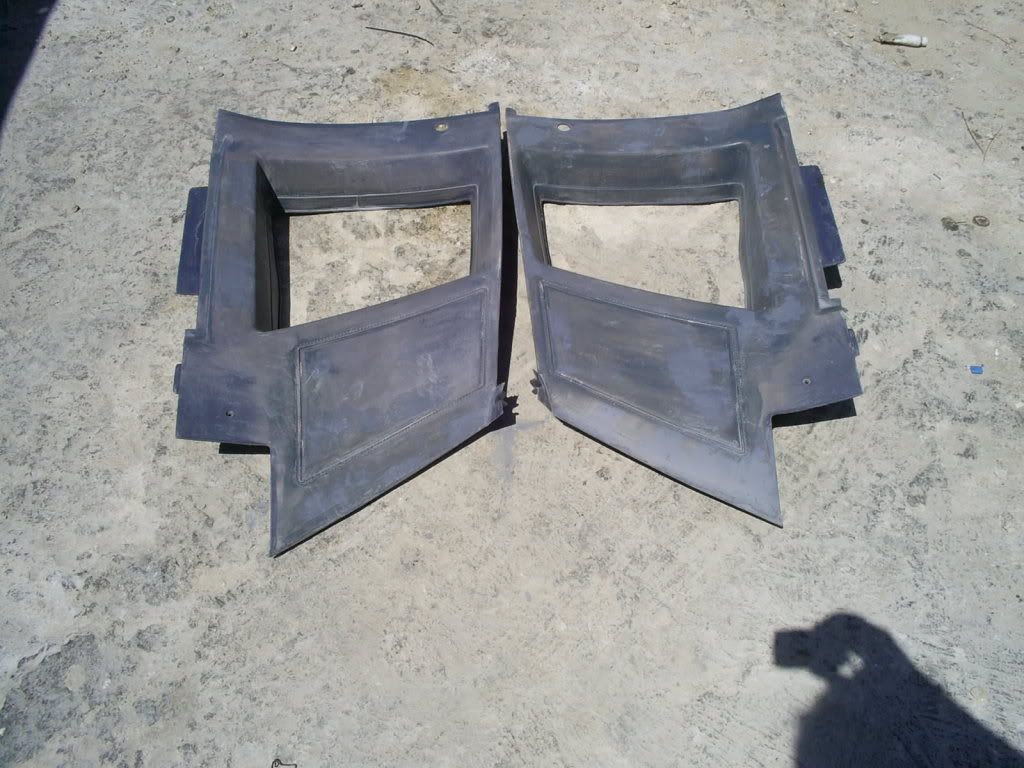
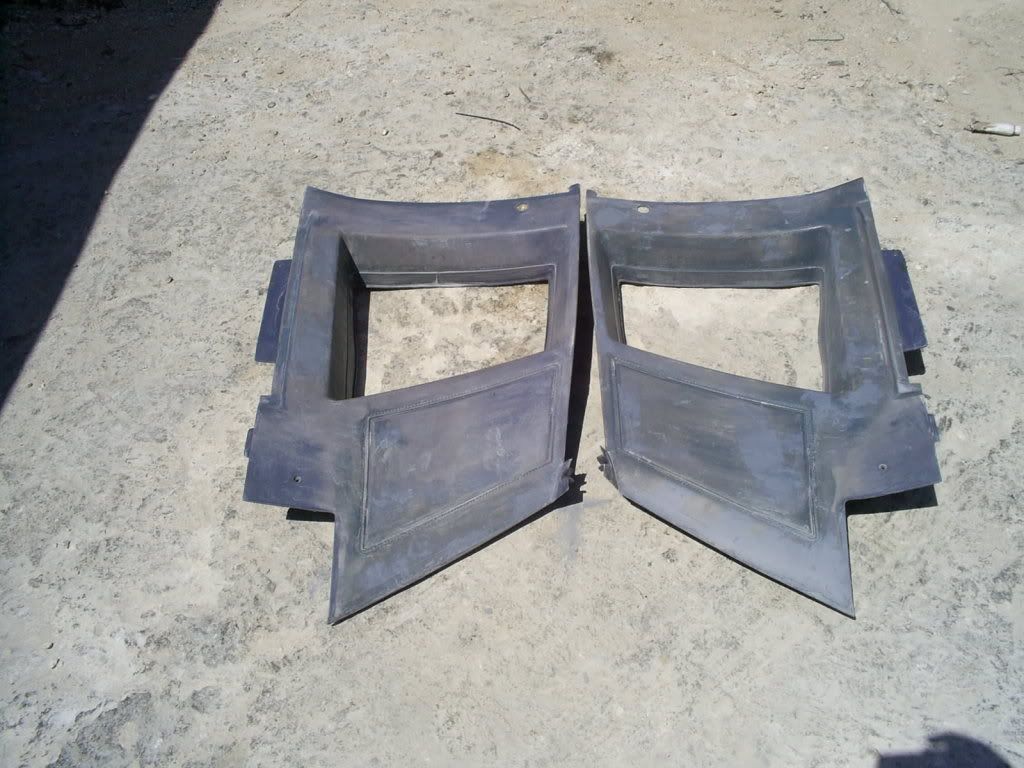
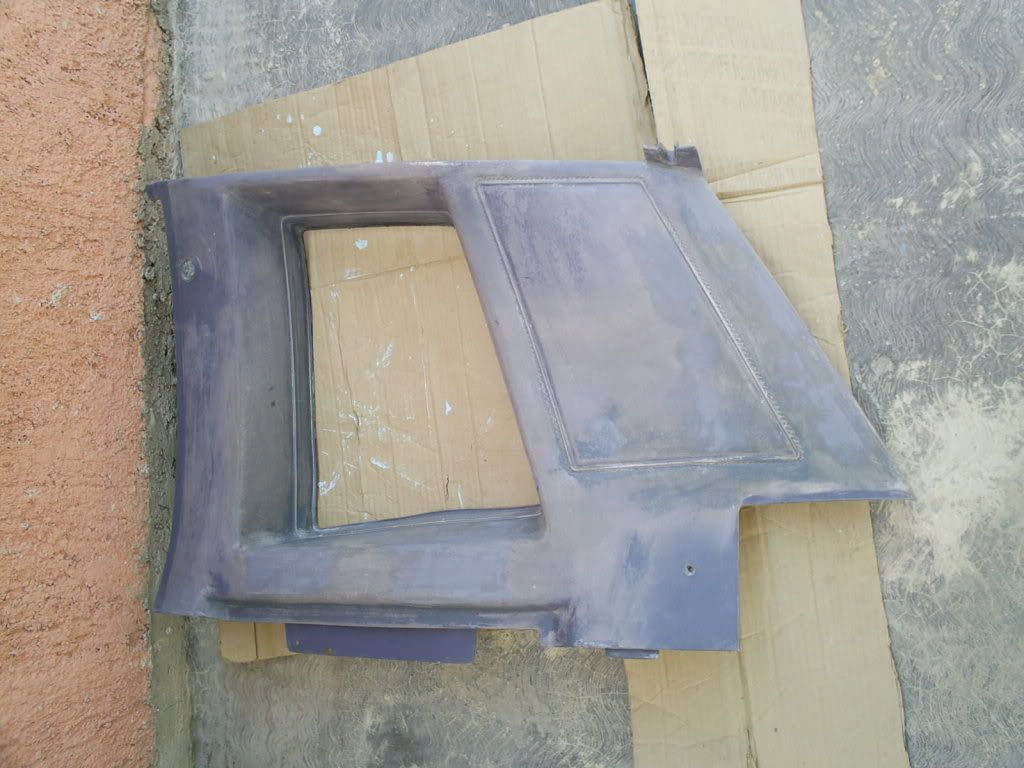
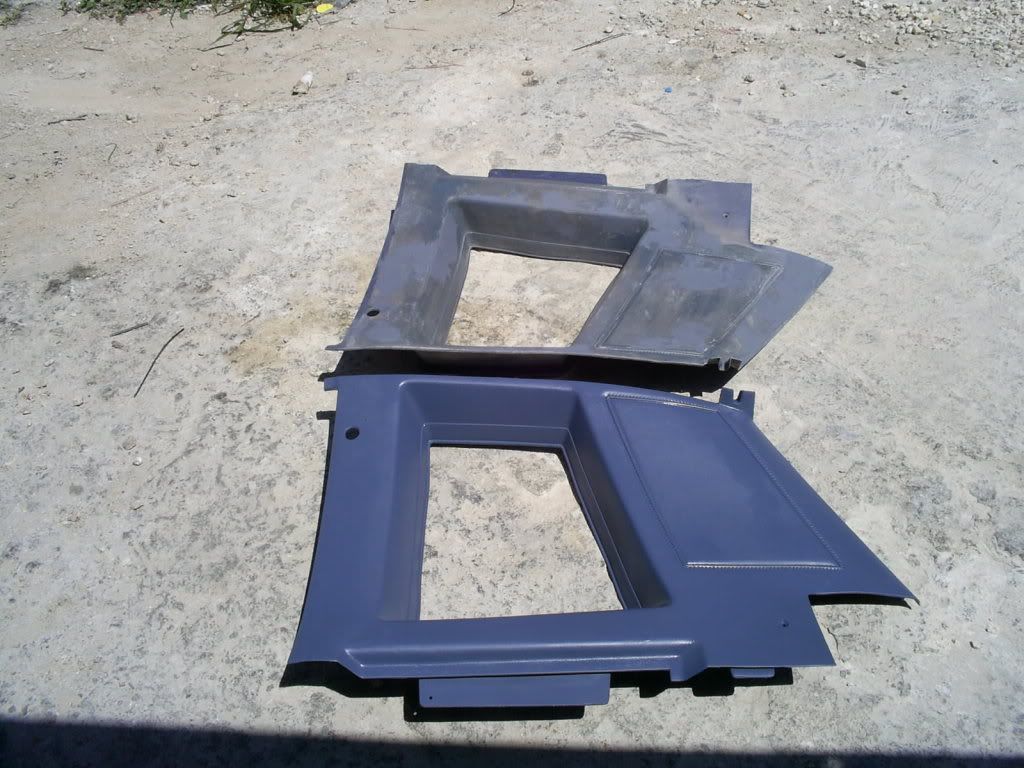
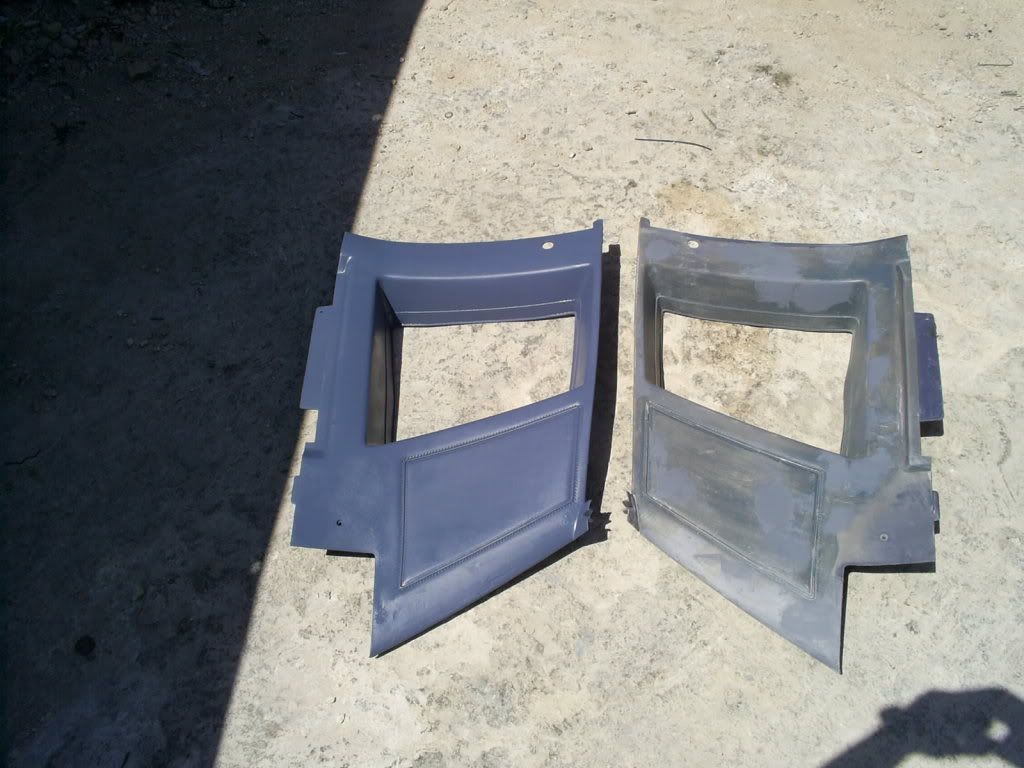
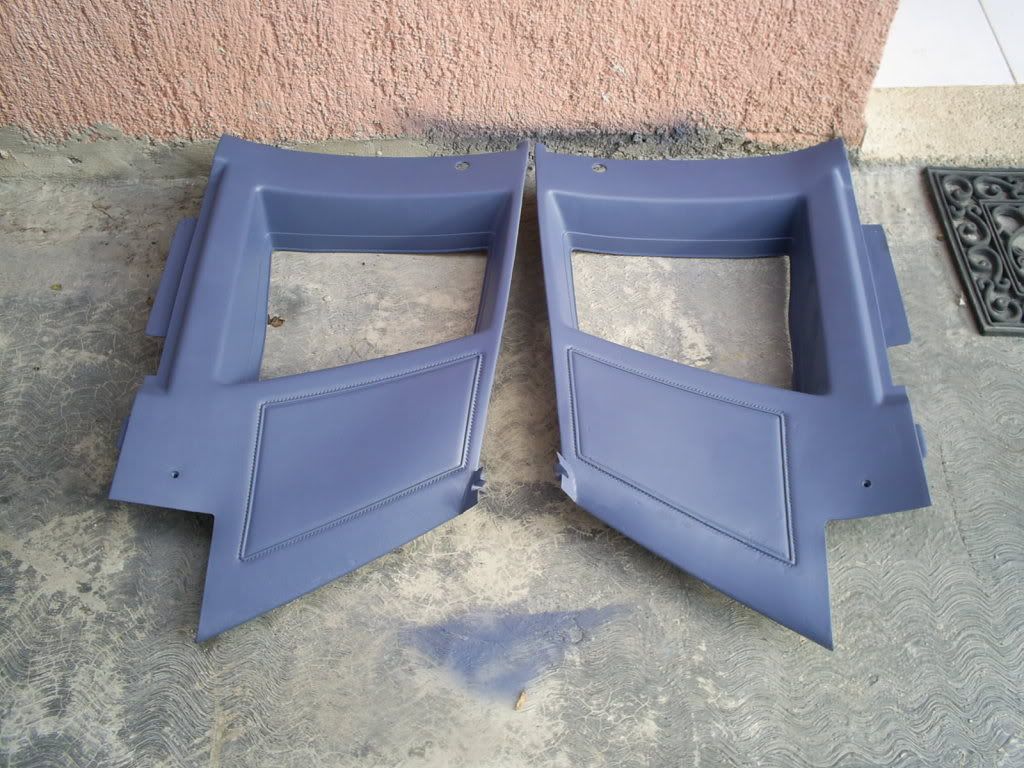
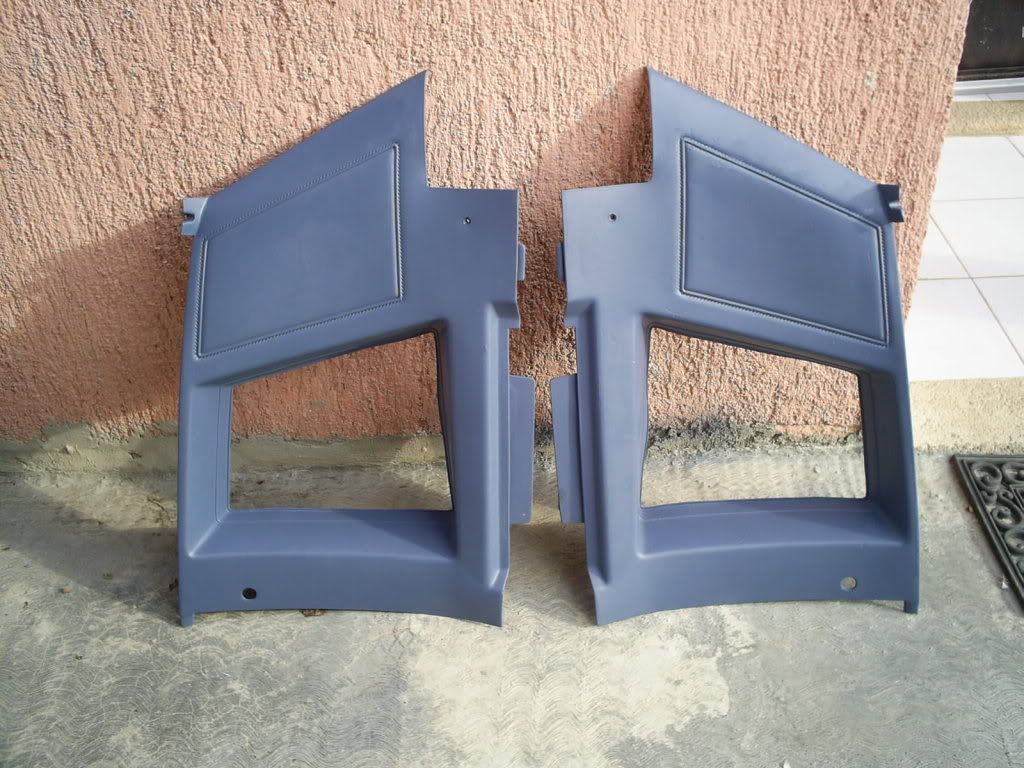
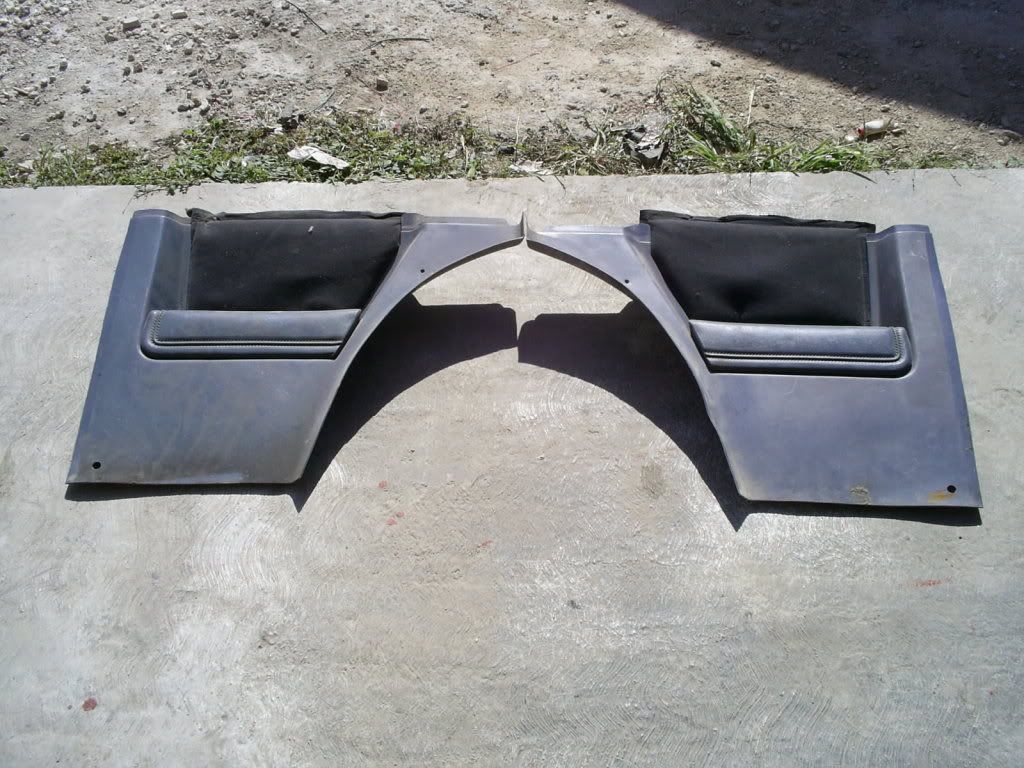
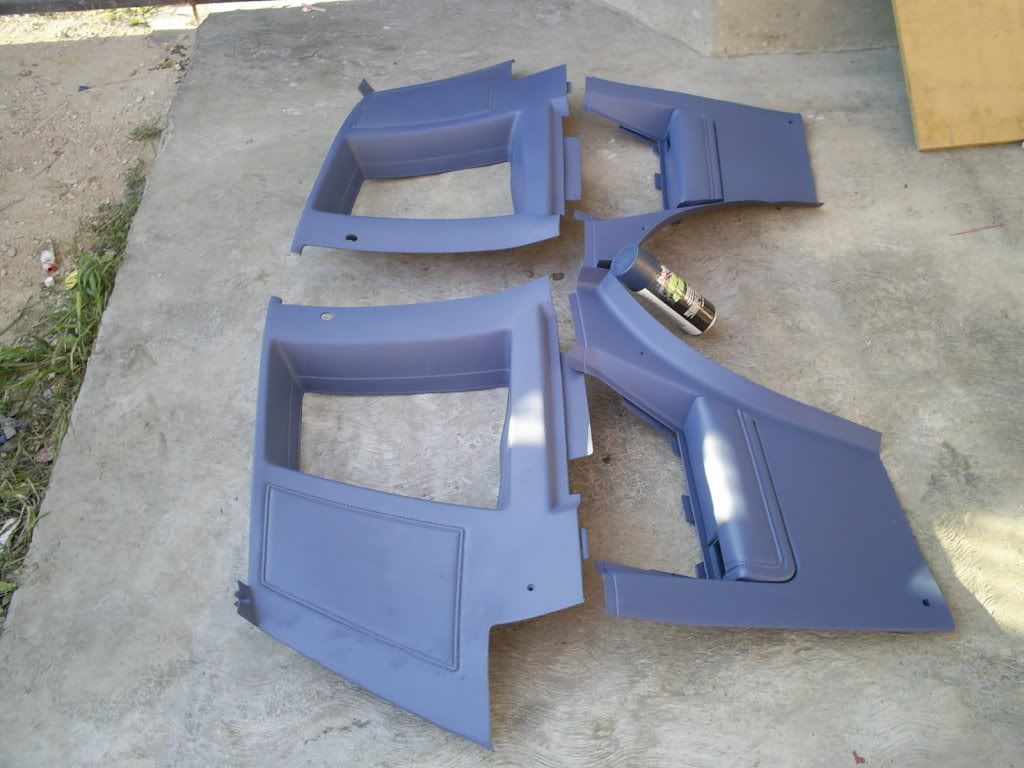
Continuacion de la restauracion de paneles interiores. Continuation of the Interior Panel Restoration.
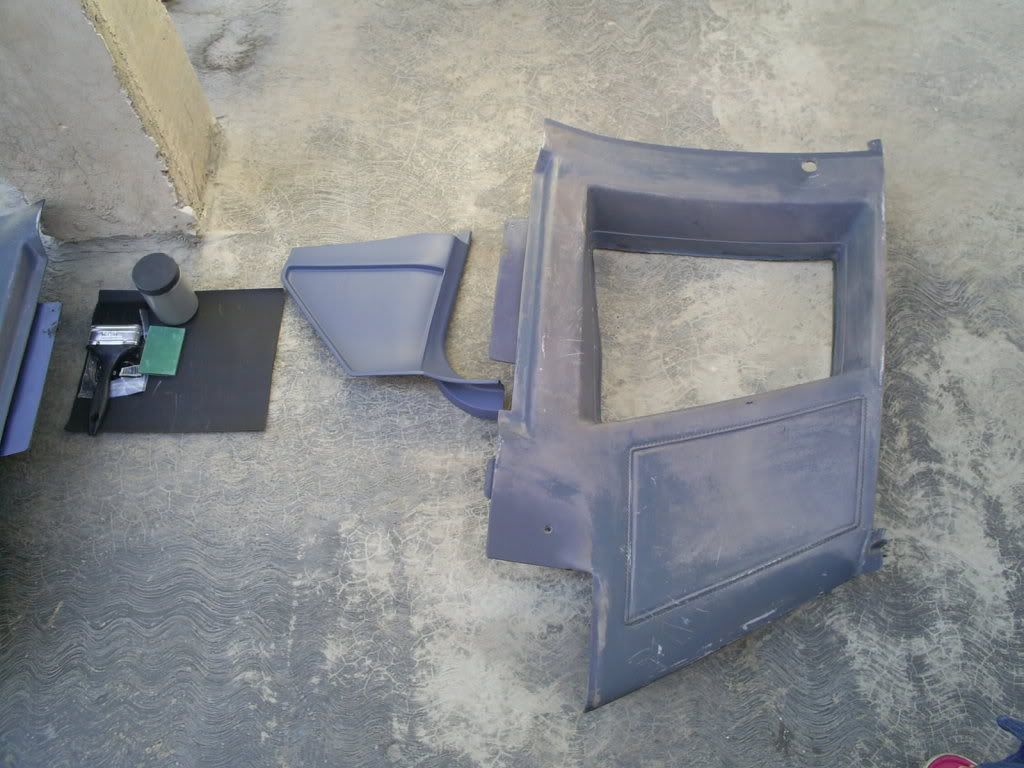
Estas piezas son complemento de los paneles mostrados anteriormente. El proceso es identico al anterior por lo que ahora solo les mostrare la secuencia fotografica. These are the rest of the pieces that of the interior. Only this time its the rear panels. The process is the same as the bove mentions, so i will only post the pics.
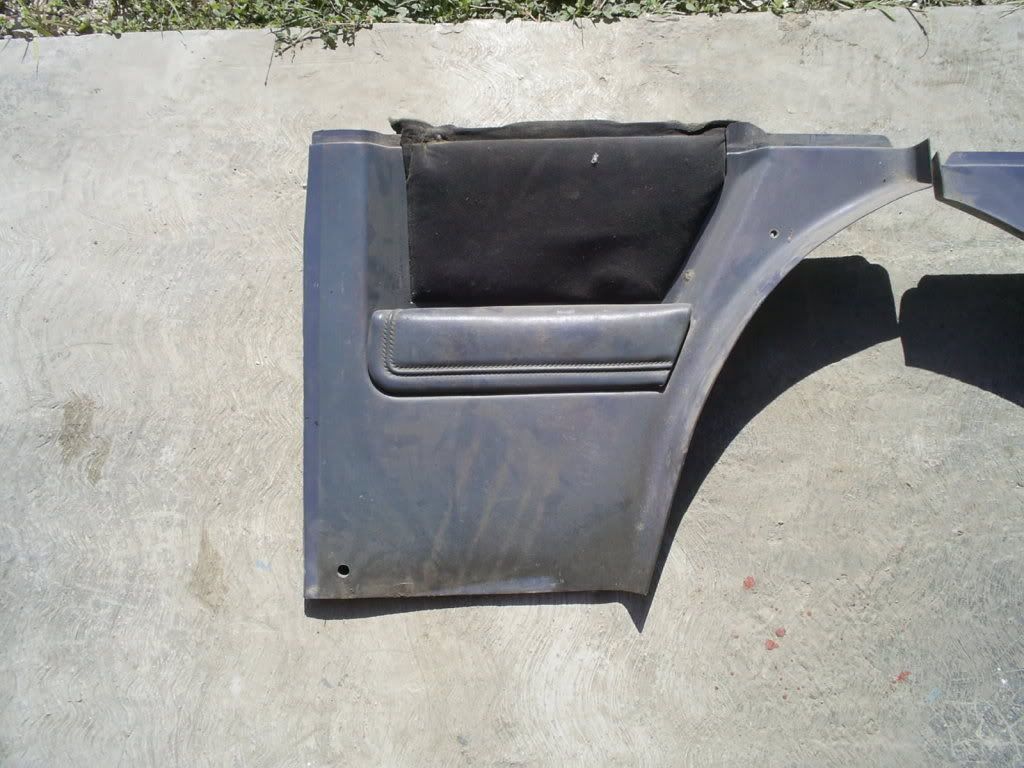
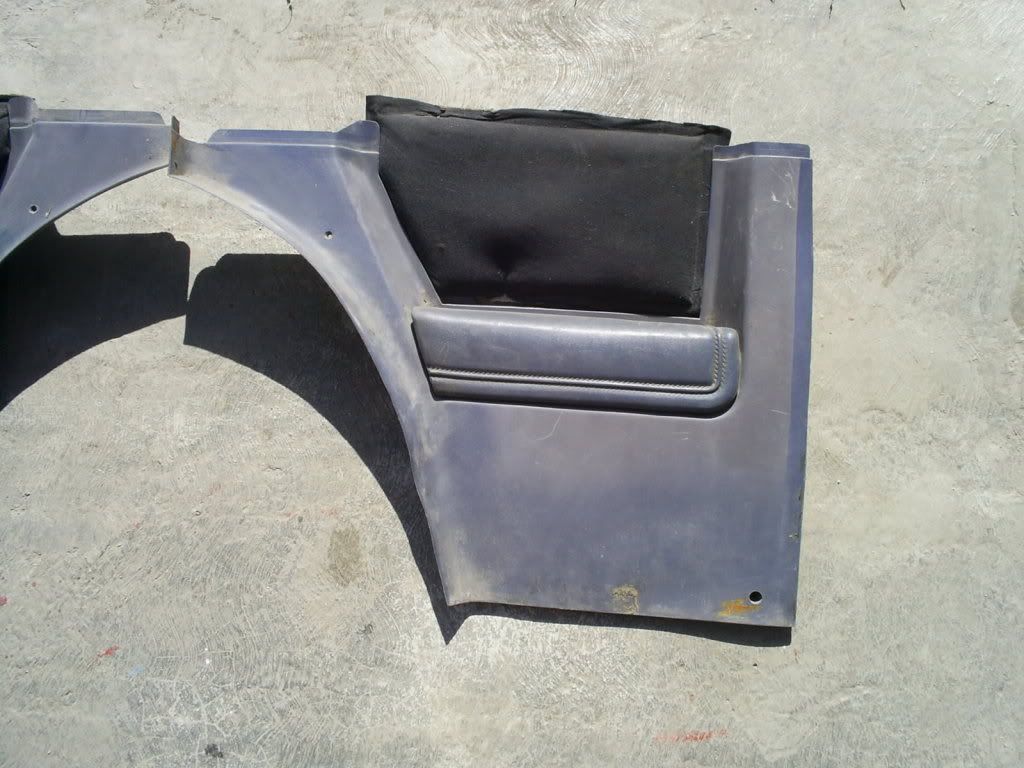
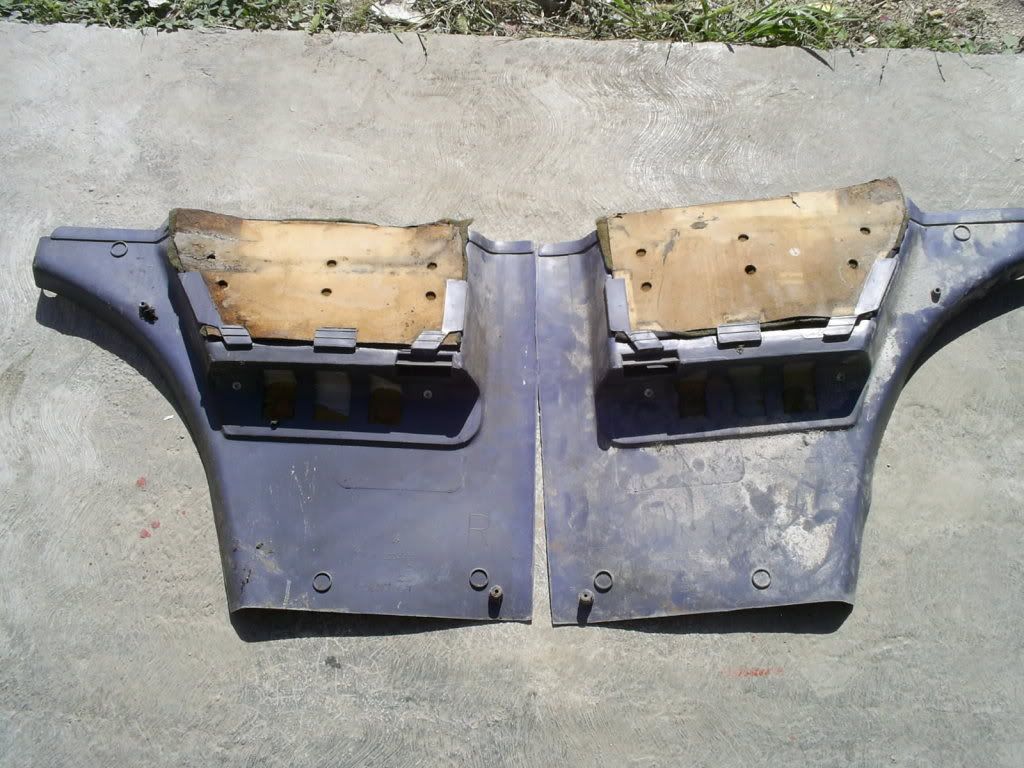
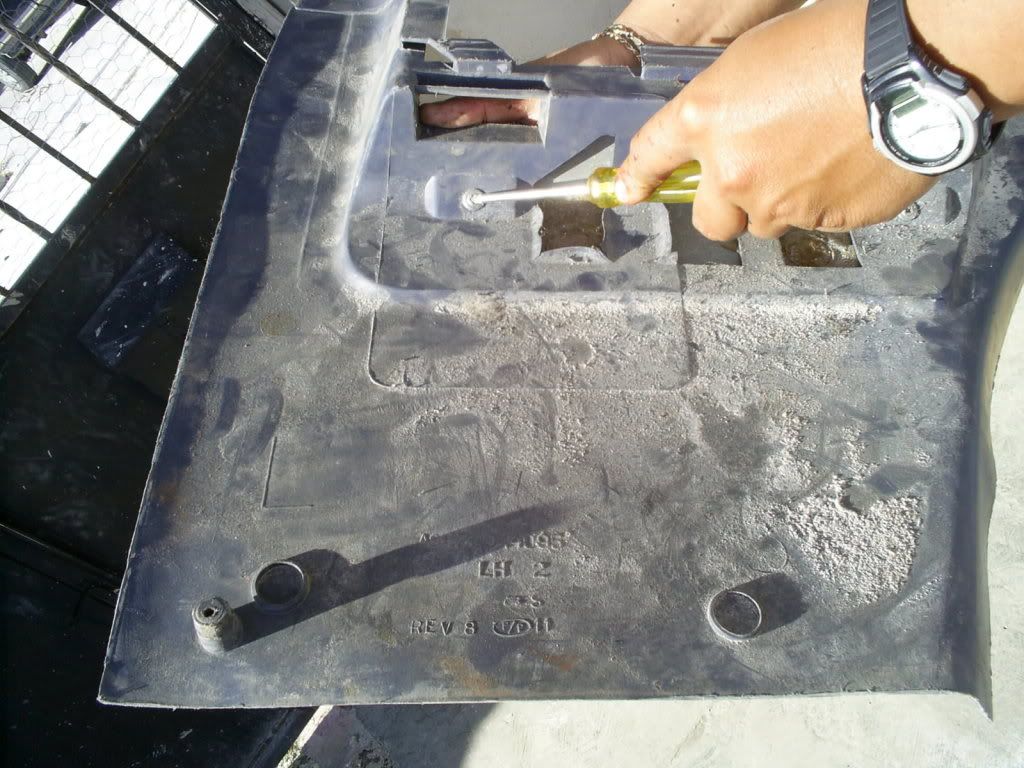
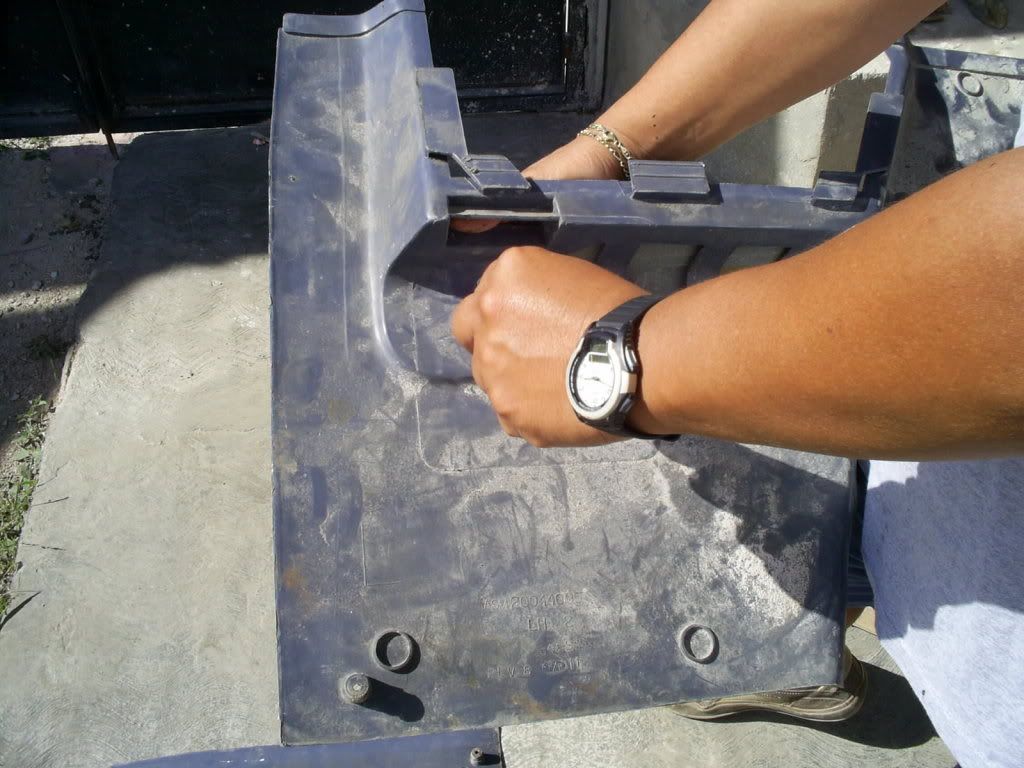
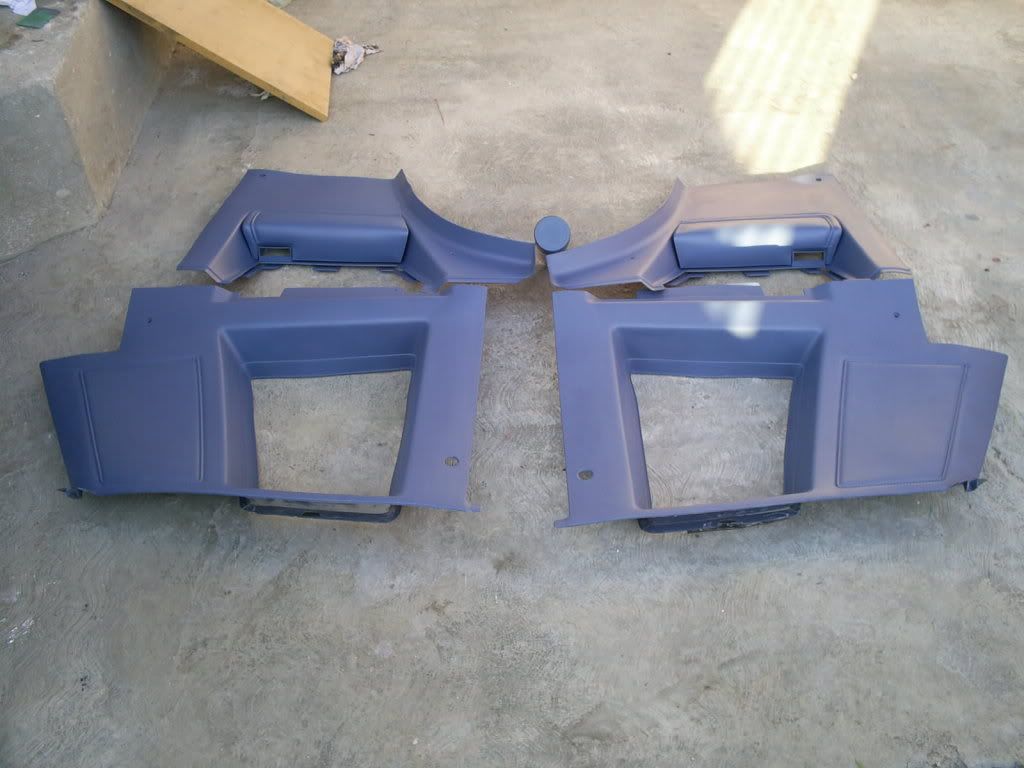
Aun quedan cosillas minimas que restaurar en lo que a plasticos se refiere, me queda pendiente una muy buena chamba, la de restaurar los door panels. All that is left are a few small plastic piece. All thats left, is the Door Panel restoration.
Continuacion de la restauracion de paneles interiores. Continuation of the Interior Panel Restoration.
Estas piezas son complemento de los paneles mostrados anteriormente. El proceso es identico al anterior por lo que ahora solo les mostrare la secuencia fotografica. These are the rest of the pieces that of the interior. Only this time its the rear panels. The process is the same as the bove mentions, so i will only post the pics.
Aun quedan cosillas minimas que restaurar en lo que a plasticos se refiere, me queda pendiente una muy buena chamba, la de restaurar los door panels. All that is left are a few small plastic piece. All thats left, is the Door Panel restoration.
Last edited by The Popcorn King; Jun 18, 2010 at 10:42 AM. Reason: Translation

Thread Starter
|
Joined: Jun 2010
Posts: 51
From: M�rida, Yucat�n, M�xico
I share photos and illustrative of how to apply the resin over the cloth.


these photos are making of the hat rack of my Sentra.


Thread Starter
|
Joined: Jun 2010
Posts: 51
From: M�rida, Yucat�n, M�xico
Good Luck