
Got my New Headlights!!


At first when I put them in I didn't plug it in all the way so only the Day lights would come on not the Angel eyes I was like
 then I got home pushed harder and they turned on and made sure it was secure now they are %100


Really? You're going to tease like that you suck!
At first when I put them in I didn't plug it in all the way so only the Day lights would come on not the Angel eyes I was like then I got home pushed harder and they turned on and made sure it was secure now they are %100
At first when I put them in I didn't plug it in all the way so only the Day lights would come on not the Angel eyes I was like
then I got home pushed harder and they turned on and made sure it was secure now they are %100 Ya I got the same lights you do and I love them. I just found a terrific add-on for them that cost me 80 bucks for the pair. But you will have to wait till May to see it
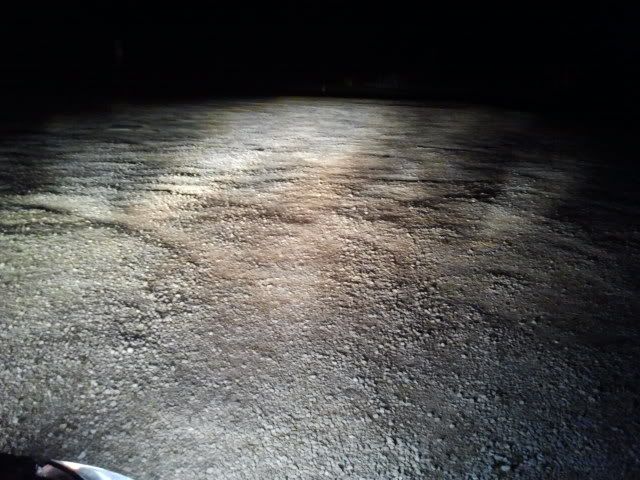
Here's some new photo's I just took. Also how far should I adjust the lights...?
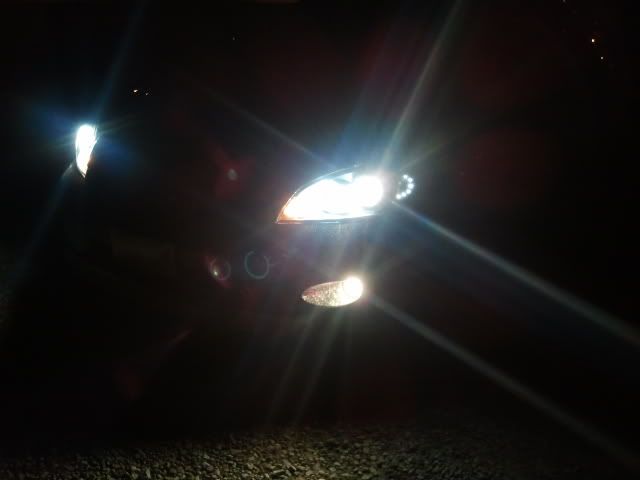
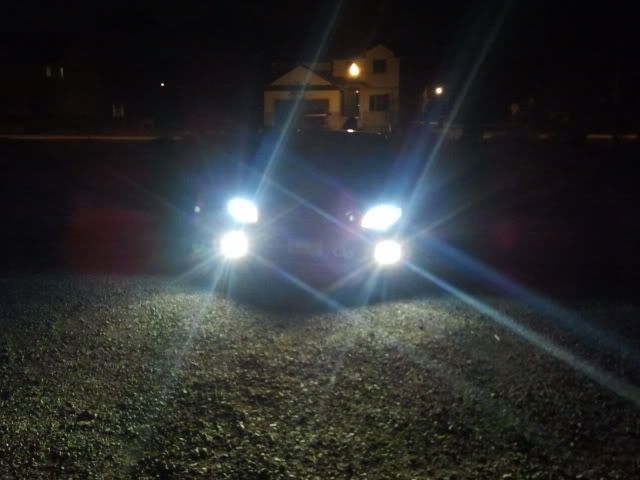
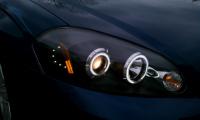
The Angel eyes are more clear in person... only blurred because it's a cellphone picture.


Joined: May 2011
Posts: 122
There's a write-up online somewhere, like rx-8 forums or something that is apparently the go-to guide for this. I just put these lights on mine about 2-3 weeks ago and love them, but I still haven't adjusted them down yet, they're aimed pretty high.
Mine were aimed incredibly low so I had to adjust them already
Here's a great description I found
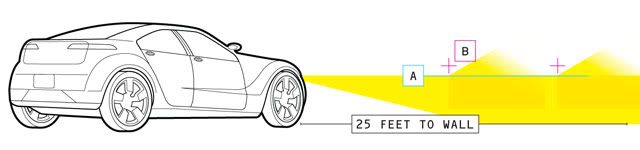
Proper headlight aim is critical. Check aim with a driver in the car and a full tank of gas. The low-beam cutoff (a) should be slightly below the center of the lens (b) to keep glare out of oncoming traffic and reduce the light reflection that occurs during rainy or snowy weather. The bend in the cutoff should be slightly to the right of the center of the lane, for the same purpose. This will illuminate the road surface in front of the car, as well as the curb area to the right.
Remove any snow, ice or mud from the vehicle.
The vehicle must have a full tank of gas.
Stop all other work on the vehicle.
If any service has been performed on the vehicle, make sure that all of the components are back in their original place.
The vehicle must be on a level surface.
There is a standard procedure, using a flat and level driveway facing a gray or dull white wall that is free of any source of peripheral light (perhaps the back wall of your garage, interior lights off). The open space on the wall should be at least the width of the vehicle plus an extra 2 ft. per side. Check the tire pressures—they have to be right. Confirm that the car is on level ground by using a good carpenter's level on the side of the vehicle—on an SUV try the roof, and on most cars, the door frame. Park the car so it's exactly 25 ft. from the wall to the face of the headlamps—don't estimate. Some exceptions include Toyota, which specifies 10 ft., Pontiac GTO at 15 ft., and Chrysler, which specifies 33 ft. on some models. However, the 25-ft. procedure should produce satisfactory results for most vehicles. Use a tape measure in any case.
Check the suspension ride height side to side to make sure there's no excessive suspension sag.
Now comes a lot of very careful measuring. First, identify the physical center of each low-beam headlamp—with today's multilamp housings, actually turn on the lamps to be sure you have the right lamp. Some headlamps have a small dot or circle at the center. Make a tape cross over the center of each lamp, and a vertical tapeline down the center of the windshield. Using a tape measure, make the corresponding alignment marks on the wall.
Headlight Adjustment Video
Last edited by Jparks; Apr 12, 2012 at 03:35 PM.


Was going to say its something with a wall and some markings. Thats what the repair manual said for my horizon. I usually do the formal alignment by the book first and go from there based on looks.