One Year Anniversary: A 1968 Ford Torino Restoration Update!


Previous updates
(This is the one from one year ago https://montecarloforum.com/forum/sh...ghlight=torino)
Others
https://montecarloforum.com/forum/sh...ghlight=torino
https://montecarloforum.com/forum/sh...ghlight=torino
https://montecarloforum.com/forum/sh...ghlight=torino
https://montecarloforum.com/forum/sh...ghlight=torino
https://montecarloforum.com/forum/sh...ghlight=torino
https://montecarloforum.com/forum/sh...ghlight=torino
https://montecarloforum.com/forum/sh...ghlight=torino
Wow... it is so hard to believe that it was one year ago today.... the Torino rolled into the driveway a year ago this very night, which was Maundy Thursday that year.
So here is a progress update. Hopefully the next one will have the car on the road! I was thinking I would be done by now... or sometime soon, so it's looking like the "sometime soon" version.
So the dashpad had come last summer, but it was finally dyed black. The black ones tended to absord too much heat and mess up... so I made it black
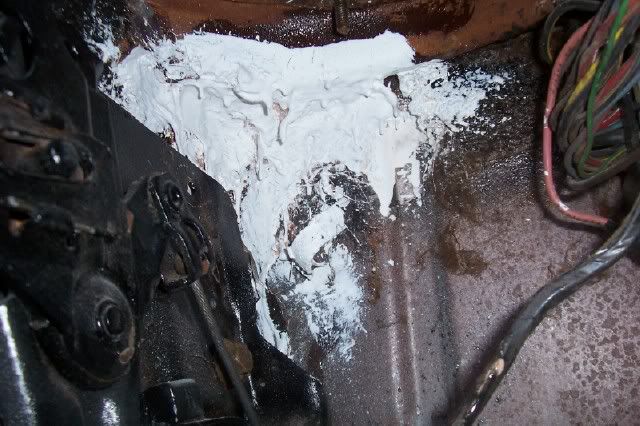
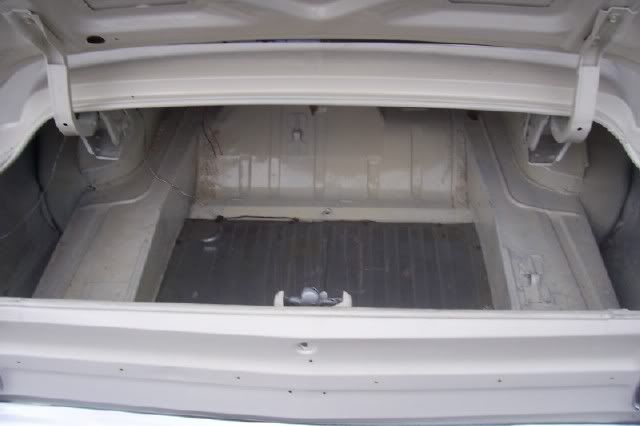
I finally found the source of my agony when it comes to the leaking floor pan. This was fiberglassed in and bondoed to make sure it would seal, then painted over... hope it holds. It was in a spot that was REALLY tough to get my hands into. So far, it has stopped the water from leaking. It turns out, the outside cowl tends to rust where it welds to the body of the car.. .the leaking water resulted in the rusted floor pans. This spot is in the left front corner of the interior, near where the left front fender is on the car.
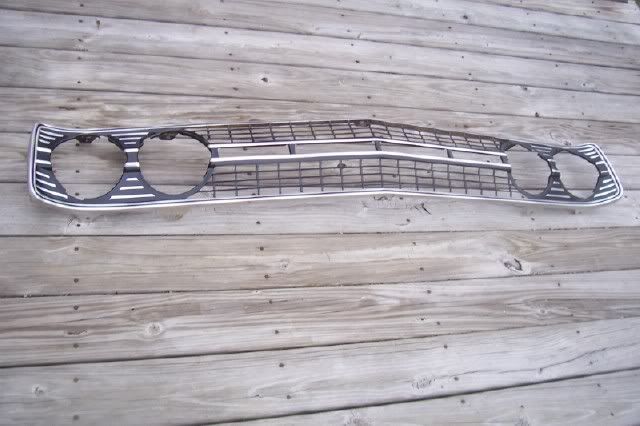
The grill had been polished out earlier, ti was a bit tarnished from the years and the black parts of it were in pretty sad shape. I polished out all the chrome, cleaned all the old, faded, chiped black paint off, and then taped off all the aluminum parts with lettering tape and repainted it.
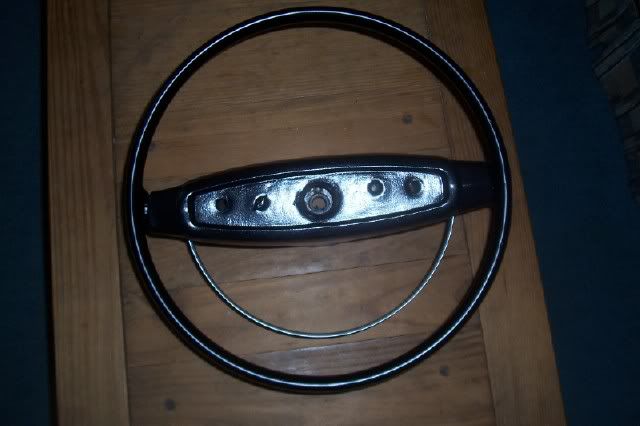
The steering wheel had several spots where it had taken some heat, and section of the plastic broke off the metal rink. I used JB Stix to fill in the majority of it, sanded it down, then used glazing puddy to smooth out, sand it down again, and then repainted it semi-gloss black.
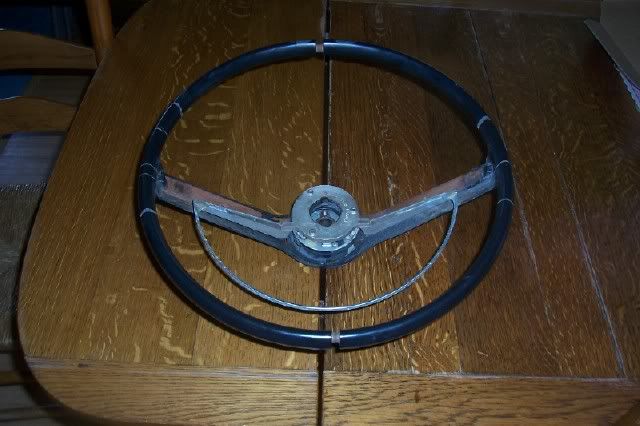
I also dyed the center piece black again, and sanded and repainted the horn ring.
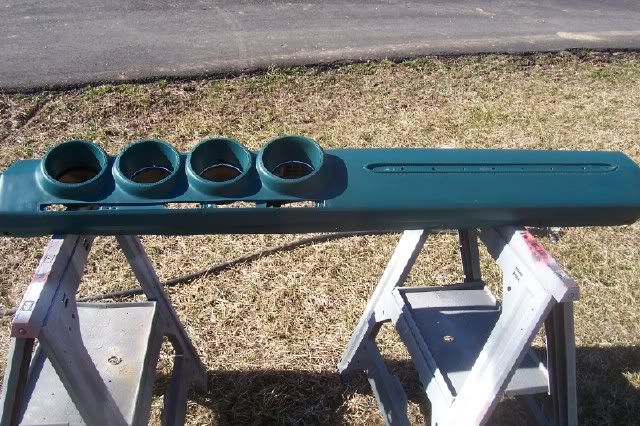
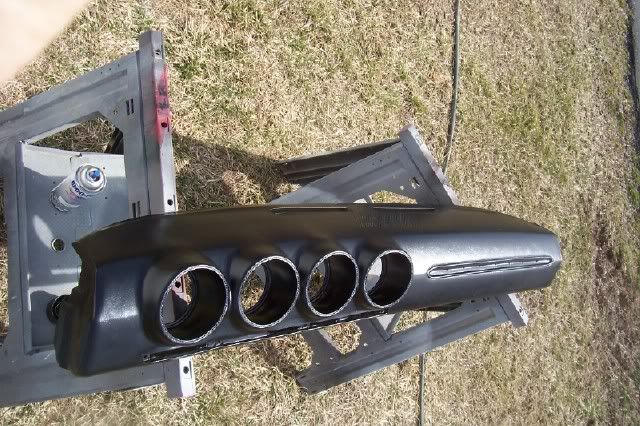
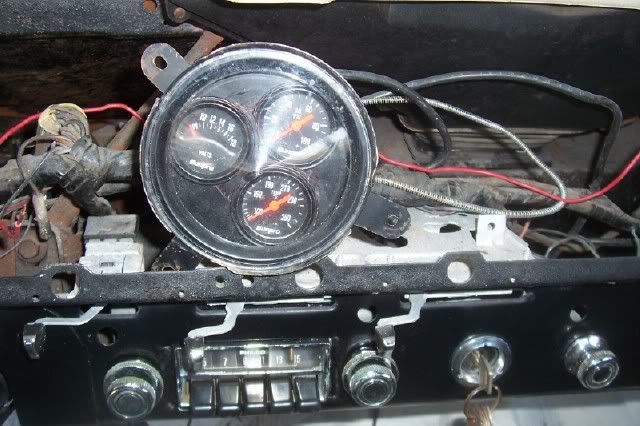
In the dash pad for these cars, some cars ahd a tachometer and others had a clock in the 4th pod... many came with a blank where one of these two things would go. Dad and I had the idea to the take blank and cut three small holes in it for the water temperature, oil pressure, and voltage gauges. I know a lot of people bolted them under the dash, but I didn't like that idea very much... I wanted to put them somewhere, and dad had this idea (I was thinking more along the lines of a tach, but this works too!)
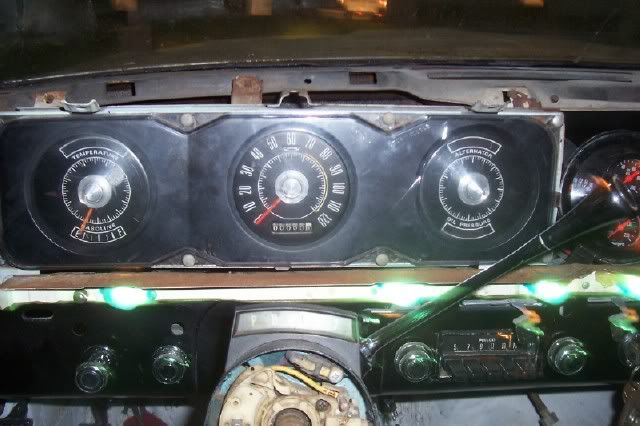
We also got the dash lights working as well. This shot was taken at night, but it does work.
It's also running down the road on it's real, metal gas tank.. not a red plastic jug with a long rubber hose dropped in it.
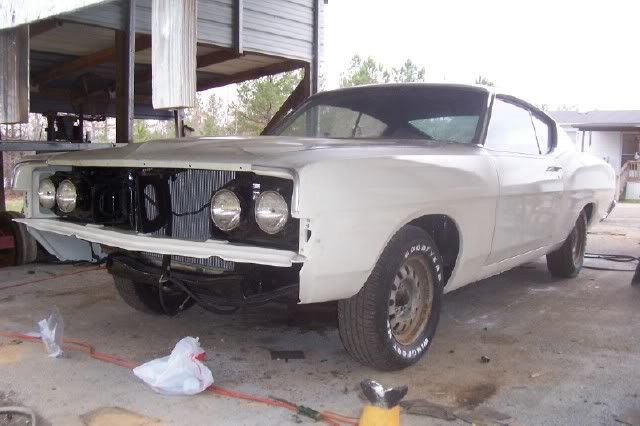
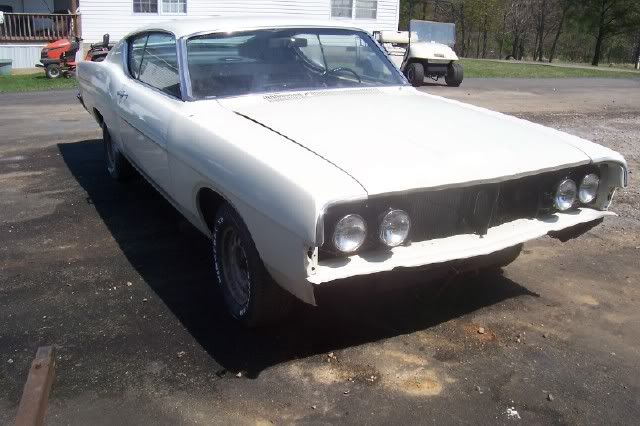
The fenders have been installed, but they are not tightened yet... we are waiting until everything is in and we ahve the hood aligned properly, and all the fit and finish done right before doing the final tightening.

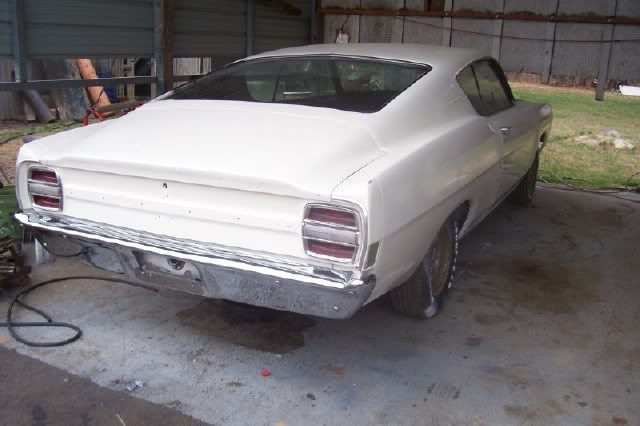
We got the hood and the rear bumper bolted up...
A lot of electrical work has been done. This car has all kinds of neat tricks. When you pull the headlight switch, two lights in the front of the car come on along with two in teh back. When you push the dimmer switch down, all 4 front lights come on and a high beam indicator in the dash lights comes on. When you step on the brake, two bright lights in the back come on. When you turn the wiper switch, a motor runs that will eventually pull these metal blades with rubber on them across the windshield. Plus, when you turn the key, you can start the engine with it. A cable was run for the manual choke and it was mounted under the dash, so the car can be controlled almost 100% from inside the car! The throttle springs are hooked up, everything is a go (almost)
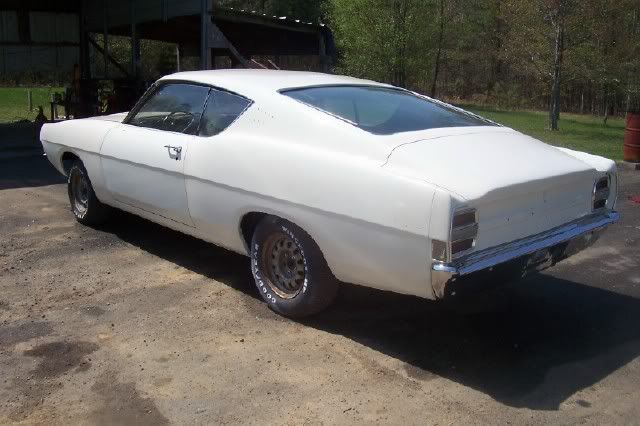
So then on the anniversary, I used all of this technology to back the car up and wash it, and take a few pictures (the hood was also installed, as you can see in this given picture.....
It's been a happy year... I hope we have many more together!
(This is the one from one year ago https://montecarloforum.com/forum/sh...ghlight=torino)
Others
https://montecarloforum.com/forum/sh...ghlight=torino
https://montecarloforum.com/forum/sh...ghlight=torino
https://montecarloforum.com/forum/sh...ghlight=torino
https://montecarloforum.com/forum/sh...ghlight=torino
https://montecarloforum.com/forum/sh...ghlight=torino
https://montecarloforum.com/forum/sh...ghlight=torino
https://montecarloforum.com/forum/sh...ghlight=torino
Wow... it is so hard to believe that it was one year ago today.... the Torino rolled into the driveway a year ago this very night, which was Maundy Thursday that year.
So here is a progress update. Hopefully the next one will have the car on the road! I was thinking I would be done by now... or sometime soon, so it's looking like the "sometime soon" version.
So the dashpad had come last summer, but it was finally dyed black. The black ones tended to absord too much heat and mess up... so I made it black
I finally found the source of my agony when it comes to the leaking floor pan. This was fiberglassed in and bondoed to make sure it would seal, then painted over... hope it holds. It was in a spot that was REALLY tough to get my hands into. So far, it has stopped the water from leaking. It turns out, the outside cowl tends to rust where it welds to the body of the car.. .the leaking water resulted in the rusted floor pans. This spot is in the left front corner of the interior, near where the left front fender is on the car.
The grill had been polished out earlier, ti was a bit tarnished from the years and the black parts of it were in pretty sad shape. I polished out all the chrome, cleaned all the old, faded, chiped black paint off, and then taped off all the aluminum parts with lettering tape and repainted it.
The steering wheel had several spots where it had taken some heat, and section of the plastic broke off the metal rink. I used JB Stix to fill in the majority of it, sanded it down, then used glazing puddy to smooth out, sand it down again, and then repainted it semi-gloss black.
I also dyed the center piece black again, and sanded and repainted the horn ring.
In the dash pad for these cars, some cars ahd a tachometer and others had a clock in the 4th pod... many came with a blank where one of these two things would go. Dad and I had the idea to the take blank and cut three small holes in it for the water temperature, oil pressure, and voltage gauges. I know a lot of people bolted them under the dash, but I didn't like that idea very much... I wanted to put them somewhere, and dad had this idea (I was thinking more along the lines of a tach, but this works too!)
We also got the dash lights working as well. This shot was taken at night, but it does work.
It's also running down the road on it's real, metal gas tank.. not a red plastic jug with a long rubber hose dropped in it.
The fenders have been installed, but they are not tightened yet... we are waiting until everything is in and we ahve the hood aligned properly, and all the fit and finish done right before doing the final tightening.
We got the hood and the rear bumper bolted up...
A lot of electrical work has been done. This car has all kinds of neat tricks. When you pull the headlight switch, two lights in the front of the car come on along with two in teh back. When you push the dimmer switch down, all 4 front lights come on and a high beam indicator in the dash lights comes on. When you step on the brake, two bright lights in the back come on. When you turn the wiper switch, a motor runs that will eventually pull these metal blades with rubber on them across the windshield. Plus, when you turn the key, you can start the engine with it. A cable was run for the manual choke and it was mounted under the dash, so the car can be controlled almost 100% from inside the car! The throttle springs are hooked up, everything is a go (almost)
So then on the anniversary, I used all of this technology to back the car up and wash it, and take a few pictures (the hood was also installed, as you can see in this given picture.....
It's been a happy year... I hope we have many more together!
Last edited by Cowboy6622; Apr 9, 2010 at 10:03 PM.


Hi `Duane,
We are really/really impressed with your talents/patience and with everything you
have accomplished 4-Sure.
Thanks for sharing your work/pride with your
Monte Carlo Family.
With your fast paced schedule, I think you have
made super progress on getting your dream machine
on the street.
Continued Good Luck to you 4-Real.