
My first custom box build


Thread Starter
|

Joined: May 2005
Posts: 3,221
When I first put my system together I didn't have the knowledge or ability to build a custom box for my subs and since I found a pretty nice prefab box that was built to the exact specs of my subs I went that route instead. Since then I have obtained the tools and done lots of research on how to design a box and finally decided to give it a go.
The subs are Sundown Audio SA-12's, the box will be a common chamber ported box, 3 cu.ft, tuned to 33Hz. Instead of using MDF, the most common wood used for speaker boxes, i'm going to be using 3/4" 11-ply baltic birch. There is an ongoing debate as to which wood is better for this application, some swear by MDF, others insist it's birch.....I say use whatever fits your budget. Birch is a multi-layered plywood that is significantly lighter than MDF but very strong. It also doesn't dust up nearly as bad as MDF when cutting/routing/sanding so in that regard it's more user friendly. It costs a bit more than MDF though, from a few bucks more for the regular stuff you can find at Home Depot (5 ply) to alot more when you get to the cabinet grade stuff with 10+ ply's. But enough about that, let's get on with the build!
My brother was nice enough to cut my panels for me at his job since I don't have a table saw. First thing I did was measure all the panels to make sure they were cut to the correct size, then I sanded them down with a palm sander paying special attention to the edges to make sure I didn't get any splinters. Once that was done I mocked up the box to get an idea of how the panels fit together, checking for gaps and what not. Once that was done I set aside all the panels except for the bottom one and then one by one I held the sides and back panels in place on the bottom panel and traced where they go. I did the same for the port. So when I was done with that I was left with a bottom panel that had an outline of the sides/back and port on it. I then measured and marked where I am going to put screws for each panel.
At this point I was ready to seat a panel in place one at a time, clamp it in place with some 90 degree clamps so I could pre-drill the screw holes. Unfortunately I couldn't do that cause I didn't have the right size drill bit and I had left my other drill bits at work So that ended my work on my box for the weekend. Monday I will bring my bits home and get the holes drilled and start gluing and screwing!
I didn't snap any pics today but I'll get some on monday before I start drilling so you guys can see how I did what I did.
The subs are Sundown Audio SA-12's, the box will be a common chamber ported box, 3 cu.ft, tuned to 33Hz. Instead of using MDF, the most common wood used for speaker boxes, i'm going to be using 3/4" 11-ply baltic birch. There is an ongoing debate as to which wood is better for this application, some swear by MDF, others insist it's birch.....I say use whatever fits your budget. Birch is a multi-layered plywood that is significantly lighter than MDF but very strong. It also doesn't dust up nearly as bad as MDF when cutting/routing/sanding so in that regard it's more user friendly. It costs a bit more than MDF though, from a few bucks more for the regular stuff you can find at Home Depot (5 ply) to alot more when you get to the cabinet grade stuff with 10+ ply's. But enough about that, let's get on with the build!
My brother was nice enough to cut my panels for me at his job since I don't have a table saw. First thing I did was measure all the panels to make sure they were cut to the correct size, then I sanded them down with a palm sander paying special attention to the edges to make sure I didn't get any splinters. Once that was done I mocked up the box to get an idea of how the panels fit together, checking for gaps and what not. Once that was done I set aside all the panels except for the bottom one and then one by one I held the sides and back panels in place on the bottom panel and traced where they go. I did the same for the port. So when I was done with that I was left with a bottom panel that had an outline of the sides/back and port on it. I then measured and marked where I am going to put screws for each panel.
At this point I was ready to seat a panel in place one at a time, clamp it in place with some 90 degree clamps so I could pre-drill the screw holes. Unfortunately I couldn't do that cause I didn't have the right size drill bit and I had left my other drill bits at work
So that ended my work on my box for the weekend. Monday I will bring my bits home and get the holes drilled and start gluing and screwing! I didn't snap any pics today but I'll get some on monday before I start drilling so you guys can see how I did what I did.


")


Very Cool. Cant wait to see the pics.
I didnt make my box, But the guy doing my work made the box and custom boxes are so much better than prefab boxes ect.. because you know its done right, no leeks ect..
I didnt make my box, But the guy doing my work made the box and custom boxes are so much better than prefab boxes ect.. because you know its done right, no leeks ect..
Thread Starter
|
Joined: May 2005
Posts: 3,221
Yeah, custom boxes are usually always better than prefab because most of the time the person building the box is making it specifically for a particular sub. But a good builder will also consider the amount of power being used and the cars acoustic profile to decide on the appropriate type of box; ported, rear loading horn, 4th order bandpass, as well as various sub/port firing orientations. It's definitely not a "one size fits all" kind of thing.
Yeah, custom boxes are usually always better than prefab because most of the time the person building the box is making it specifically for a particular sub. But a good builder will also consider the amount of power being used and the cars acoustic profile to decide on the appropriate type of box; ported, rear loading horn, 4th order bandpass, as well as various sub/port firing orientations. It's definitely not a "one size fits all" kind of thing.
Thread Starter
|
Joined: May 2005
Posts: 3,221
Exactly. Which Is why I did mine the way I did. The guy who did mine really knows what hes doing. But I also wanted it to look like part of the car. Thats why He made the box look like a box but it was made specifically for the Sub and tuned hz as well. But than made cover pieces to put around the box ect.. so it looks part of the car and not just a box.
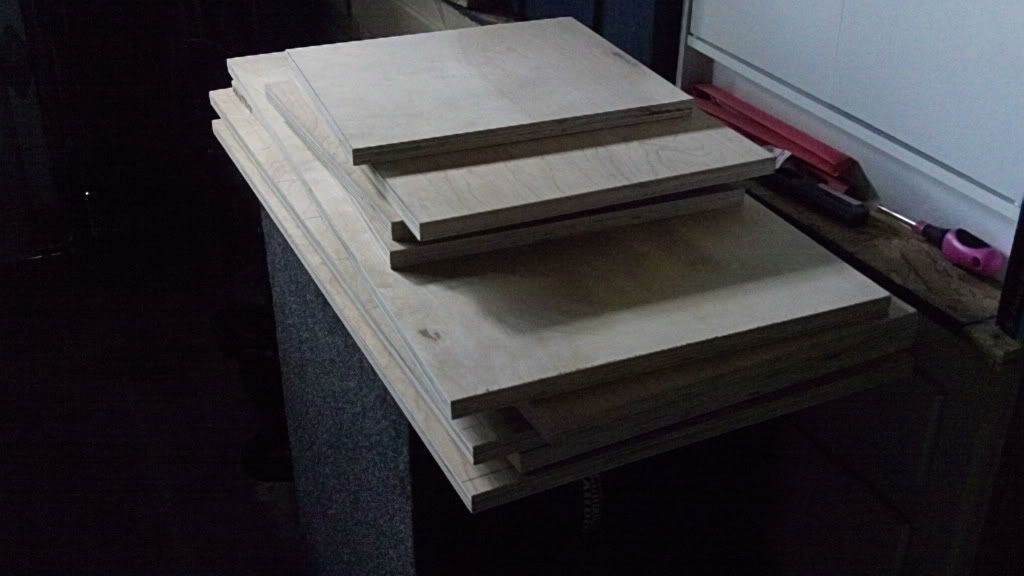
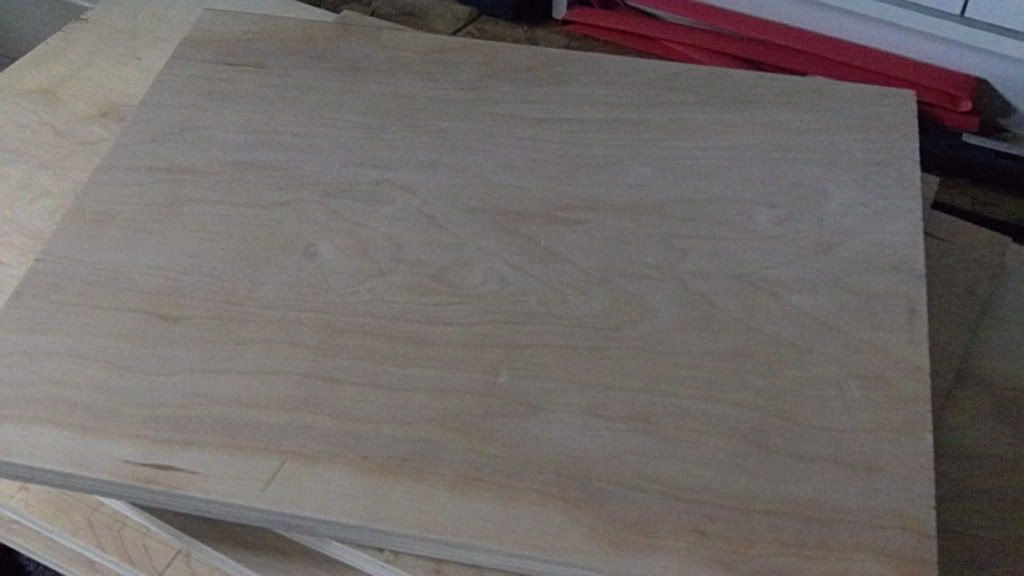
Here are the pics I just snapped of what I got done yesterday.
These are the different panels that will make up the box
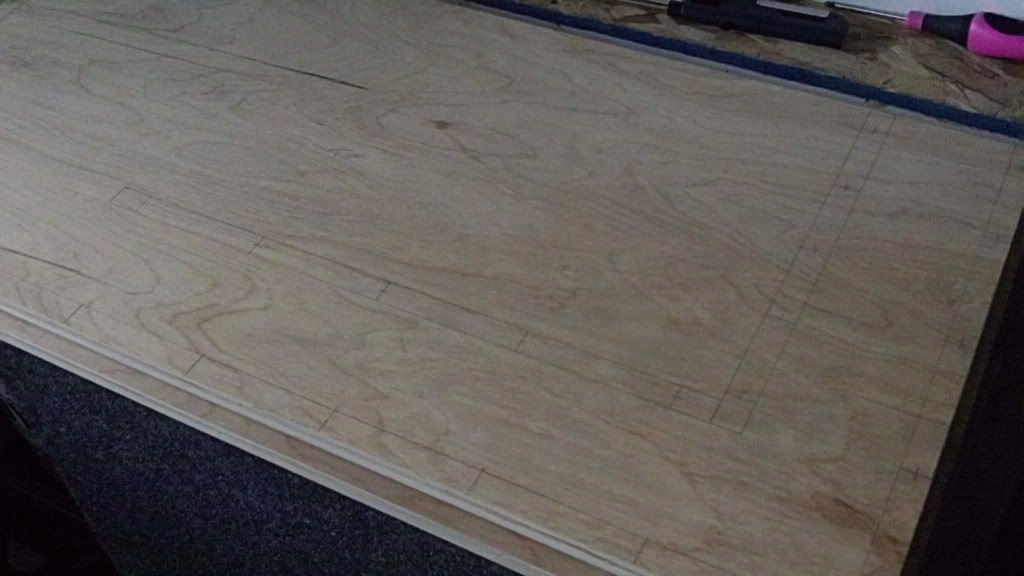
You can see the side/back/port outline laid out, as well as where i'm going to put the screw holes.
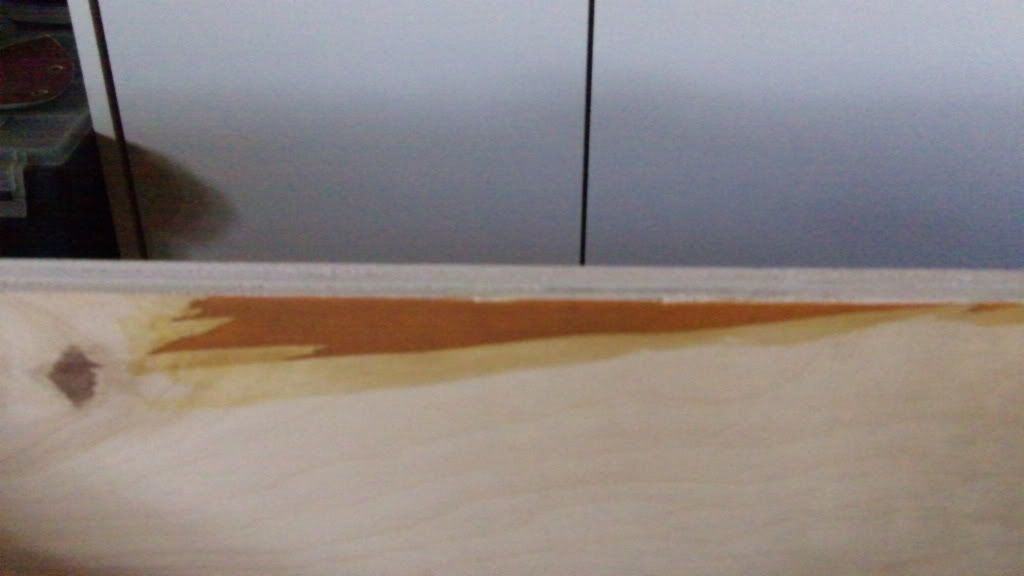
The dark area is where the veneer pulled up while I was sanding. I just applied some wood glue to the area to seal it up and make sure the veneer wouldn't keep peeling.
11-ply Baltic Birch, 3/4"
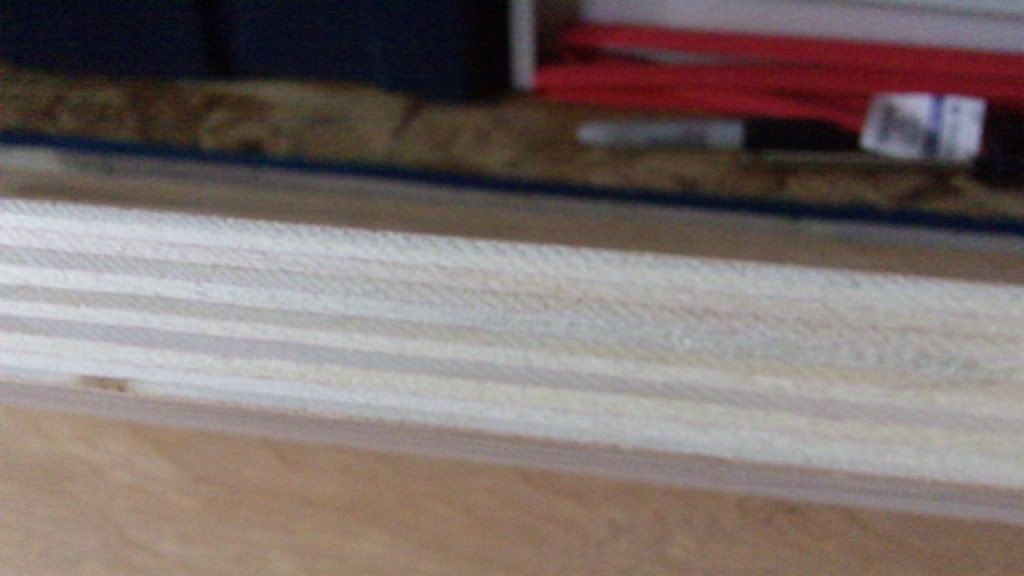
I love how Birch looks, especially once it's stained and sealed


Thread Starter
|
Joined: May 2005
Posts: 3,221
Stopped at home right quick to make sure my drill and drill bits are here so I can start gluing and screwing tonight!!
My boy stopped by while I was working on my box and suggested I do 45's and resin the whole inside of the box. The 45's are supposed to help the bass flow smoothly out of the box, less turbulence inside. Applying resin to the whole inner area of the box will ensure there are no air leaks and adds strength and cuts down on the amount of reverberation from the panels. So will that being said I'll sides/back/port/top, done today but not the baffles as i'm going to go ahead and resin in the 45's and apply a layer or two of it to the rest of the inner area of the box.
My boy stopped by while I was working on my box and suggested I do 45's and resin the whole inside of the box. The 45's are supposed to help the bass flow smoothly out of the box, less turbulence inside. Applying resin to the whole inner area of the box will ensure there are no air leaks and adds strength and cuts down on the amount of reverberation from the panels. So will that being said I'll sides/back/port/top, done today but not the baffles as i'm going to go ahead and resin in the 45's and apply a layer or two of it to the rest of the inner area of the box.