Mod Guide: Dash Board Refresher
#1
I have had my turbo for over a year now and I figured it was time to update my dash a bit. Here is what it looked like before I did anything.
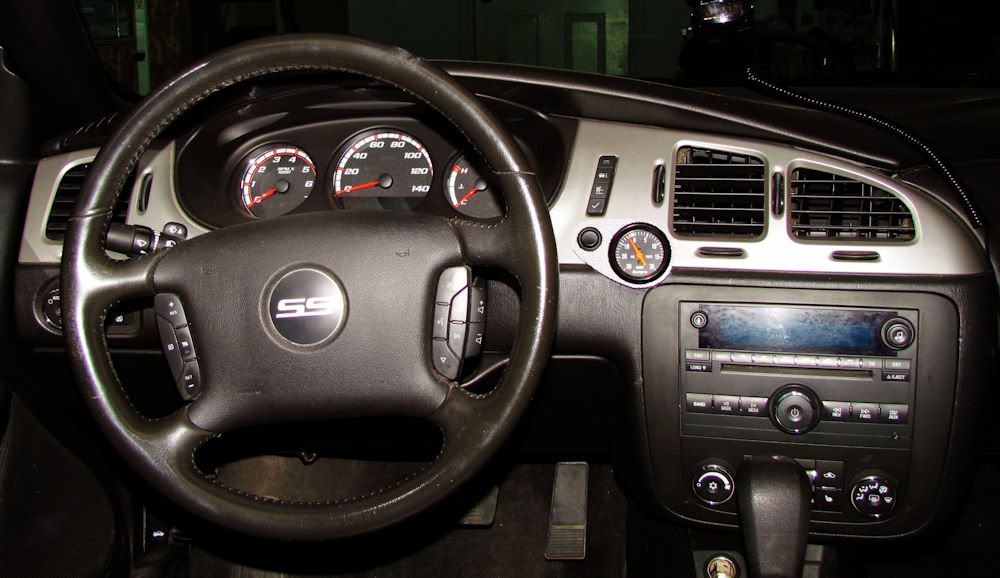
As you can see, it's not too bad. It came with a simulated carbon fiber finish that just doesn't look very good. I started by removing the parts that I want to paint.
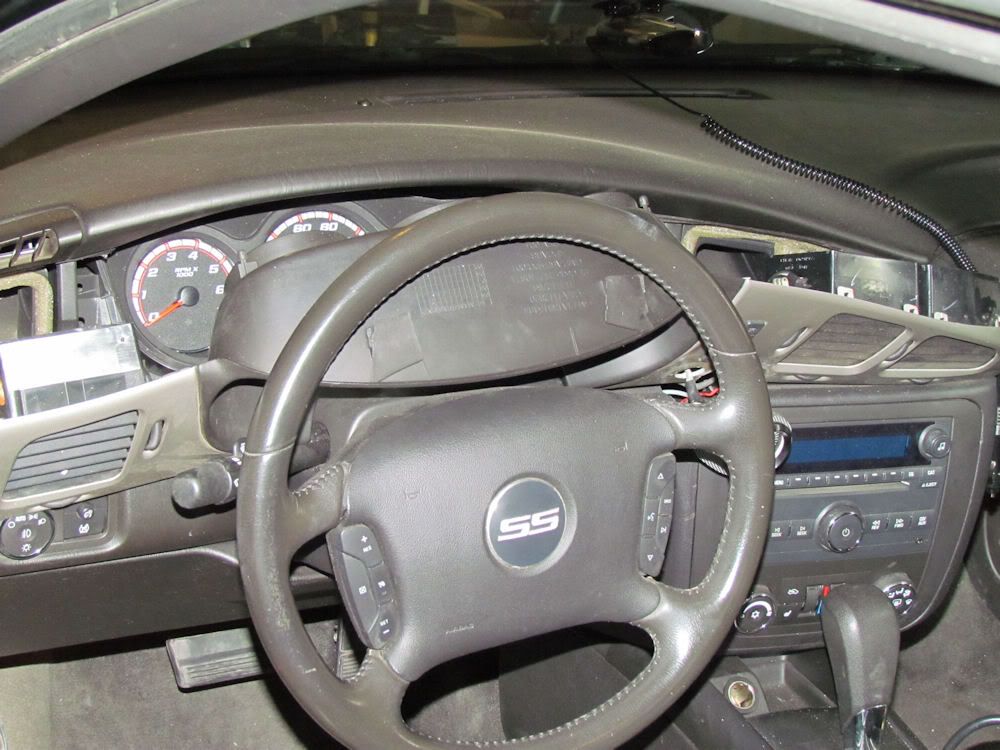
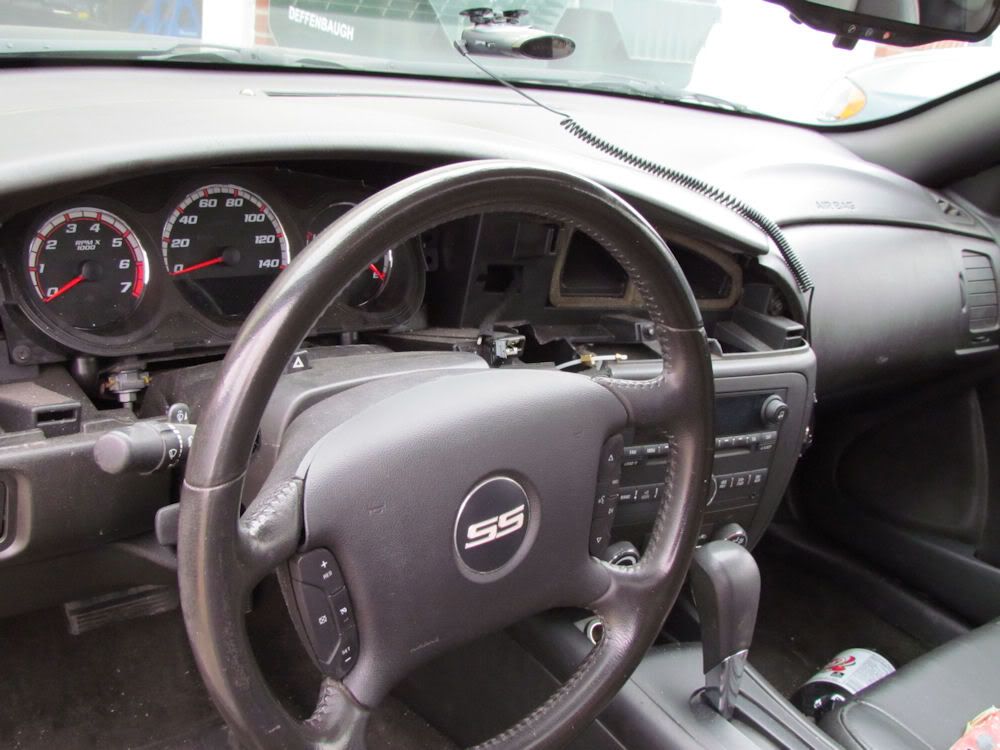
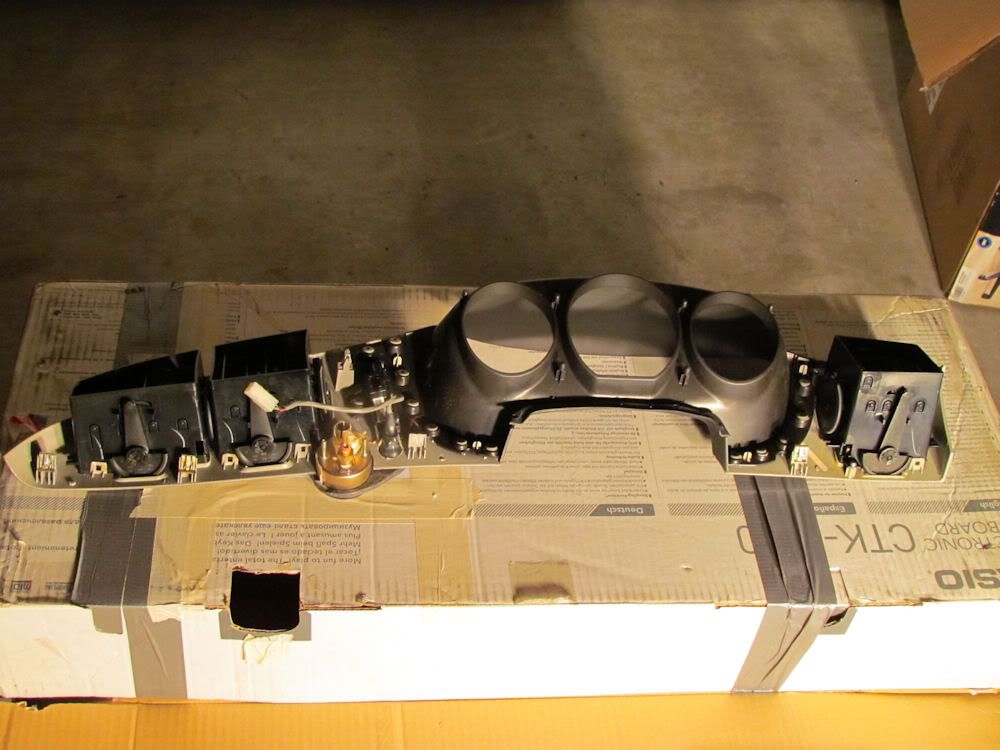
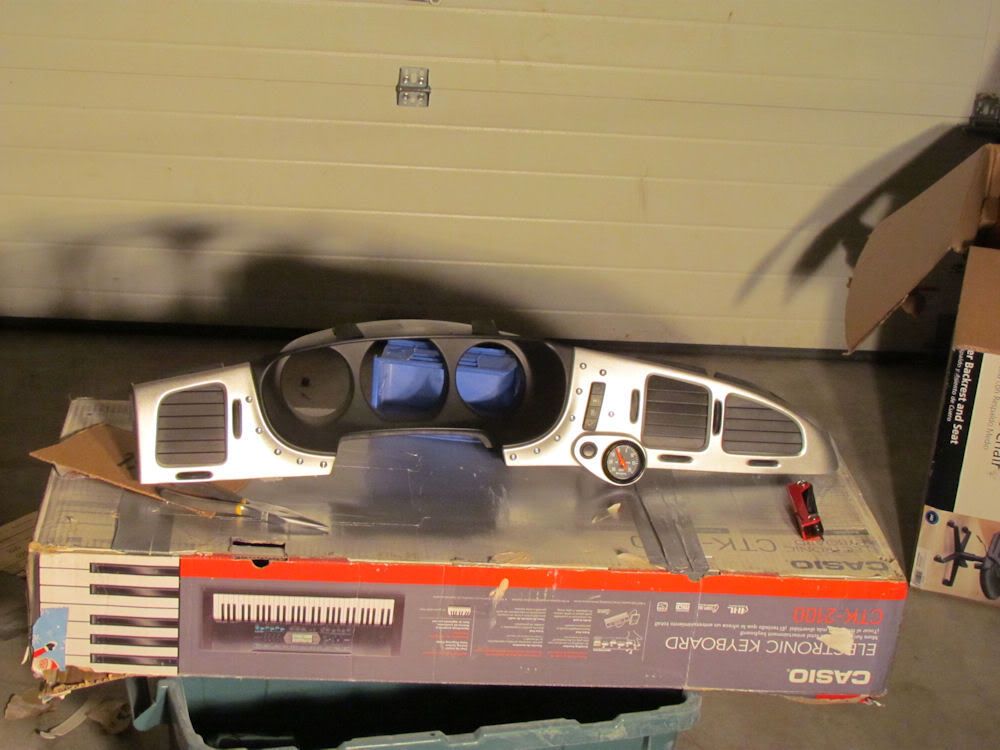
Once the parts were removed from The Beast, I laid it out to get a better idea of what I'm getting myself into.
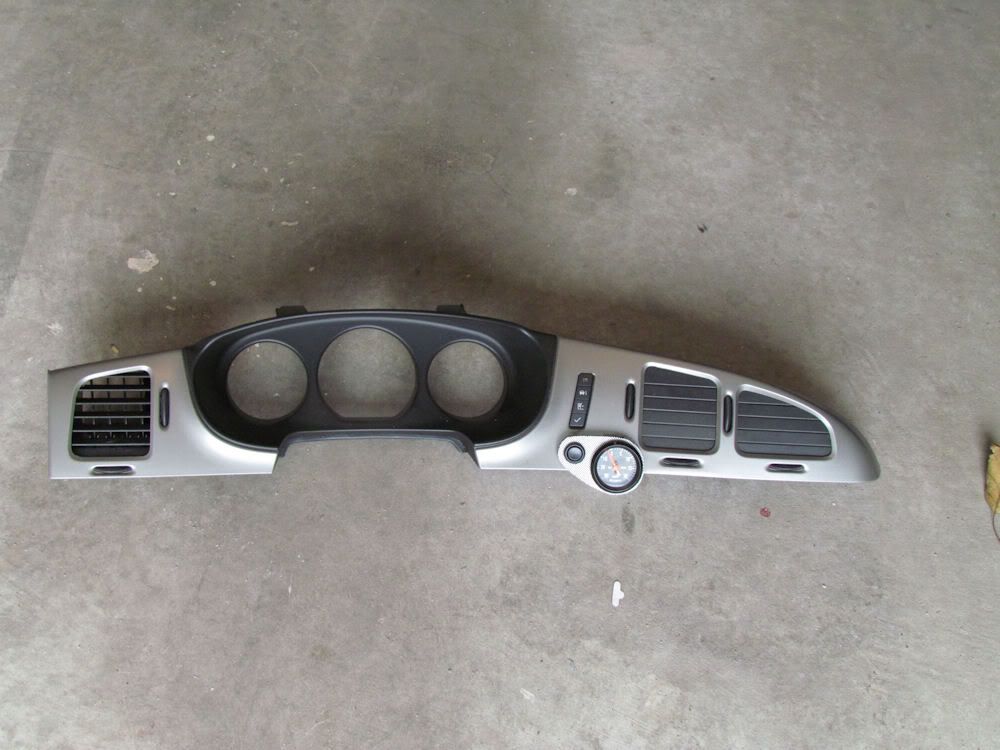
All of the parts that aren't going to be painted are removed from the main section.
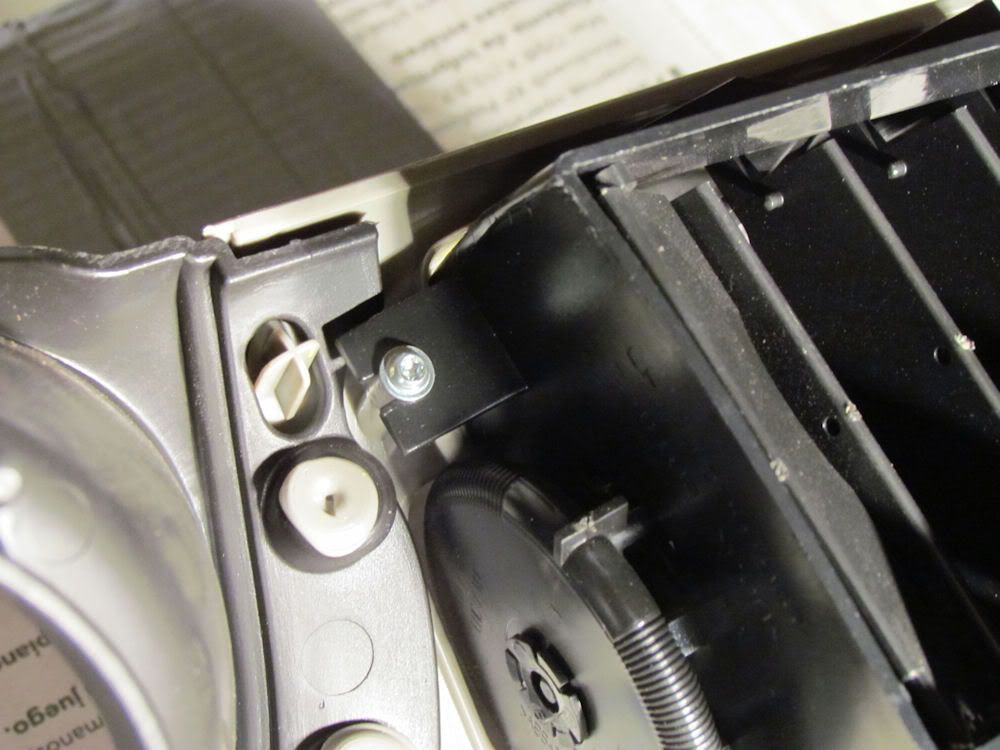
One of the vents are connected via torx bit. Make sure you have one of these before you start this project.
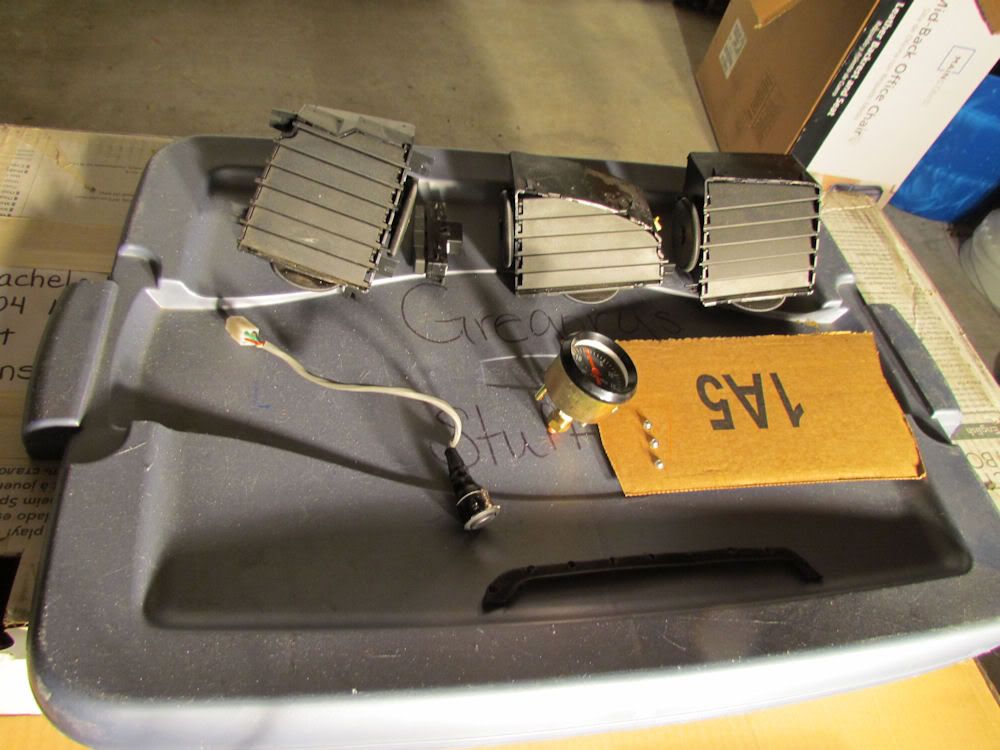
Here are the vents removed from the main part of the dash.
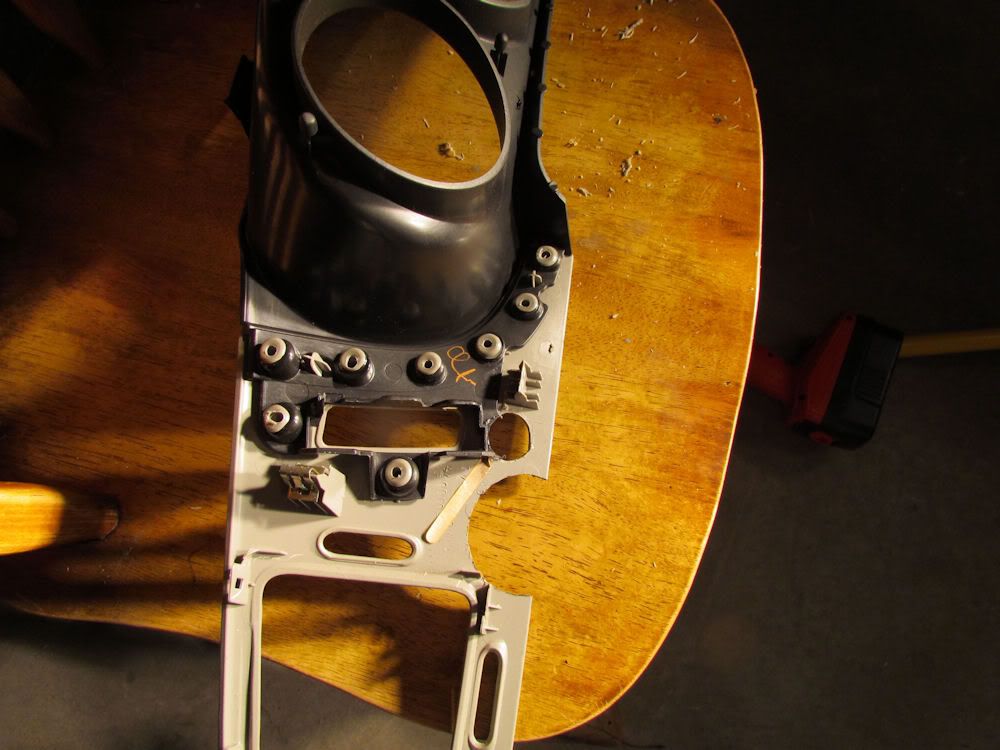
Now you remove the simulated carbon fiber panels that are attached via a weird melted plastic connection. To remove them, I drilled through the melted plastic until the panels came off. This works for how I wanted to do it, because I plan on having exposed hardware.
Using aluminum rivets and super glue, I permanently attached the plexi gauge surround to the backing.
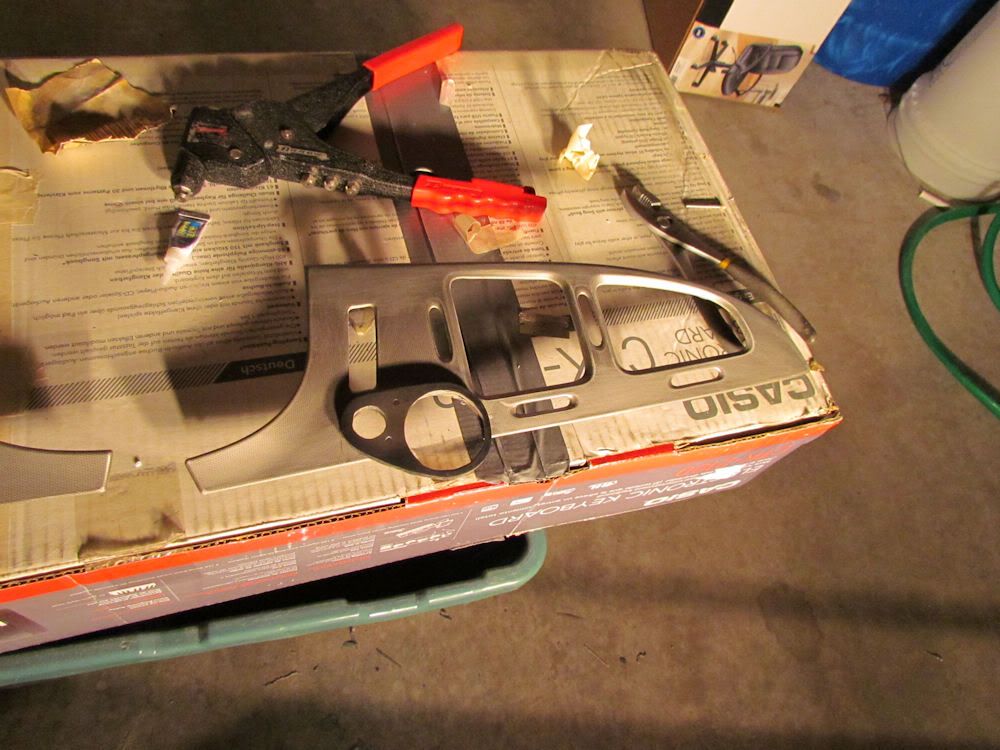
The "carbon fiber" is just a sticker that GM put over their gray plastic dash to spiffy it up some. There was a reaction between the sticker and the Bondo so I had to sand the whole piece until every last inch of the sticker was gone. Once that was complete, I built up around the bezel until I was happy with how it looked.
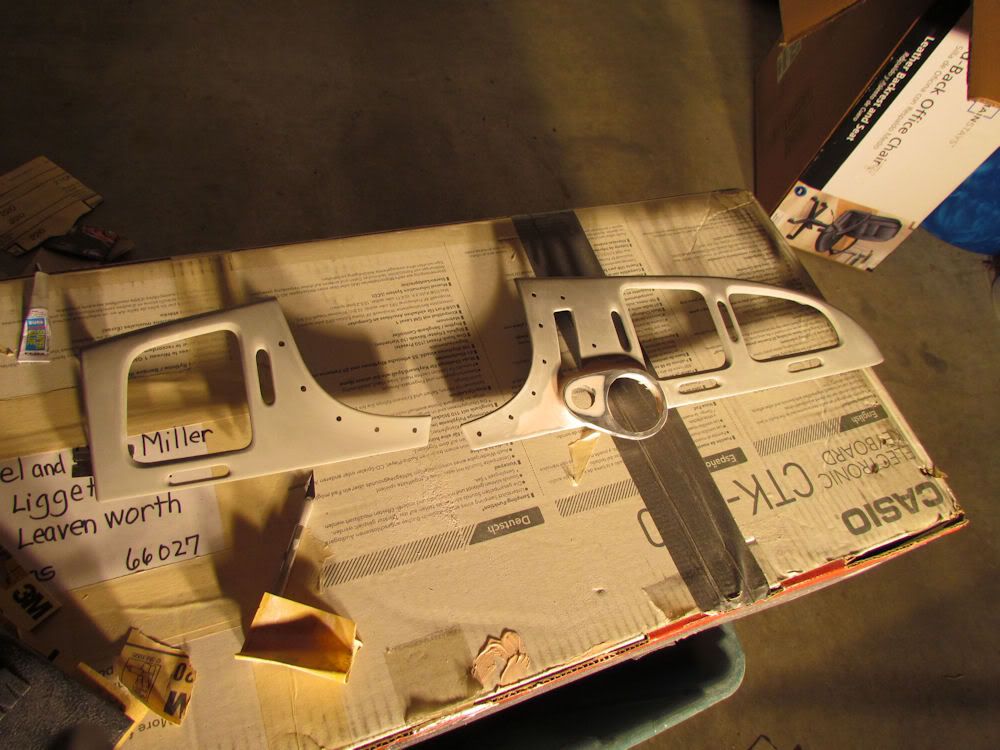

As you can see, it's not too bad. It came with a simulated carbon fiber finish that just doesn't look very good. I started by removing the parts that I want to paint.


Once the parts were removed from The Beast, I laid it out to get a better idea of what I'm getting myself into.

All of the parts that aren't going to be painted are removed from the main section.

One of the vents are connected via torx bit. Make sure you have one of these before you start this project.

Here are the vents removed from the main part of the dash.

Now you remove the simulated carbon fiber panels that are attached via a weird melted plastic connection. To remove them, I drilled through the melted plastic until the panels came off. This works for how I wanted to do it, because I plan on having exposed hardware.

Using aluminum rivets and super glue, I permanently attached the plexi gauge surround to the backing.

The "carbon fiber" is just a sticker that GM put over their gray plastic dash to spiffy it up some. There was a reaction between the sticker and the Bondo so I had to sand the whole piece until every last inch of the sticker was gone. Once that was complete, I built up around the bezel until I was happy with how it looked.

Last edited by MillerMonteSS; 03-26-2011 at 08:57 PM. Reason: Deleted a comment that was necessary to put out there.
#2
After the first coat of paint I was starting to really like the way it was looking.
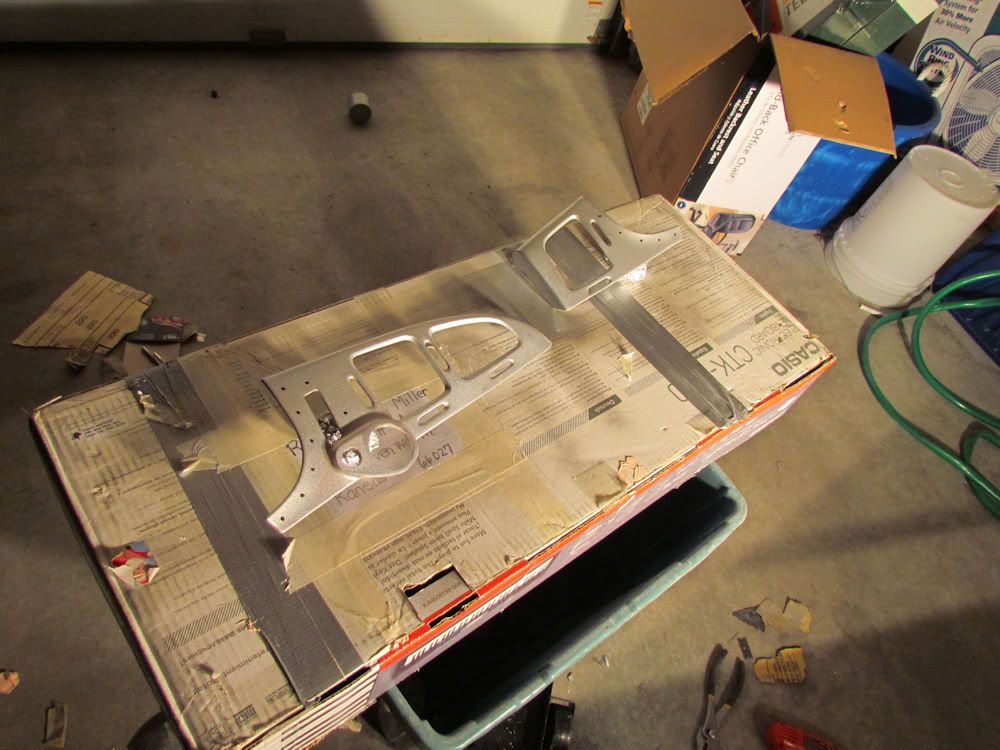
Once all of the paint is dry, I reassembled the dash.
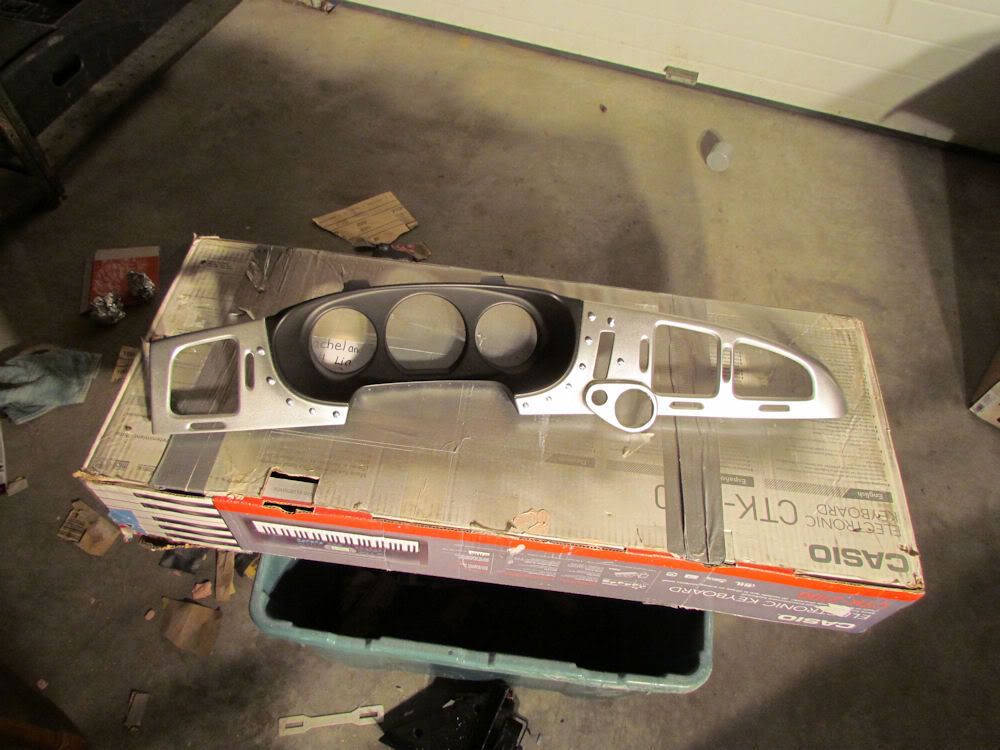
After all of the components are installed, you just put the dash back on.
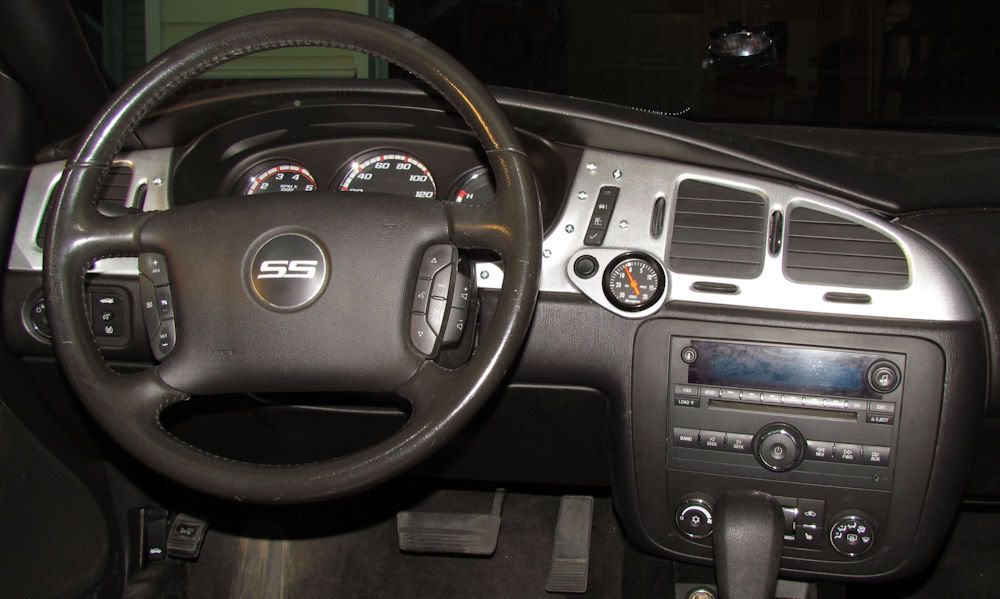
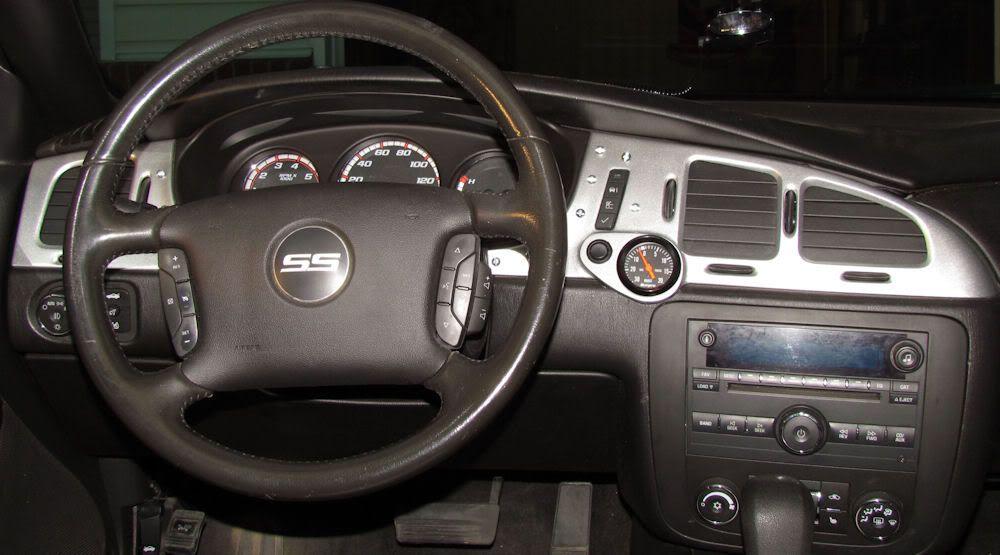
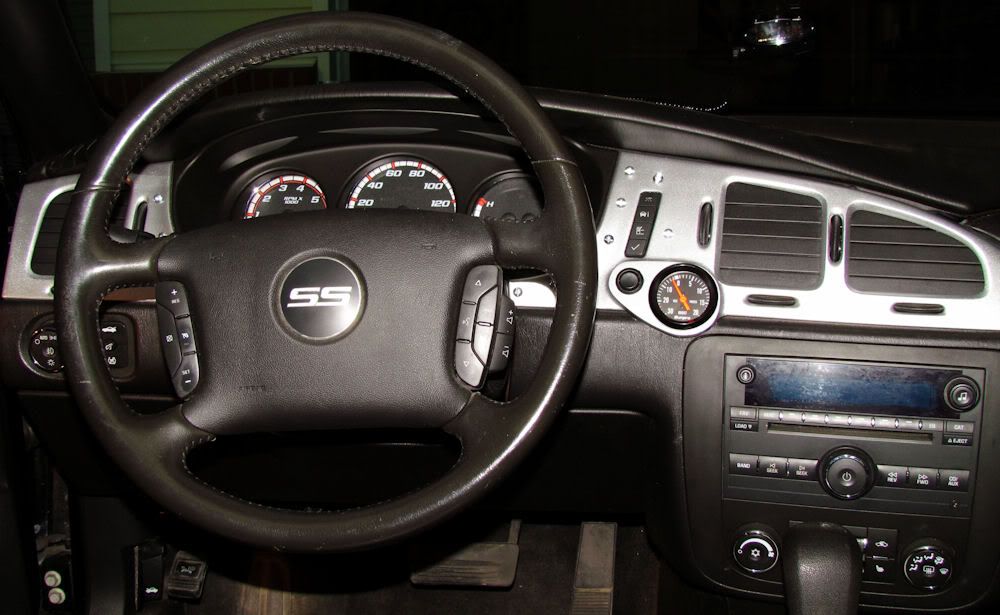
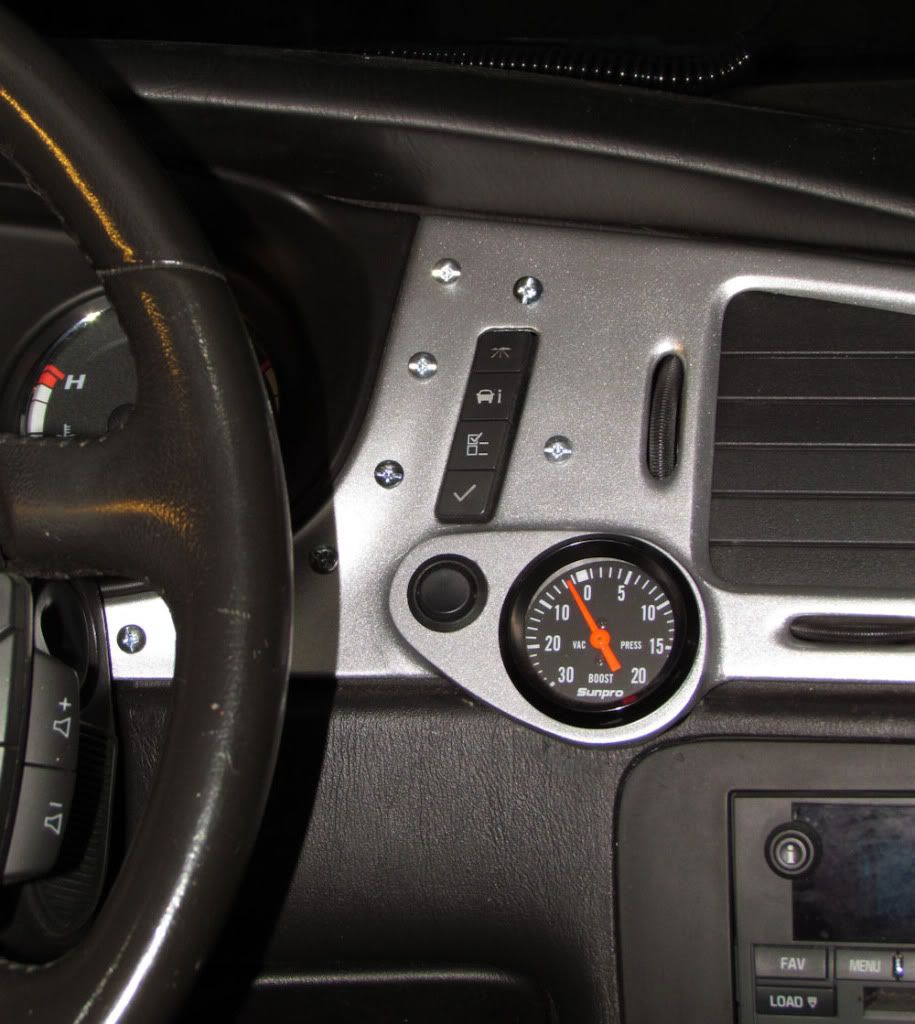
I really like the smooth look and the exposed hardware.
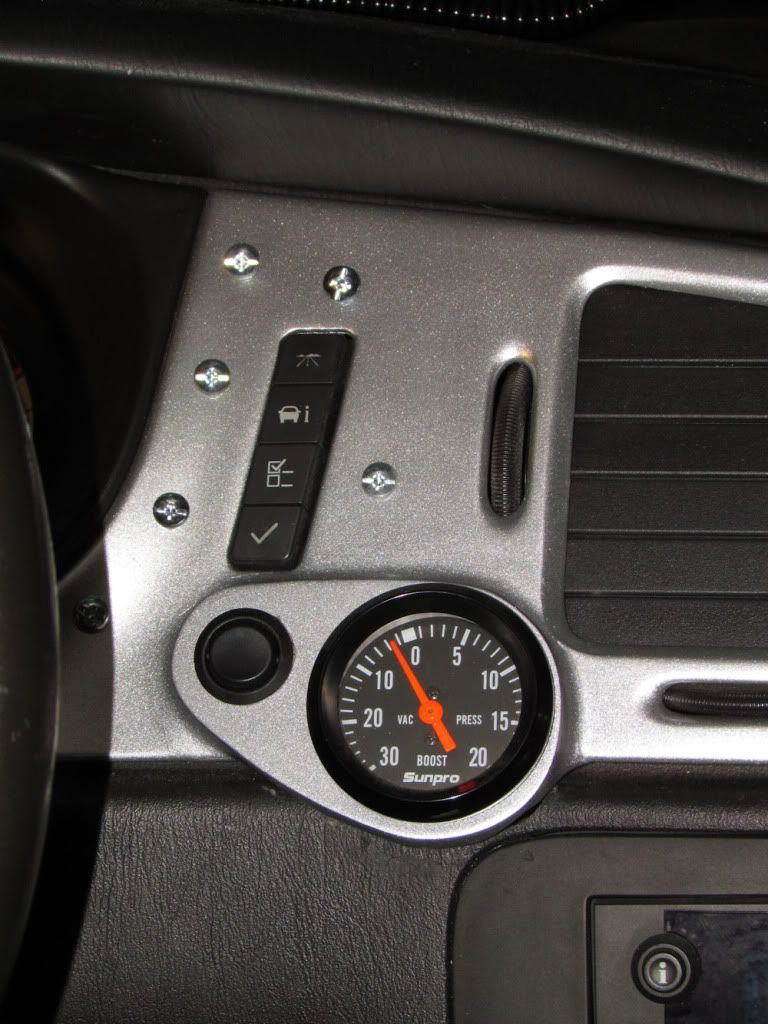
That concludes my write up! I hope you enjoy!

Once all of the paint is dry, I reassembled the dash.


After all of the components are installed, you just put the dash back on.


I really like the smooth look and the exposed hardware.

That concludes my write up! I hope you enjoy!
#7
Thanks guys! I am going to replace the bolts with the type that just look like a round bead eventually. I just needed the car put back together before work today.


