Mod Guide: How to Suede Your Headliner


Thread Starter
|

Joined: Jan 2010
Posts: 85
From: Metro Detroit
All righty so im on house arrest right now and have nothing to do but customize the beautiful Mrs. Carlo. Which is straight because iv been doing so much to my car lately and have tons more to do. 1 of the things thats in progress right now is switching out my ugly gray headliner with black suede to match my 2004 SS's Black interior. While all my stuff is out of my car im allso going to suede the visors and the sunroof cover. im all so going to paint the "this guy drives like a madman handle", the visor plastic pieces, the overhead console, the coat hangers and the dome light black. (I might nightshade the dome light cover watcha guys think?)
Step 1 Removing The Headliner
(read all before actually doin this)
To do this your going to need to take the top rear and front panels off on both sides.
1.First take off the seatbelts. Theres 1 big *** torx screw that needs to be removed and thats all. (Thumbnail Pic)
2. Remove the coat hanger hook thing. There is a slot on there for sticking a flat head screwdriver, now your gonna have to pry pretty hard but just pry out with this little hole. it will probably come out some at first but then you have to keep prying until the whole thing pops out. it should be about an inch and a half long. after thats off the hook will come right off.
3 repeat on the other side then firmly but GENTLY remove both panels. rear panels (you might need to unplug the antenna wire)
4. remove the front panel. you dont have to completely remove this panel but at least remove the part that touches the headliner (youl understand once you try) Be even more GENTLE with this panel its much easier to break.
5. remove the dome light. first take the clear plastic part off. next take a flathead screwdriver and GENTLY pry the passenger side down while giving pressure towards the driver side. after you get it off its gonna be hanging by 2 wires. just snip them and reattach later. (Thumbnnail)
6.remove the sun visors. there are 3 torx screws holding in the visor(torx 20). remover these and the visor will hang there by its wires. I simply snipped these wires theres only 2. There is all so the thing that holds the visors when its latched up thats held on by 1 torx 20. remove that. repeat on other side. (Thumbnail)
7. Unplug your rear view mirror. If you have the overhead console with the sunroof switch remove that. Theres a single torx 20 bolt at the back holding this console in.
8. Now this part i was a little confused as to what to do so i did it anyways. now at both rear corners of the headliner there is a thick conduit of wires running from the rear panel to the headliner. On the passenger side there are 9 wires i believe. now i just cut these.. after i peeked to see that they were color coded. well it turns out there are 2 solid orange wires and 3 brown wires..... so im gonna have to test light them all and see if i can figure out if there any different or find out what they do. theres all so a conduit of wires(i think 6 wires) on the driver rear corner. i cut these all so. Now i wish there was a better way to do this but i really couldnt see one so please take some different colored markers or something and mark which wires go to which wires cause there the same damn color. they might be the same though ill post what they are later on.
10. remove the 2 plastic pull out screws with a door panel remover or a wrench (Thumbnail)
11. Slide both seats all the way back and recline both all the way and drop your steering wheel as low as it will go.
12. Take it off. now your headliner should be looking pretty hangy by now but dont just try to rip it off. there is velcro (yes velcro) that holds it in place at certain spots so UNDO ALL VELCRO FIRST. after that its off.
13. Once the headliner is off twist it and get it out the passenger door. this is a little bit tricky but not to hard with our big *** coupe doors. your going to have to bend it just a little bit to get the first corner out but after that its good.
Heres a short lil vid of the headliner off and me explaining how stupid i am
Please do not ask me how i got my interior sunroof sliding cover off because i dont know what i did to get it off. mine was half broken so i was able to take it out through the open sunroof. then i realized something... my sunroofs open...... and the headliner with the sunroof switch is out..... and all the wires are cut..... so i just put a tarp over the roof even though its nice outside. You just cant be to safe with such a beautiful car.
Allrighty thats all i have right now but stay tuned because tomar im painting all of the pieces black, disassembling the visors and dissembling the overhead console and painting errrrry thinng.
I would have done the "sueding" tonight but i dont have the suede yet its still in the mail. the suede should arrive in 2 or 3 days so ill have this completed then. in the mean time stay tuned monte customizers, more good stuff on the way.


Thread Starter
|
Joined: Jan 2010
Posts: 85
From: Metro Detroit
Yeah they absolutely are a pain. I just finished doing everything except reinstalling it. I spent at least 5 hours on them visors but its done. the visors have some very slight flaws but everything turned out looking great. Michigan weather kinda took a dump on me though, its been sunny and 60 degrees out and the next day its 30 out and supposed to rain/snow.... and my sunroof is still open. watev ill be posting more later on, and even more when its completely installed.
Thread Starter
|
Joined: Jan 2010
Posts: 85
From: Metro Detroit
Ok i have everything done except for the installation of the headliner in my car. it was getting dark as I finished plus Michigan weather was beautiful the 3 days before spring, but on the first day of spring it dropped 40 degrees and is now well bellow freezing... Anyways installation and final pics will come.
Step 2 Fabricatin that thang
Things I used
Black Microfiber Suede - I bought this on ebay for around 15 bucks a yard and bought 5 yards. If your doing your headliner you really only need 3 but i like extra. When i got this product i realized just how super thin it was and wasnt very happy with how it felt in softness. but after i put it on i was more then happy. The extra carpet underneath gave it that nice softness.
3m adhesive spray 90(Green aerosol Can) some people say this stuff doesnt hold up but from my trial and error it seems pretty damn strong and i trust it.
Regular office stapler.
Sharp X-acto knife
Sharp Scissors
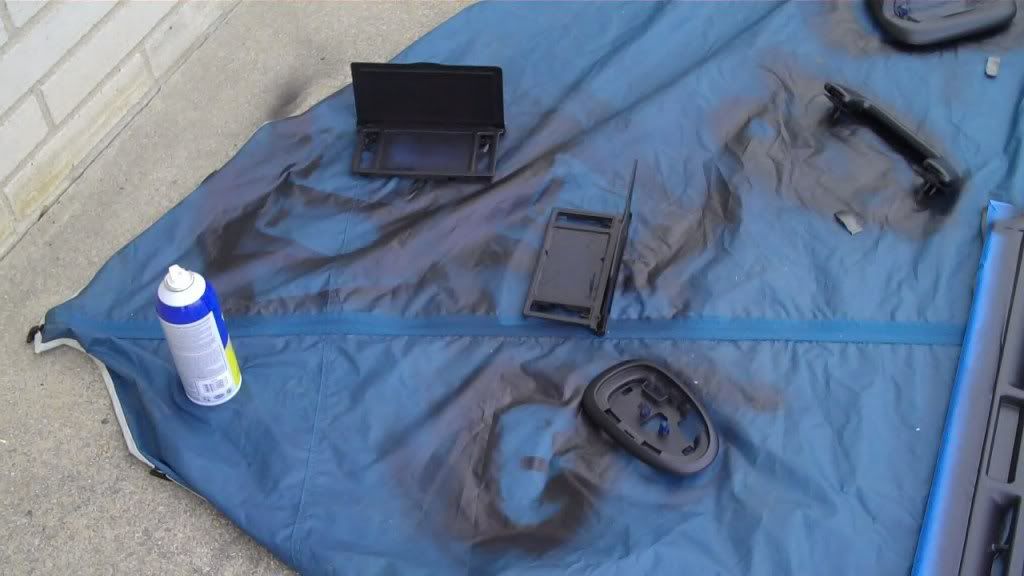
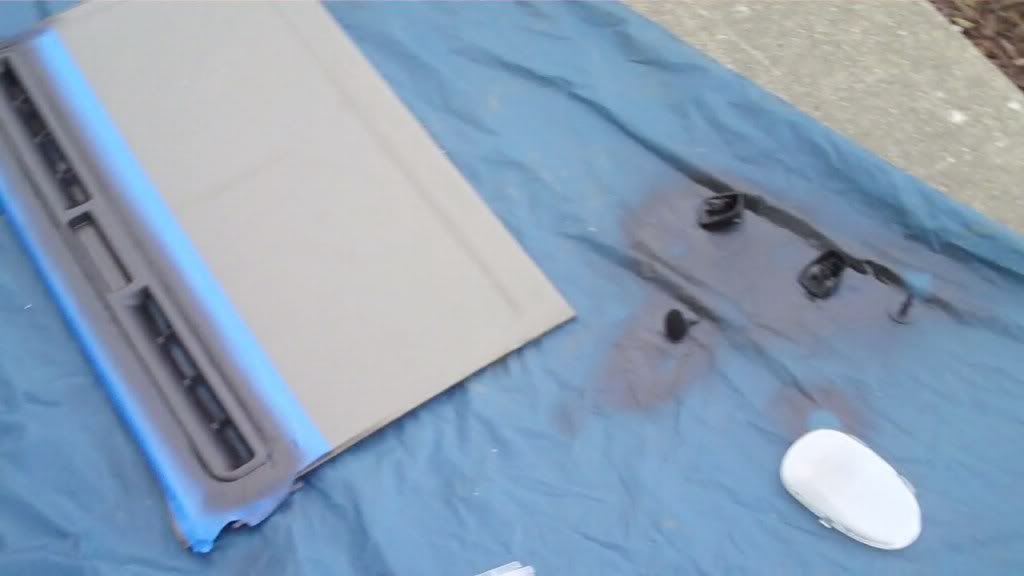
Black Plasti Dip Aerosol "Paint" - I used this to do all the plastic at the top. This stuff isnt actually paint but rubber or plastic or something. It sprays on anything and looks good. But im not very happy with it. Its the easy way out. It doesnt feel very good and it doesnt actually paint. once it drives its like having a giant rubber blanket over everything. A scratch isnt a scratch with this stuff its more like a rip. and you can grab that rip and peel all the "paint right off in under 2 seconds with no residue. Nice but not nice
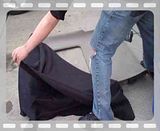
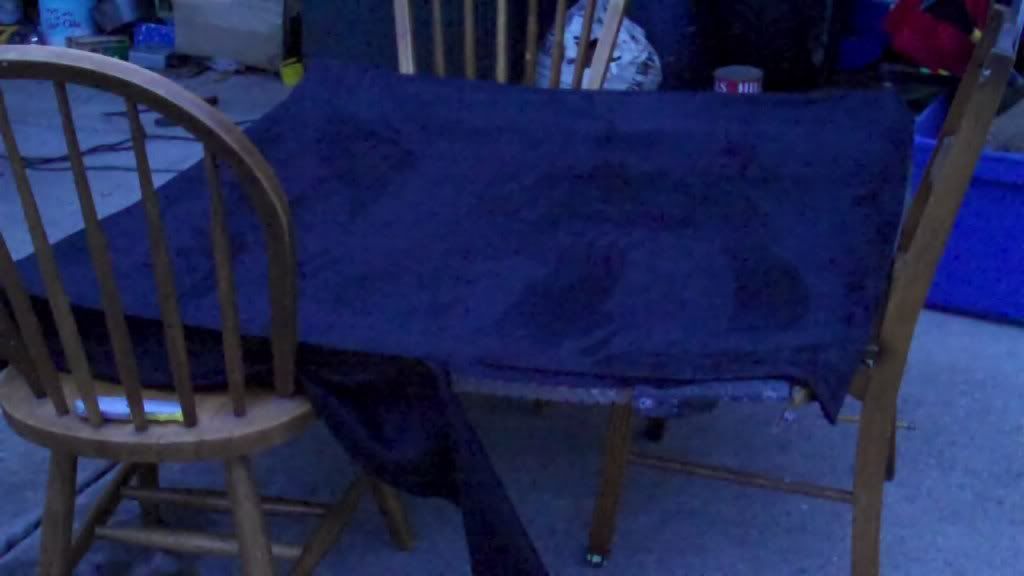
Fabricatin the upholstry- Dont do this in your house, go outside or a garage or somewhere. I have a video of me fabricating for the very first attempt. Use this to give you a rough idea of what to do but dont actually do sections so big or do it on the ground. Grab a table or 3 chairs and prop up your upholstery. Starting from the center spray small sections(about 1/3 the size as in the vid) of the upholstry with the adhesive. work your way towards the edges of the upholstry smoothing out any wrinkles as you go. work your way all over the front of the fabric and dont worry about tucking in edges or overhang yet. After the front is glued on go around the edges and a couple inches on the backside of the upholstry and pull it tight and glue. after you have the whole thing glued cut off any overhang. I let mine sit overnight before cutting any holes in for sun roof, sun visors, oh crap handle etc.
The next step is to cut holes for everything that sticks out. I had to cut holes for the Upper consul, 4 holes for sun visors, 1 for sunroof, 1 for dome, 2 for oh **** handle, and 2 for the plastic plug things. now if your just cutting a hole for something that only needs a screw to pass through just poke a hole. if its for something such as the sunroof you need to do some more precision cutting and some more gluing of the fabric to the opposite side. with the counsel and dome light you can be kinda sloppy because the stuffs going to sit right over any imperfections but with the sunroof you need to make sure it looks good.
I cannot stress how importance patience is with this. All ways cut overhang last. if you accidentally cut something to short the whole piece is wasted.
Be smart and know what situation is good for X acto and for the scissors. you need both.
If you can get your sunroof cover off and managed to do the upholstry this will be pretty self explanatory.
Step 2 Fabricatin that thang
Things I used
Black Microfiber Suede - I bought this on ebay for around 15 bucks a yard and bought 5 yards. If your doing your headliner you really only need 3 but i like extra. When i got this product i realized just how super thin it was and wasnt very happy with how it felt in softness. but after i put it on i was more then happy. The extra carpet underneath gave it that nice softness.
3m adhesive spray 90(Green aerosol Can) some people say this stuff doesnt hold up but from my trial and error it seems pretty damn strong and i trust it.
Regular office stapler.
Sharp X-acto knife
Sharp Scissors
Black Plasti Dip Aerosol "Paint" - I used this to do all the plastic at the top. This stuff isnt actually paint but rubber or plastic or something. It sprays on anything and looks good. But im not very happy with it. Its the easy way out. It doesnt feel very good and it doesnt actually paint. once it drives its like having a giant rubber blanket over everything. A scratch isnt a scratch with this stuff its more like a rip. and you can grab that rip and peel all the "paint right off in under 2 seconds with no residue. Nice but not nice
Fabricatin the upholstry- Dont do this in your house, go outside or a garage or somewhere. I have a video of me fabricating for the very first attempt. Use this to give you a rough idea of what to do but dont actually do sections so big or do it on the ground. Grab a table or 3 chairs and prop up your upholstery. Starting from the center spray small sections(about 1/3 the size as in the vid) of the upholstry with the adhesive. work your way towards the edges of the upholstry smoothing out any wrinkles as you go. work your way all over the front of the fabric and dont worry about tucking in edges or overhang yet. After the front is glued on go around the edges and a couple inches on the backside of the upholstry and pull it tight and glue. after you have the whole thing glued cut off any overhang. I let mine sit overnight before cutting any holes in for sun roof, sun visors, oh crap handle etc.
The next step is to cut holes for everything that sticks out. I had to cut holes for the Upper consul, 4 holes for sun visors, 1 for sunroof, 1 for dome, 2 for oh **** handle, and 2 for the plastic plug things. now if your just cutting a hole for something that only needs a screw to pass through just poke a hole. if its for something such as the sunroof you need to do some more precision cutting and some more gluing of the fabric to the opposite side. with the counsel and dome light you can be kinda sloppy because the stuffs going to sit right over any imperfections but with the sunroof you need to make sure it looks good.
I cannot stress how importance patience is with this. All ways cut overhang last. if you accidentally cut something to short the whole piece is wasted.
Be smart and know what situation is good for X acto and for the scissors. you need both.
If you can get your sunroof cover off and managed to do the upholstry this will be pretty self explanatory.
Thread Starter
|
Joined: Jan 2010
Posts: 85
From: Metro Detroit
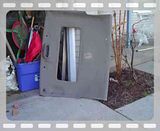
Sun Visors- These are sooo hard. I give myself an A+ for effort. a C+ in final result and a no ones gonna notice except for me mindset to stop me from retrying more then 5 times. First of all let me start by explaining why these are such a pain. the sun visor is 2 piece of plastic permanently stuck together with the stock carpet wrapped around and then sandwiched between the 2 permanent piece of plastic to hold it in place. The only way to separate this plastic is to break it. and trust me i tried, and you dont wanna try. What i did (if anyone have any better suggestions please god tell me cause this was a pain) was remove the mirror and fabricate the whole thing. I tried to maintain the little thing that pulls out to give you extra extended visor but it didnt happen. this little thing was all ways where it went wrong so i just fabricated over it. I have never used it in my life and dont plan on it. (actually i dont even use my sun visors ever, I have tints and shades) anyways after i sueded the whole thing i very actually cut it and used a flat head screw driver and pushed a very tiny amount a slack between the plastic all the way around.. i gave 5 attempts on the first one and after i figured out exactly how i was gonna do it i did the other one first try. i cut a hole for the mirror and used a computer power supply to make sure the folding activated light was still working. I allso cut a hole for the little bar.
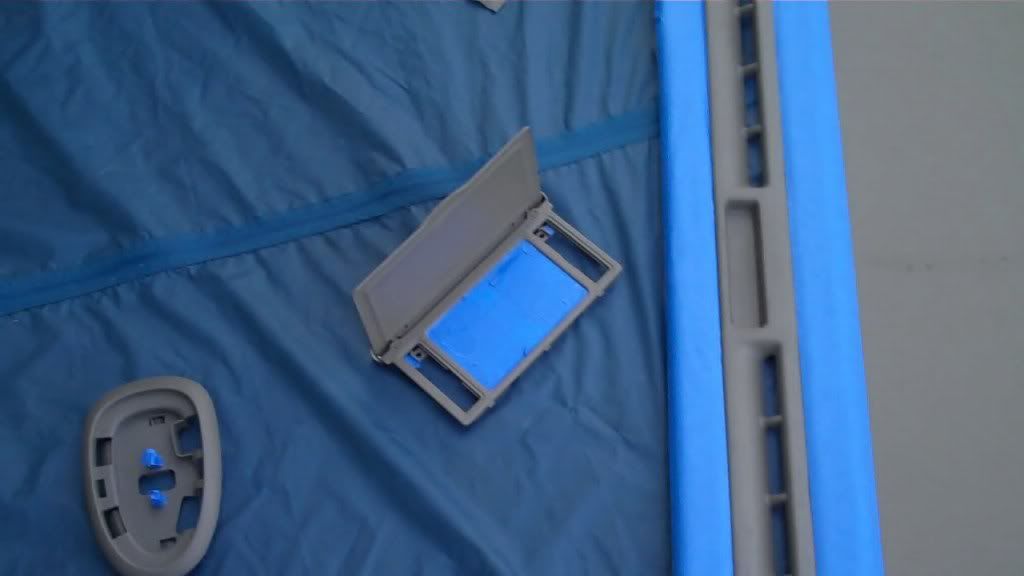
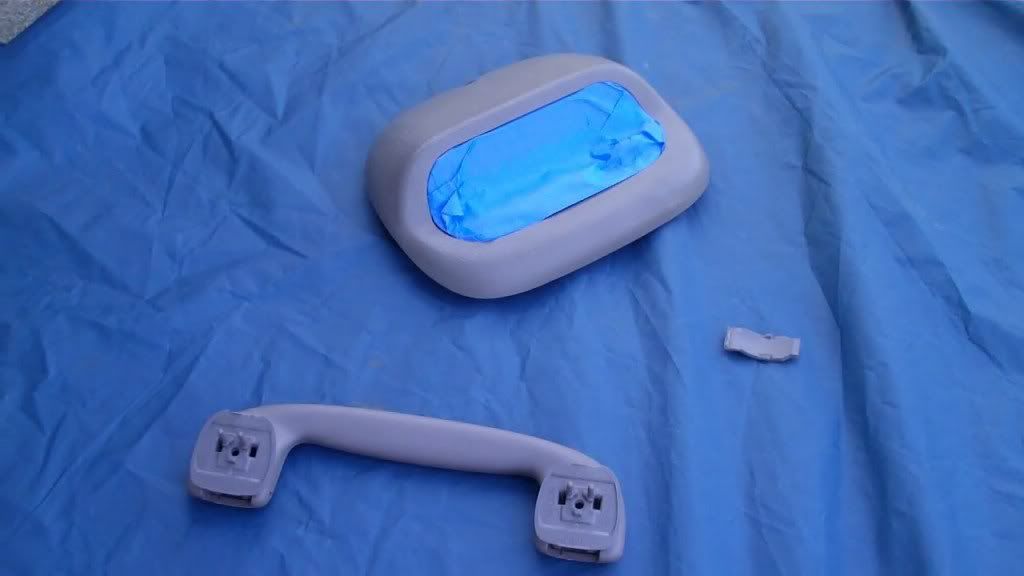
Painting The plastic pieces.
This is very self explanatory. Just use tape and tape up any parts you dont want to get painted and paint whatever way you want.
Lil finished vid
Still to come-
pics of it in the car
reinstall instructions
better sun visor pics
Painting The plastic pieces.
This is very self explanatory. Just use tape and tape up any parts you dont want to get painted and paint whatever way you want.
Lil finished vid
Still to come-
pics of it in the car
reinstall instructions
better sun visor pics