The Long-Awaited, Super-Exciting Conclusion to the 1968 Ford Torino!!!!


It's been done, more-less, for about a month now. But I've been waiting for a C-Stripe to arrive, they sent us the wrong one, then we had to wait a month for the right stripe, and we finally got the darned thing on!!! So, lets start from the beginning. Following this link, you can see the restoration from start to finish, with the conclusion pictures also being posted here along with the same commentary.
http://www.fordforumsonline.com/foru...storation.html
And without further adieu, here is the commentary, picking up where I left off in April on this forum.
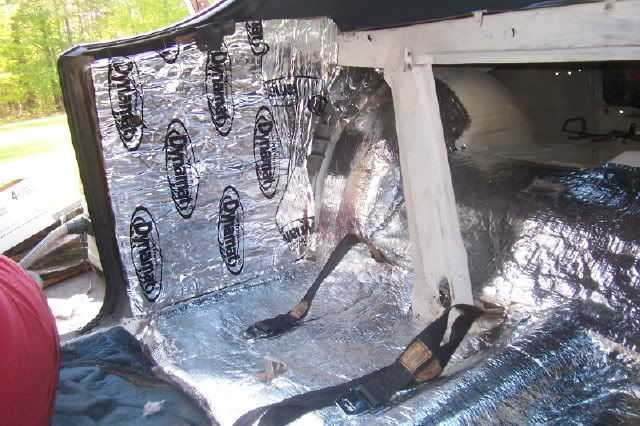
I decided to use dynamat along the back of the car to keep the sound down from my loud pipes and road noise. I lined it all and installed a door panel.
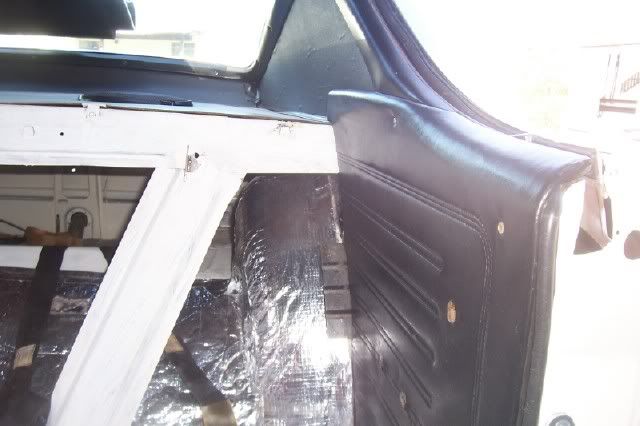
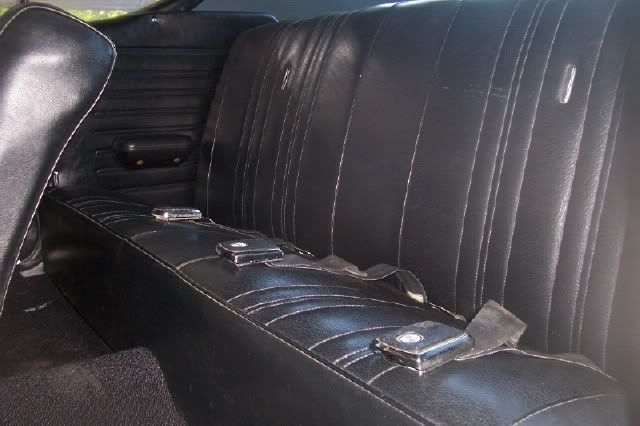
For the back seat, there is a series of pieces of carpet that go in so that when you open the trunk, you see carpet. There gives the car some more sound deadening quality. These pieces of carpet were steam-cleaned and reinstalled.
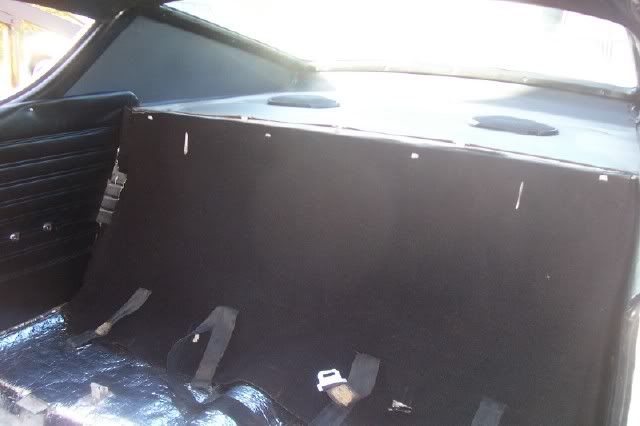
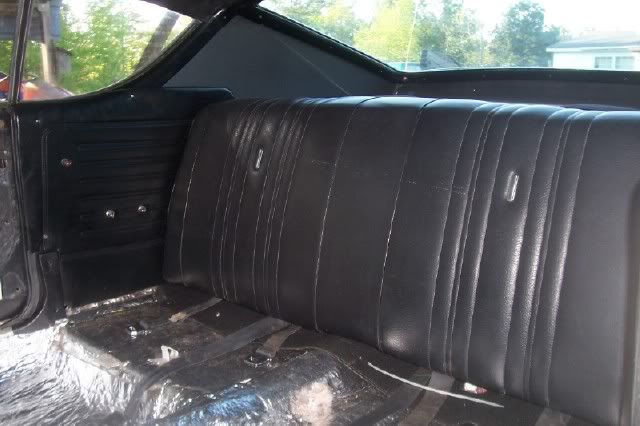
Then the back half of the back seat was ready to slide in and bolt down.
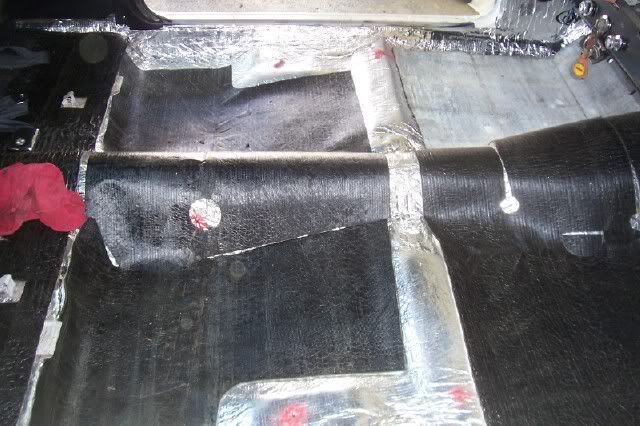
Along with dynamat, aluminum backed heat shielding insulation was placed along all of the floor pans and up the firewall of the car to help keep the heat down. It has worked well since driving it, as even on 90-100 degree days, the car isn't too bad to drive unless you are stopped.
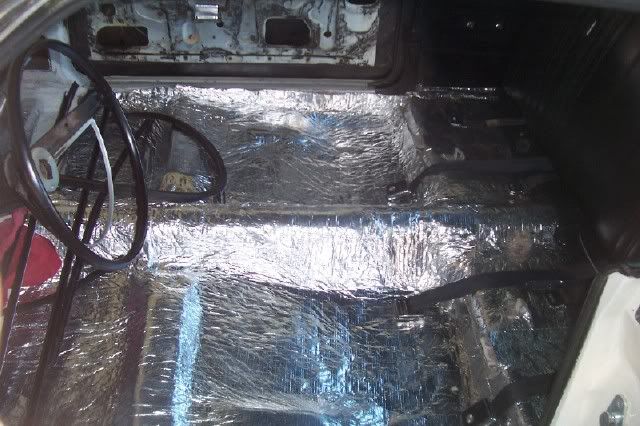
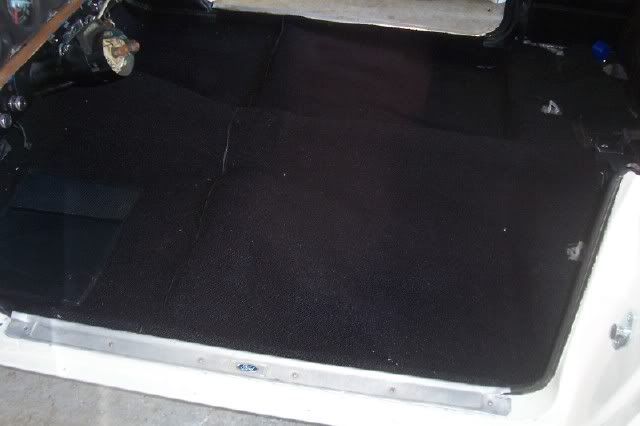
There are then another series of pieces that go down to hold the carpet in place. They feel like tar.
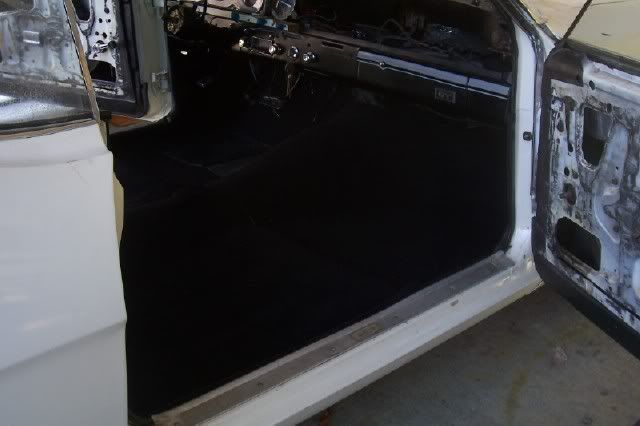
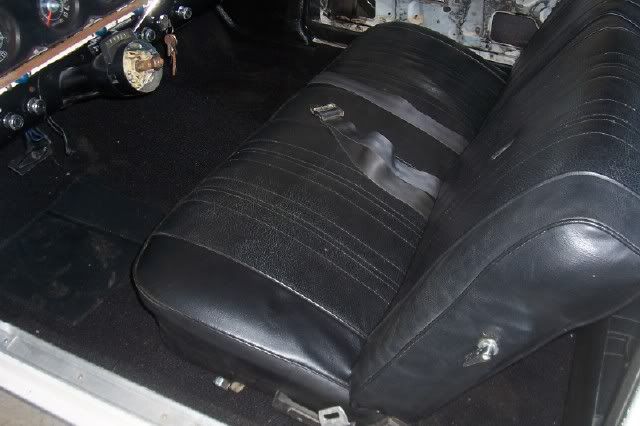
On top of that went the carpet. It had to have relief cuts made in it, screwed down in several places, trimmed to fit, and holes for the seats and belts punched in it. Here it is.
Then the rest of the back seat could be snapped into place.
And the front seat belts and the front seat could be installed.... this was a slightly bigger pain than it looks like, trying to punch holes for seat belts and seats in the carpet, and then find them with the seat belts and the seats.
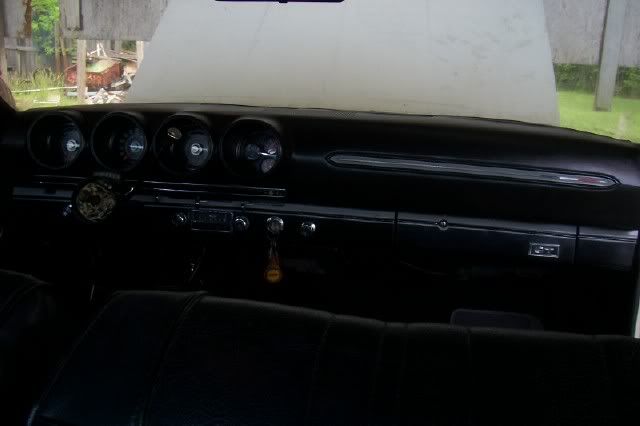
Then the dash pad could be made ready. The panel that lights up and tells you where the head light, wiper, and heat controls are was installed, plus the gray strip with the red, white, and blue bars was put on the dash and it was ready to go!
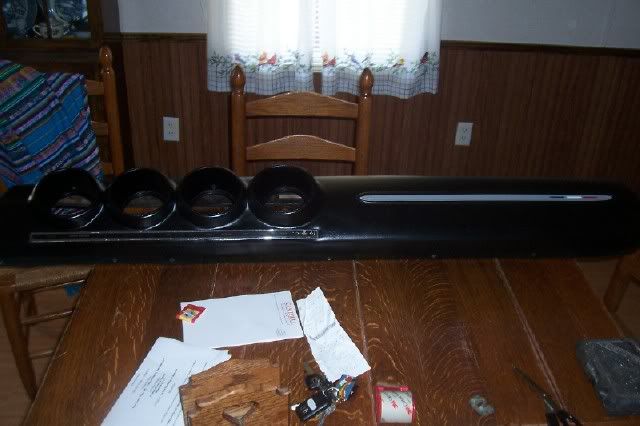
Then the dash was installed. Clips hold the front, and it screws into the metal dash from its bottom. All she needed now was a good steering wheel.
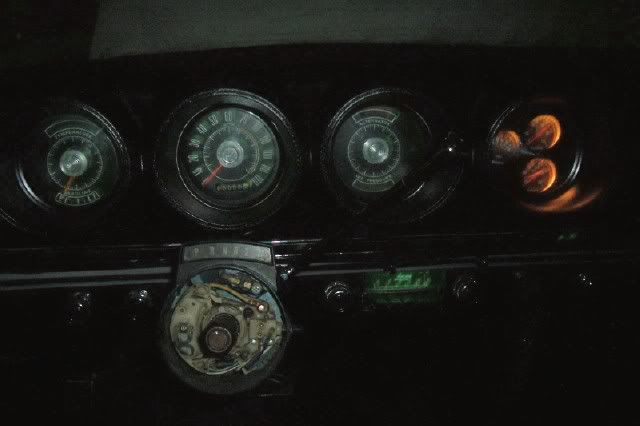
And here is a picture of my gauge cluster lit up at night.
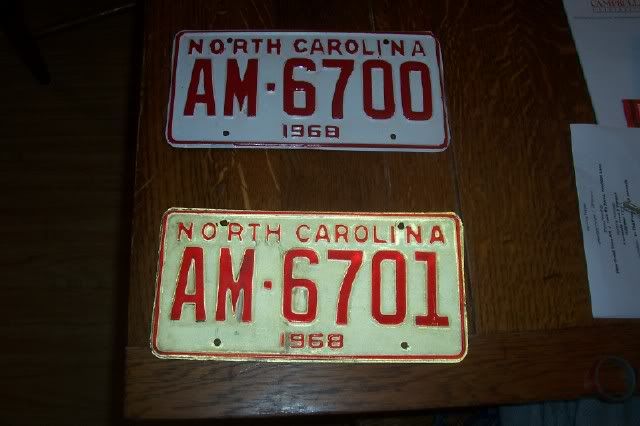
In North Carolina, it is legal to run a same-state, same year tag on a classic car. So I purchased and repainted a 1968 North Carolina license tag!! Although this picutre doesn't show it reflecting as well as it should, it was sprayed with reflective paint from Home Depot
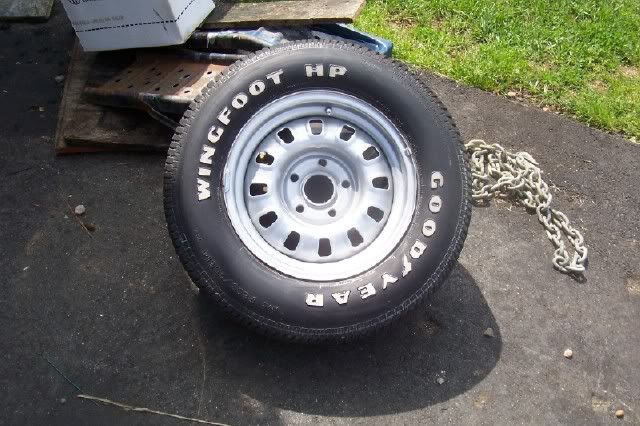
I then painted the wheels. These GT wheels came in chrome or painted varieties, and mine were the painted. On a white car, for some reason, I mysteriously prefer the painted. I sanded them down and bought some spray cans of metal color, spray on wheel paint from the parts store and painted them.
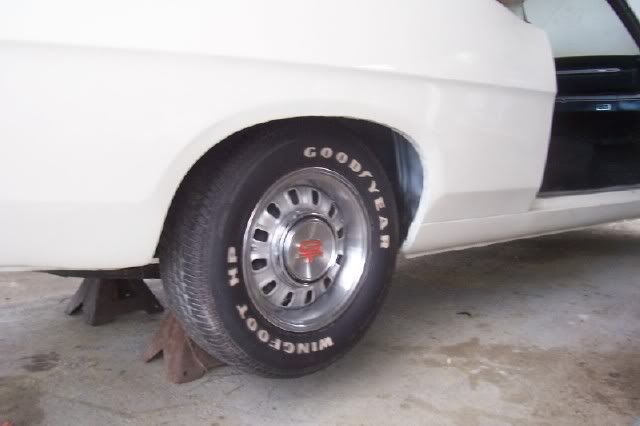
And it makes a heck of a difference on the car...
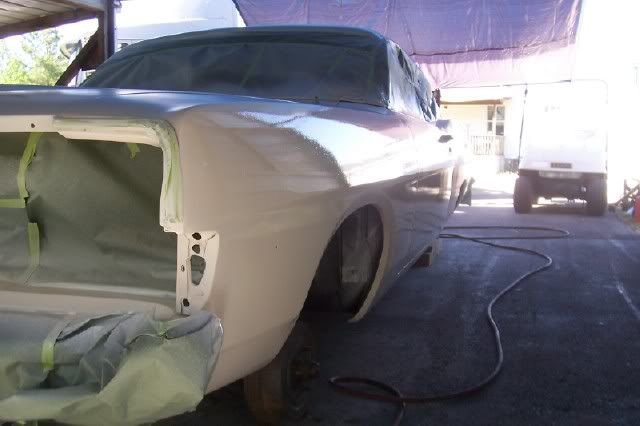
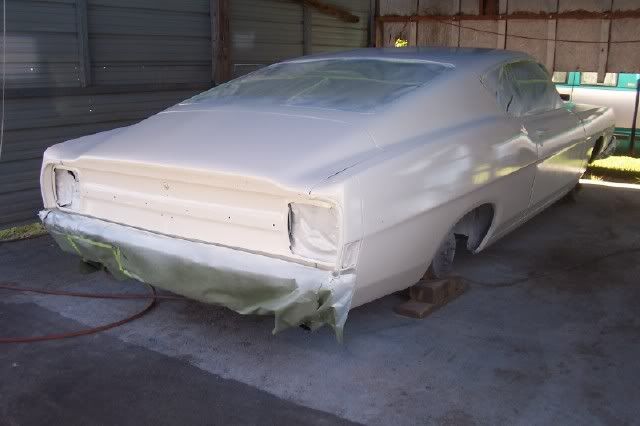
And now for a long story. We kept getting our paint mixed on a basis of when we needed it, we went and got it. We painted the trunk and door jams in August, body of the car in October, then the fenders and hood in about January-February, and when we bolted it all up, the body didn't match anything. We finally figured out after repainting the hood, fenders, and quarter fneder extensions a few times that the cars body must have been mixed to the wrong color. So we finally just bolted it all together, the paint store finally gave us a gallon of the right color mixed, checked, and re-checked it, and sprayed the car bolted together. Here are the pictures from that time. Base/clear coat PPG paint.
I put the wheels back on, slapped a steering wheel on it, and was ready to start driving it!!!!!!
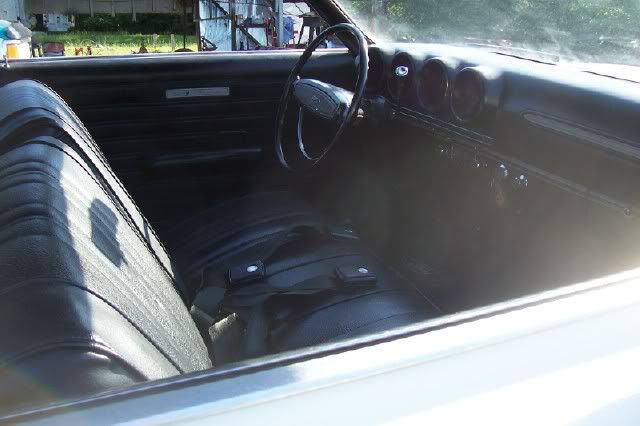
Here is the interior.
http://www.fordforumsonline.com/foru...storation.html
And without further adieu, here is the commentary, picking up where I left off in April on this forum.
I decided to use dynamat along the back of the car to keep the sound down from my loud pipes and road noise. I lined it all and installed a door panel.
For the back seat, there is a series of pieces of carpet that go in so that when you open the trunk, you see carpet. There gives the car some more sound deadening quality. These pieces of carpet were steam-cleaned and reinstalled.
Then the back half of the back seat was ready to slide in and bolt down.
Along with dynamat, aluminum backed heat shielding insulation was placed along all of the floor pans and up the firewall of the car to help keep the heat down. It has worked well since driving it, as even on 90-100 degree days, the car isn't too bad to drive unless you are stopped.
There are then another series of pieces that go down to hold the carpet in place. They feel like tar.
On top of that went the carpet. It had to have relief cuts made in it, screwed down in several places, trimmed to fit, and holes for the seats and belts punched in it. Here it is.
Then the rest of the back seat could be snapped into place.
And the front seat belts and the front seat could be installed.... this was a slightly bigger pain than it looks like, trying to punch holes for seat belts and seats in the carpet, and then find them with the seat belts and the seats.
Then the dash pad could be made ready. The panel that lights up and tells you where the head light, wiper, and heat controls are was installed, plus the gray strip with the red, white, and blue bars was put on the dash and it was ready to go!
Then the dash was installed. Clips hold the front, and it screws into the metal dash from its bottom. All she needed now was a good steering wheel.
And here is a picture of my gauge cluster lit up at night.
In North Carolina, it is legal to run a same-state, same year tag on a classic car. So I purchased and repainted a 1968 North Carolina license tag!! Although this picutre doesn't show it reflecting as well as it should, it was sprayed with reflective paint from Home Depot
I then painted the wheels. These GT wheels came in chrome or painted varieties, and mine were the painted. On a white car, for some reason, I mysteriously prefer the painted. I sanded them down and bought some spray cans of metal color, spray on wheel paint from the parts store and painted them.
And it makes a heck of a difference on the car...
And now for a long story. We kept getting our paint mixed on a basis of when we needed it, we went and got it. We painted the trunk and door jams in August, body of the car in October, then the fenders and hood in about January-February, and when we bolted it all up, the body didn't match anything. We finally figured out after repainting the hood, fenders, and quarter fneder extensions a few times that the cars body must have been mixed to the wrong color. So we finally just bolted it all together, the paint store finally gave us a gallon of the right color mixed, checked, and re-checked it, and sprayed the car bolted together. Here are the pictures from that time. Base/clear coat PPG paint.
I put the wheels back on, slapped a steering wheel on it, and was ready to start driving it!!!!!!
Here is the interior.
Split for the reason that I cannot post more than 20 images in a single post..
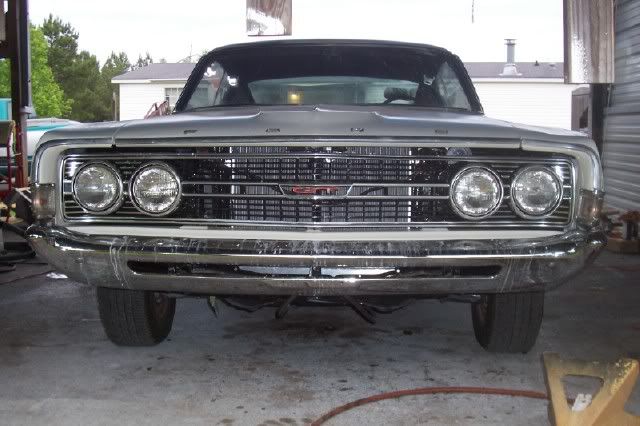
Then here is the car painted, the wheels back on, but all of the trim is missing. The grill and headlights are installed here, but there is no trim on the side. I would have to hunt down teh barrel clips and speed nuts for these pieces.
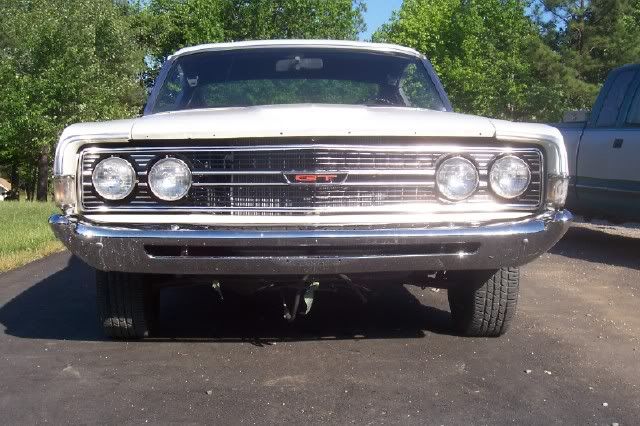
The GT logo was installed in the front though...
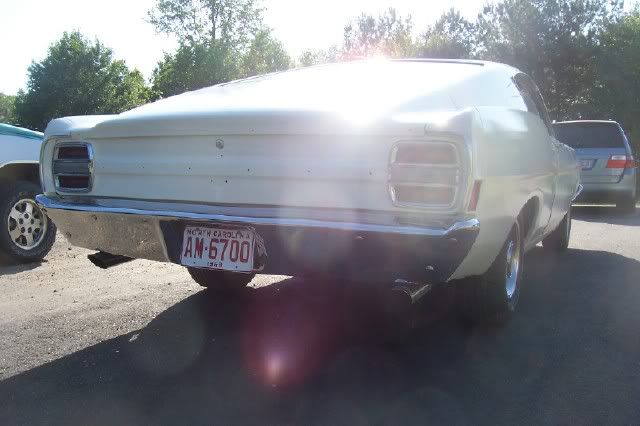
The back end of the car, with no trim on it, just holes for it.
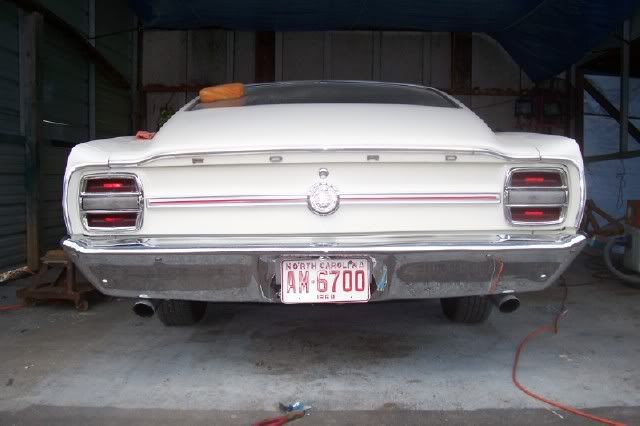
Then the back end of the car completed. That would include the Ford letters on the trunk, the aluminium bar across the back, and the Torino GT fake gas cap.
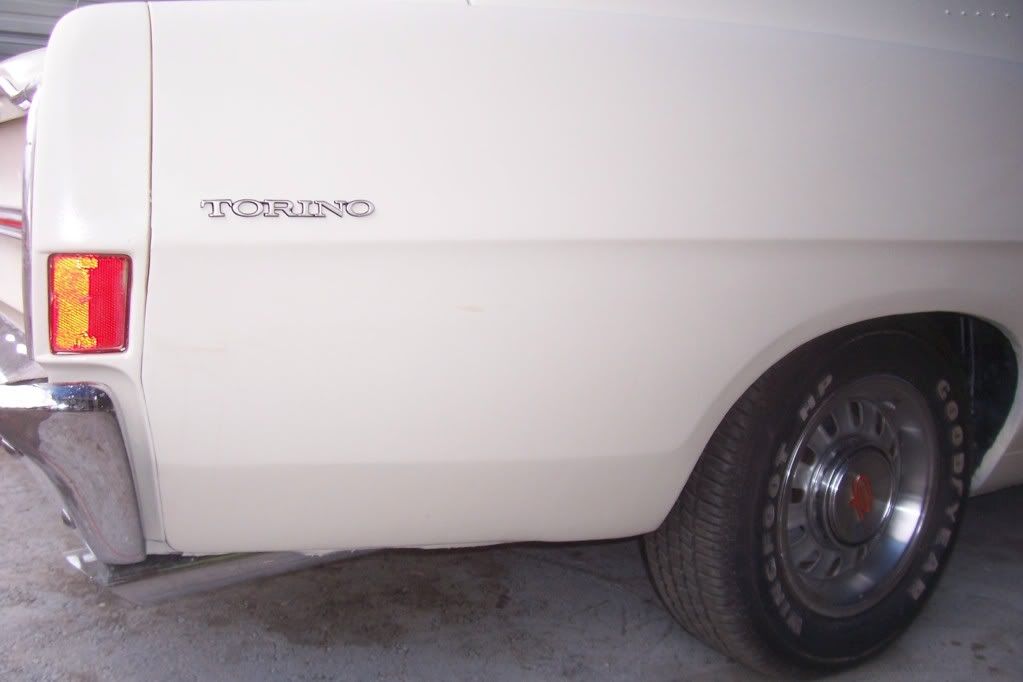
I got a set of speed nuts and installed the Torino logos...
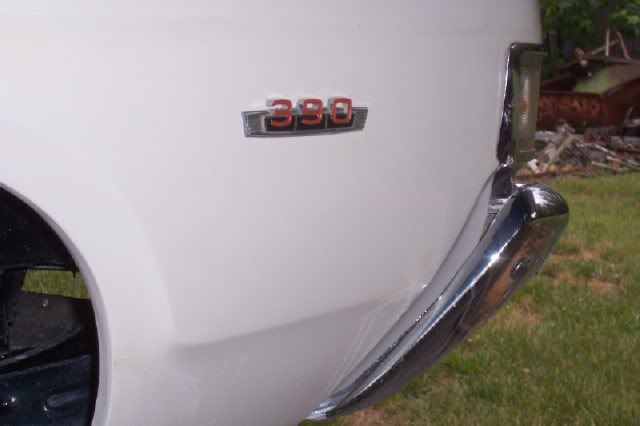
With some barrel clips, the 390 logo was installed on the front fenders.
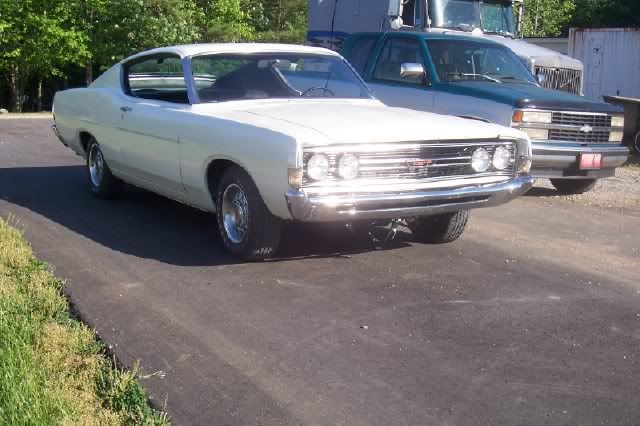
Here is the front of the car finished, with the Ford letters on the hood and the piece of aluminum trim across its front.
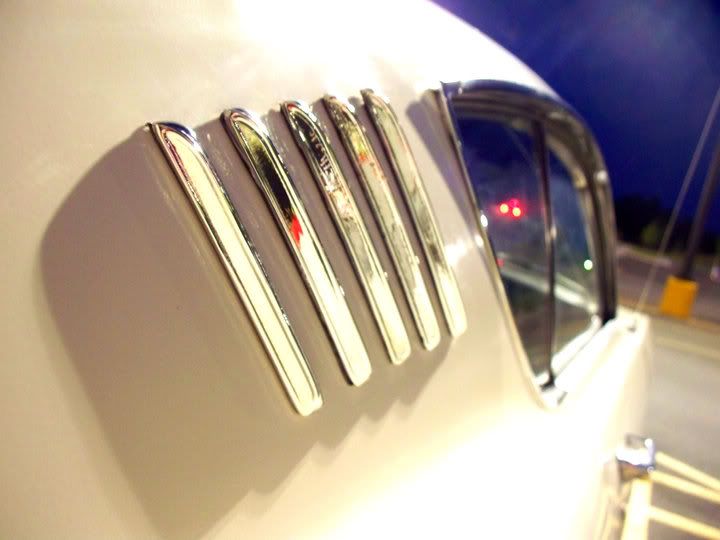
I was held up a couple of weeks on the hash marks. These things have two types. If it were the barrel clip type, it would ahve been no problem. Mine has these little nail looking things sticking out of the side of the car that a clip slides over and then drives down over nad holds that way. They switched mid year to the barrel clips and when teh clips rusted out and Ford had to replace them, they drilled the nails out and put in barrel clips. I couldn't get the other hash marks or the right clips for my own. So I talked to a couple of body shops about if there was a problem with this plan, and moved forward. I filled the marks with bondo. I then used a drill to drill out where the nails go, and used the black mounting tape (similar to what the logos on all modern cars are held on with) and taped them to the side of the car. This is my girlfreinds picture.
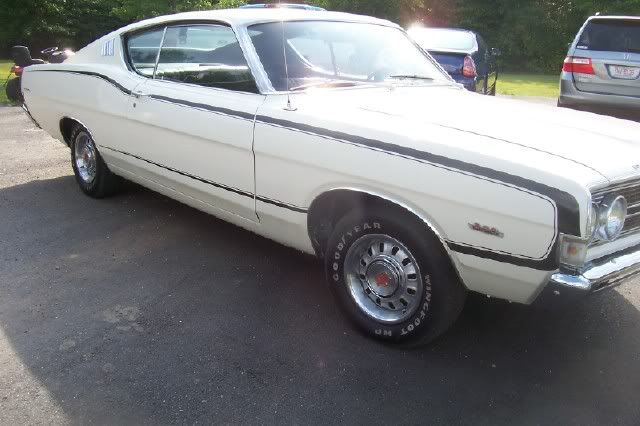
And here are a couple of pictures of the Torino at its first car shows.... waiting on a C-stripe.
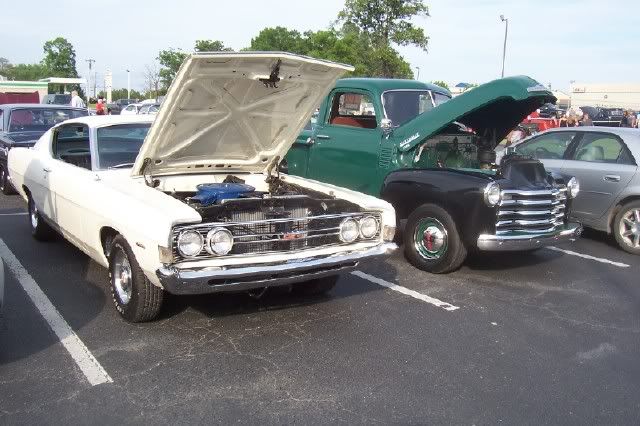
More cars would show up beside this thing later... there were about 30 behind it at this point in another row
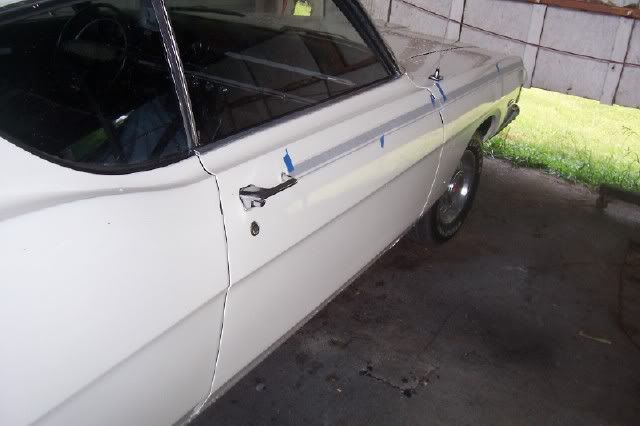
Then the tripe came. We taped it on the car and used a grease pencil to mark where it is supposed to go.
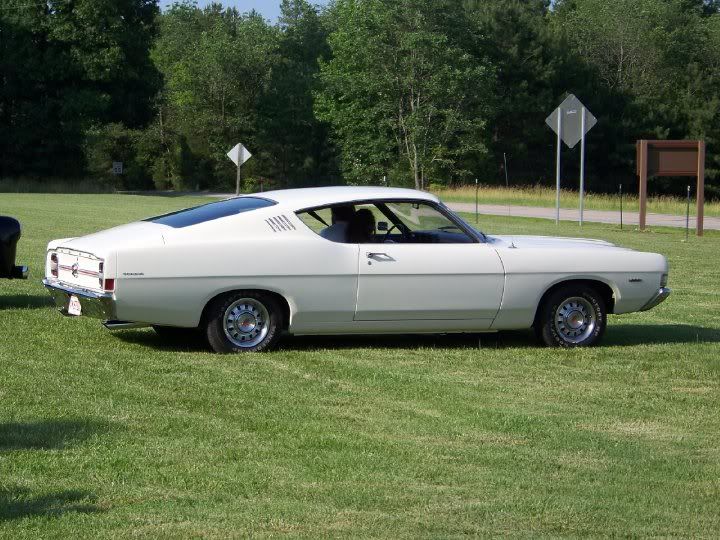
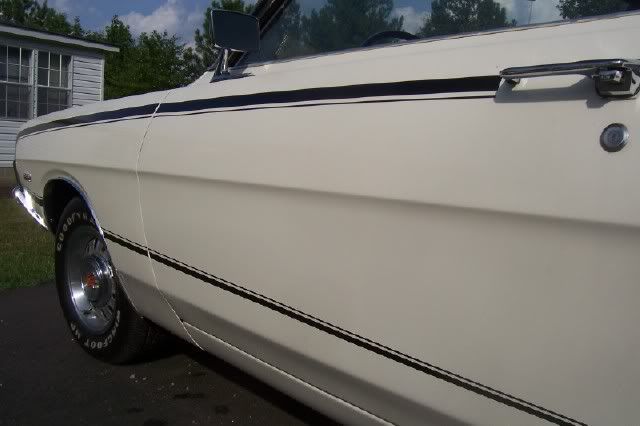
Then the rest of the stripe was put on.
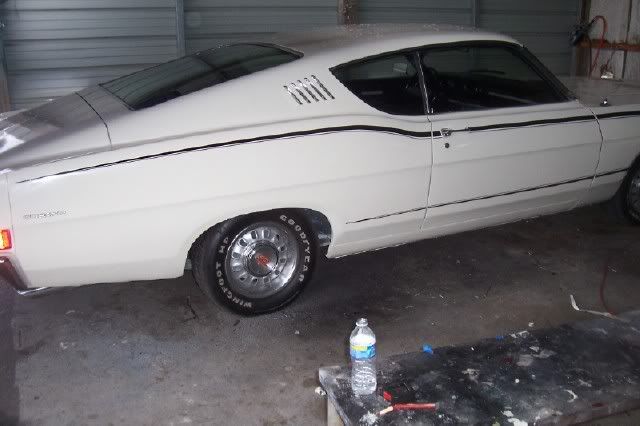
The last touch would be the aluminum fender well trim going on. With the stripe done, the car was finally completed, and my quest to restore the Torino was finally finished.

I am now working with another man to build a 1974 Ford F-100 that has been in the family for 30 years. Working on Fords has officially kept me busy for over a year!!!!
Then here is the car painted, the wheels back on, but all of the trim is missing. The grill and headlights are installed here, but there is no trim on the side. I would have to hunt down teh barrel clips and speed nuts for these pieces.
The GT logo was installed in the front though...
The back end of the car, with no trim on it, just holes for it.
Then the back end of the car completed. That would include the Ford letters on the trunk, the aluminium bar across the back, and the Torino GT fake gas cap.
I got a set of speed nuts and installed the Torino logos...
With some barrel clips, the 390 logo was installed on the front fenders.
Here is the front of the car finished, with the Ford letters on the hood and the piece of aluminum trim across its front.
I was held up a couple of weeks on the hash marks. These things have two types. If it were the barrel clip type, it would ahve been no problem. Mine has these little nail looking things sticking out of the side of the car that a clip slides over and then drives down over nad holds that way. They switched mid year to the barrel clips and when teh clips rusted out and Ford had to replace them, they drilled the nails out and put in barrel clips. I couldn't get the other hash marks or the right clips for my own. So I talked to a couple of body shops about if there was a problem with this plan, and moved forward. I filled the marks with bondo. I then used a drill to drill out where the nails go, and used the black mounting tape (similar to what the logos on all modern cars are held on with) and taped them to the side of the car. This is my girlfreinds picture.
And here are a couple of pictures of the Torino at its first car shows.... waiting on a C-stripe.
More cars would show up beside this thing later... there were about 30 behind it at this point in another row
Then the tripe came. We taped it on the car and used a grease pencil to mark where it is supposed to go.
Then the rest of the stripe was put on.
The last touch would be the aluminum fender well trim going on. With the stripe done, the car was finally completed, and my quest to restore the Torino was finally finished.
I am now working with another man to build a 1974 Ford F-100 that has been in the family for 30 years. Working on Fords has officially kept me busy for over a year!!!!