My New(er) Project - Eventual Build Thread
#31
 02-26-2015, 09:37 AM


Small update as I gather parts... more should be in tonight..
Got the Pertronix electric conversion kit in (still have no idea how this installs lol) and my dual 4" stainless tips... these things are large, hopefully no one mistakes the car for a diesel
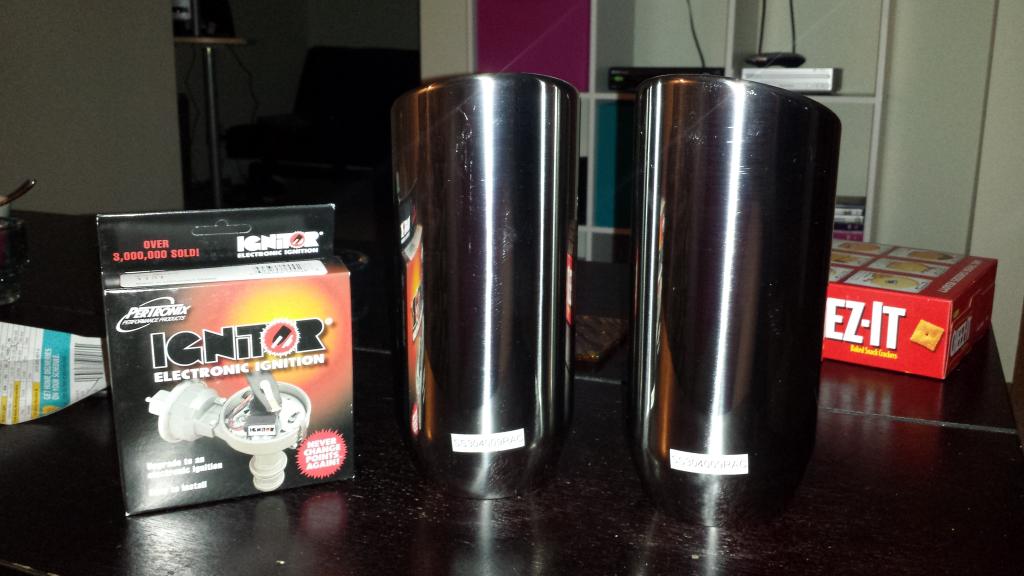
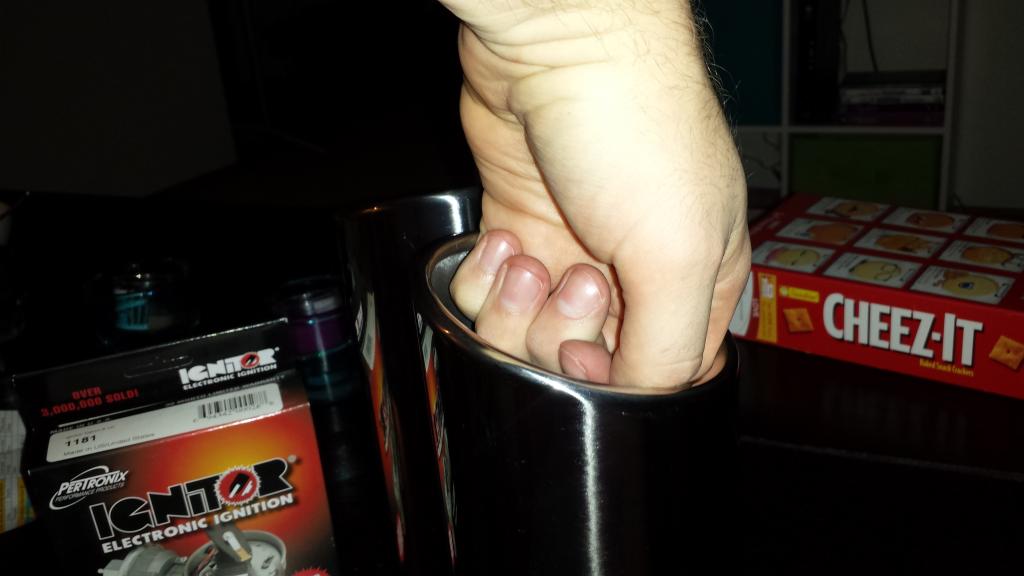
Got the Pertronix electric conversion kit in (still have no idea how this installs lol) and my dual 4" stainless tips... these things are large, hopefully no one mistakes the car for a diesel
#32
02-27-2015, 08:52 AM
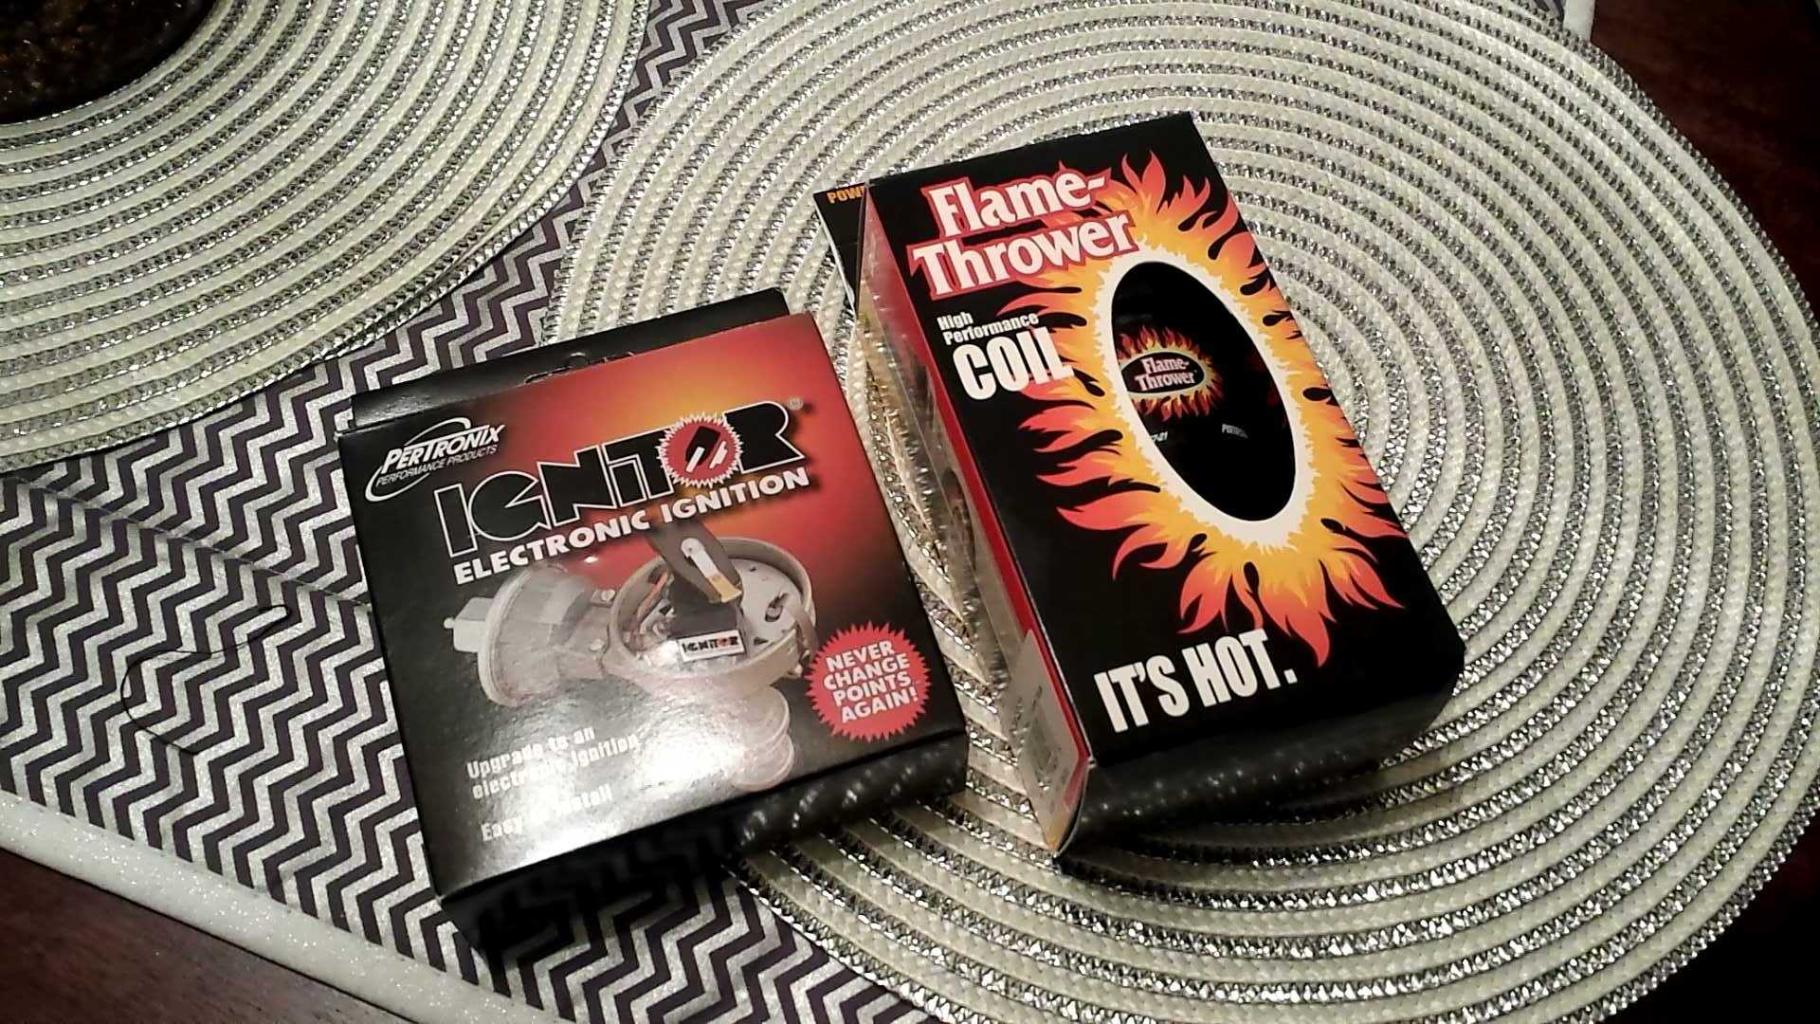
Small update, but an update none-the-less... I need new plugs again (mine have been pretty soaked in oil and might as well do it all) and then I should be set for my full ignition.. (Electric conversion, coil, wires, plugs)...
My air cleaner should be in today, along with radiator hoses, exhaust manifolds and valve cover gaskets
If any of the snow melts by next weekend, I may begin the top end tear down.

My air cleaner should be in today, along with radiator hoses, exhaust manifolds and valve cover gaskets
If any of the snow melts by next weekend, I may begin the top end tear down.


#34
04-08-2015, 10:43 AM
Small update.. got some other parts and such in, but the work is beginning..
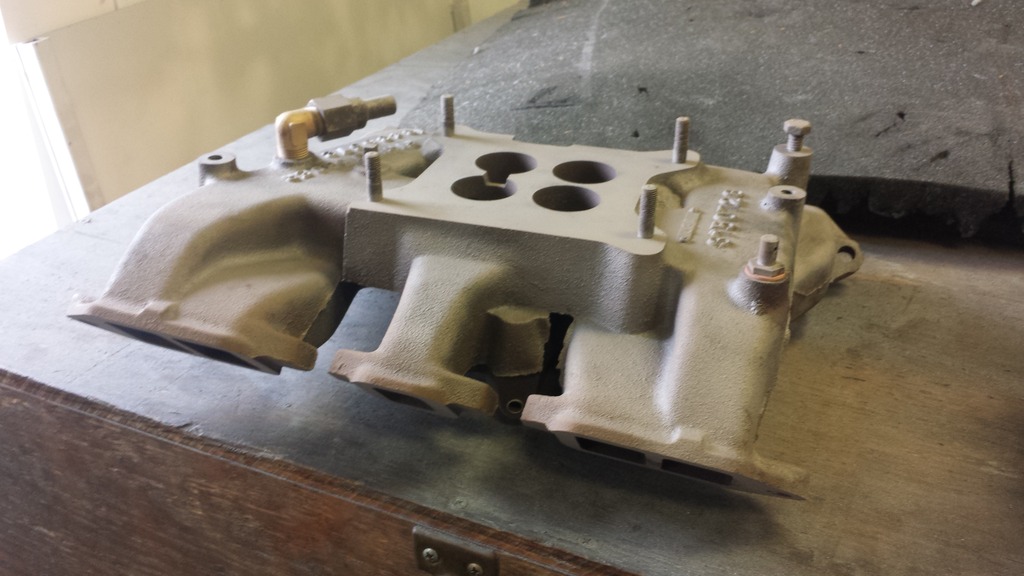
After some further searching, it does appear that my intake is slightly different and is said to possibly be off an older 327 or similar that had a rochester carburetor. I am now having to search for an adapter from a rochester up to a Holley. Any leads for that? I'm guessing I'll have a hard time having the studs, whereas most adapters look to use bolts.
With that being said.. I was able to get some updates in:
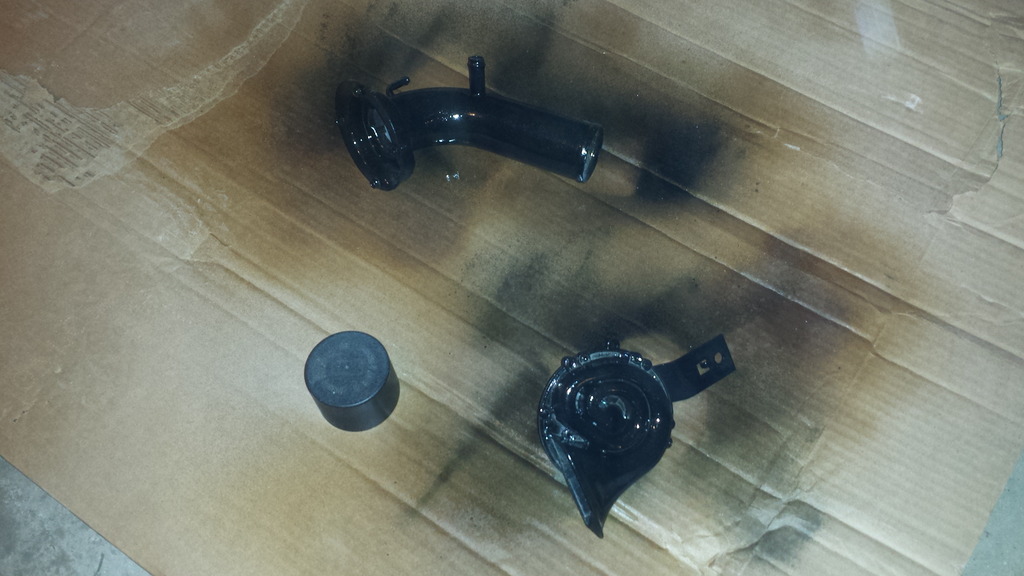
I started sandblasting and got everything taken care of aside from the exhaust manifolds so far:
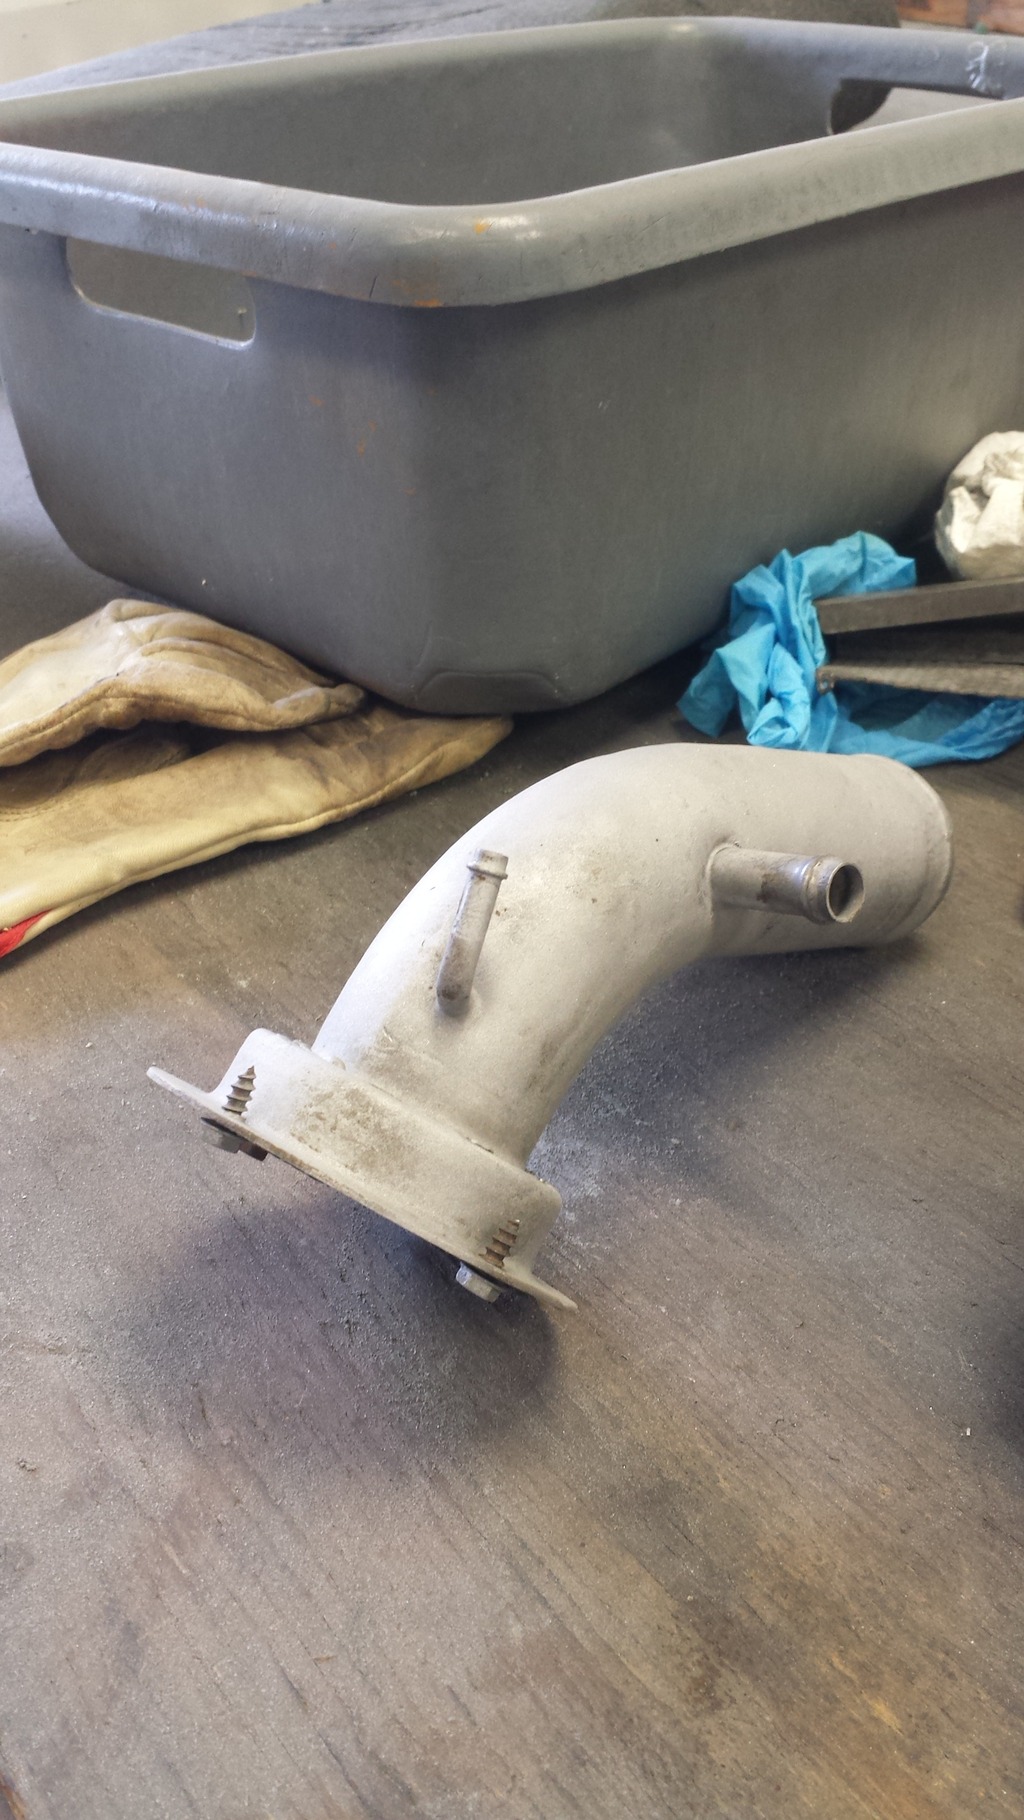
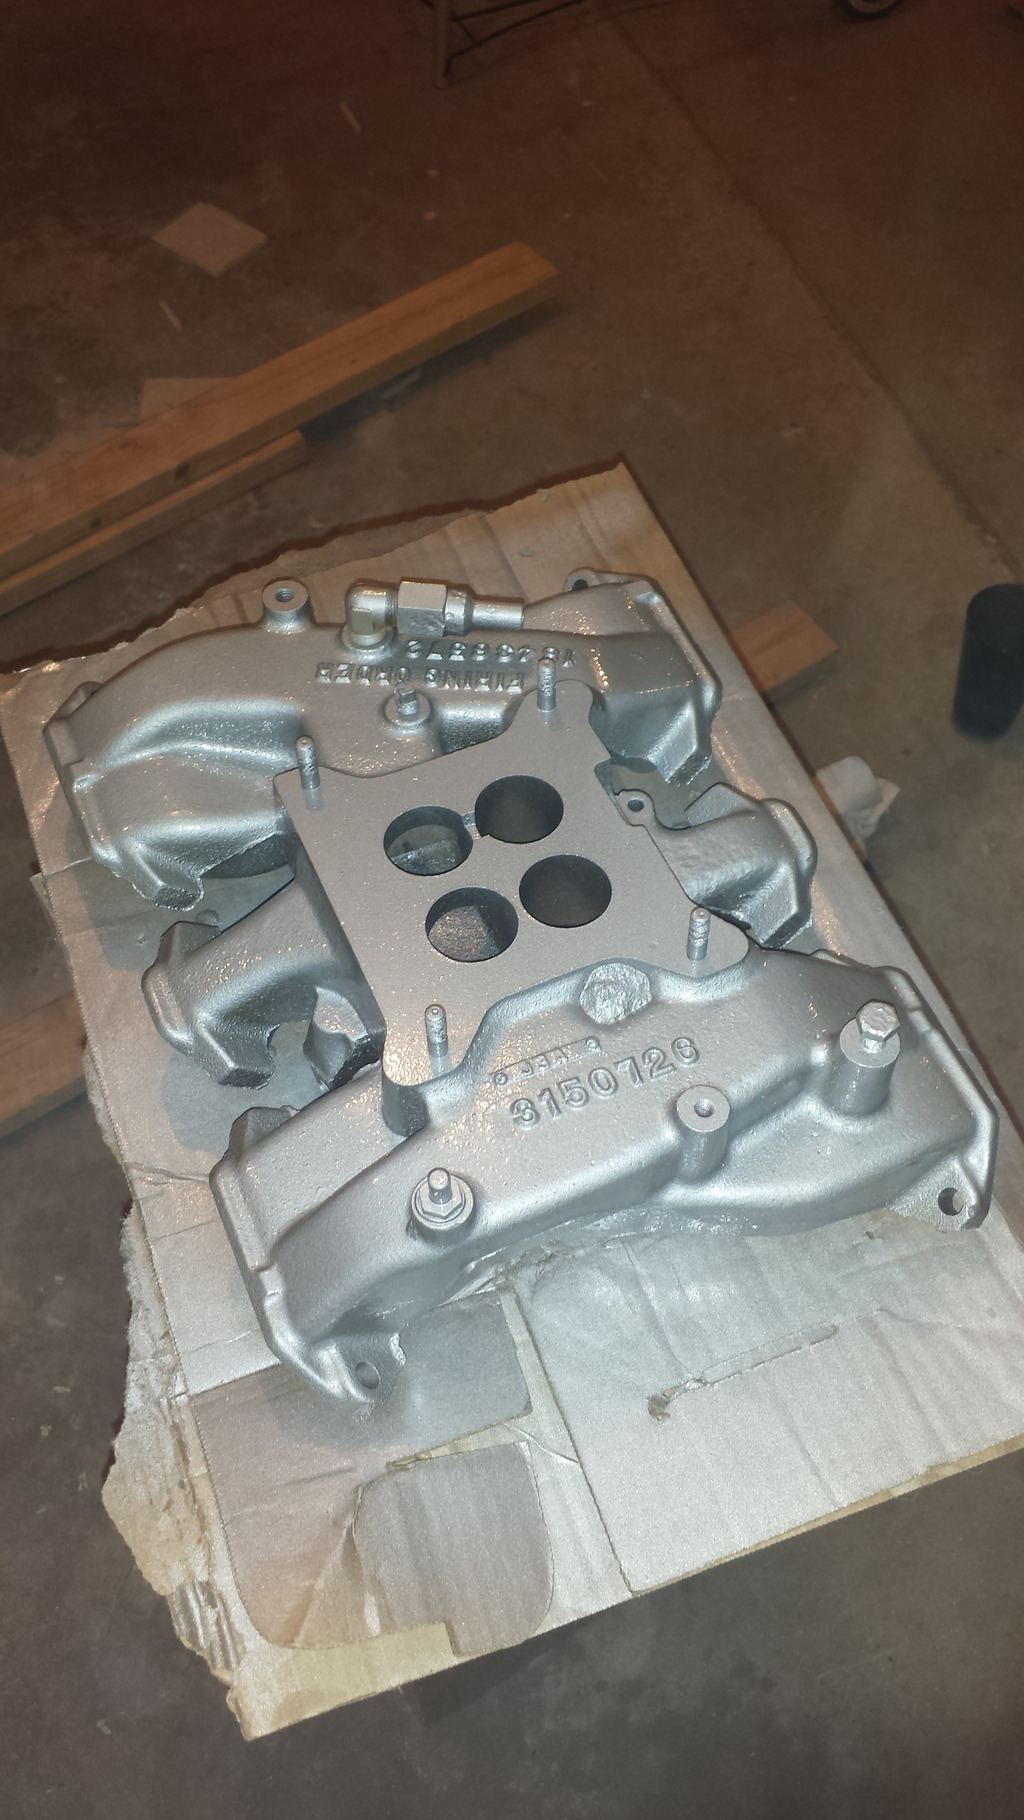
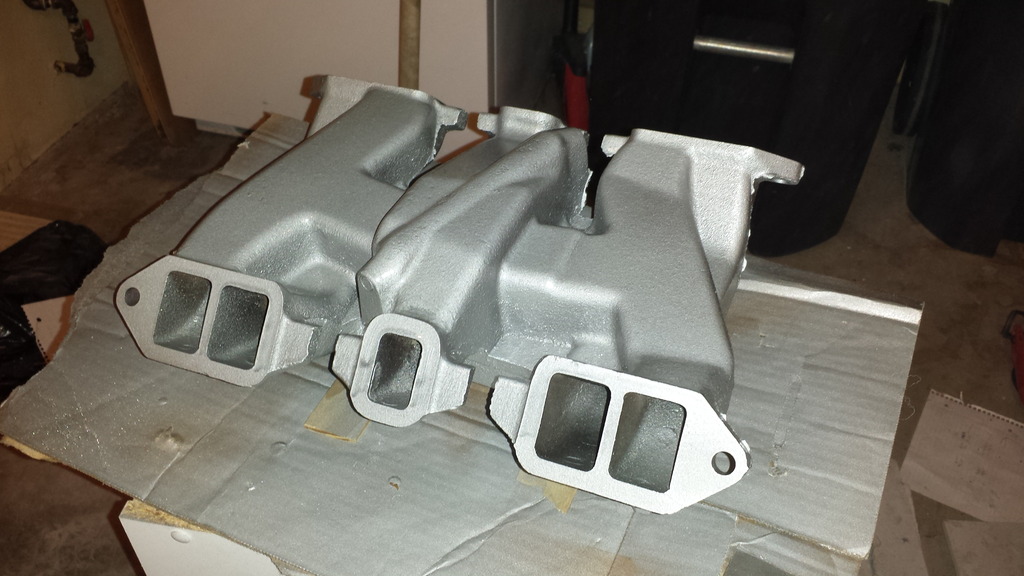
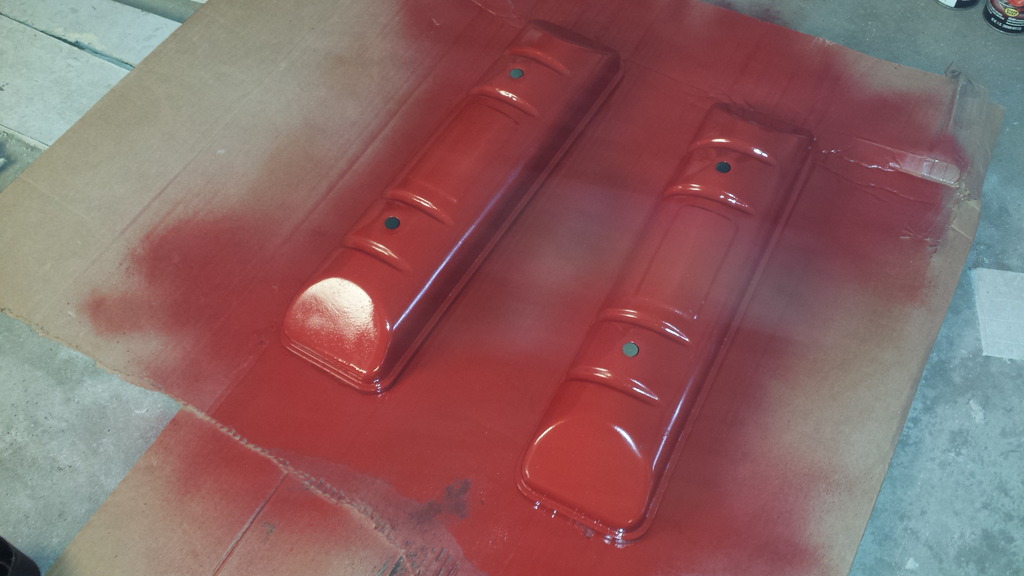
The intake manifold, horn, fuel filler neck and valve covers then got paint:
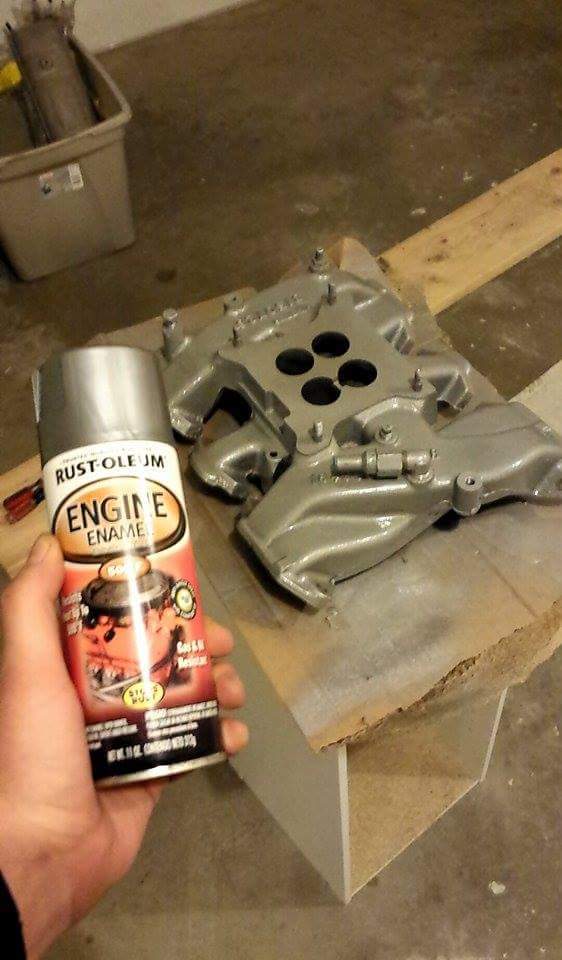
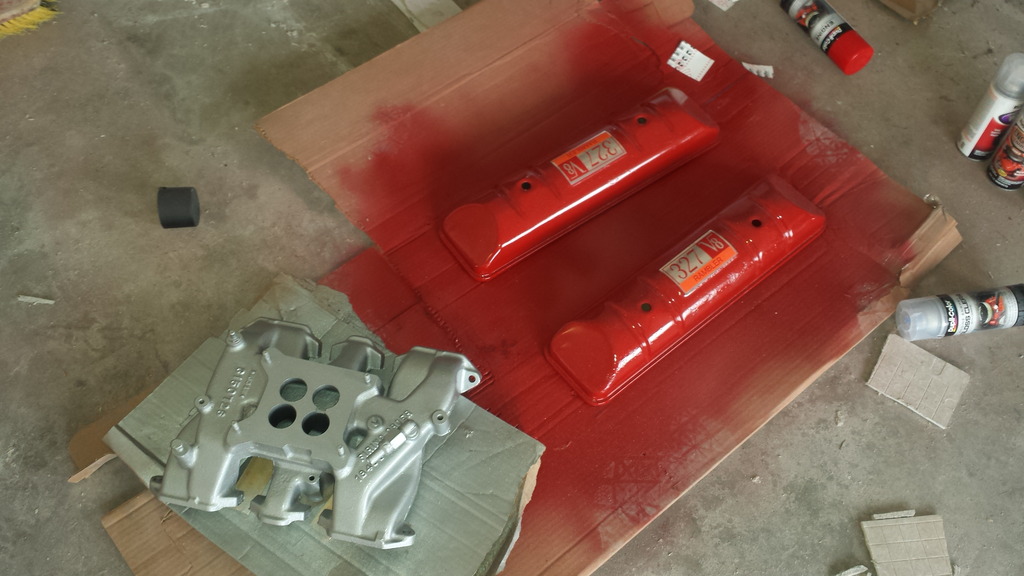
The intake was also cleared, it's a nice gloss aluminum finish.
Mocked up the decals:
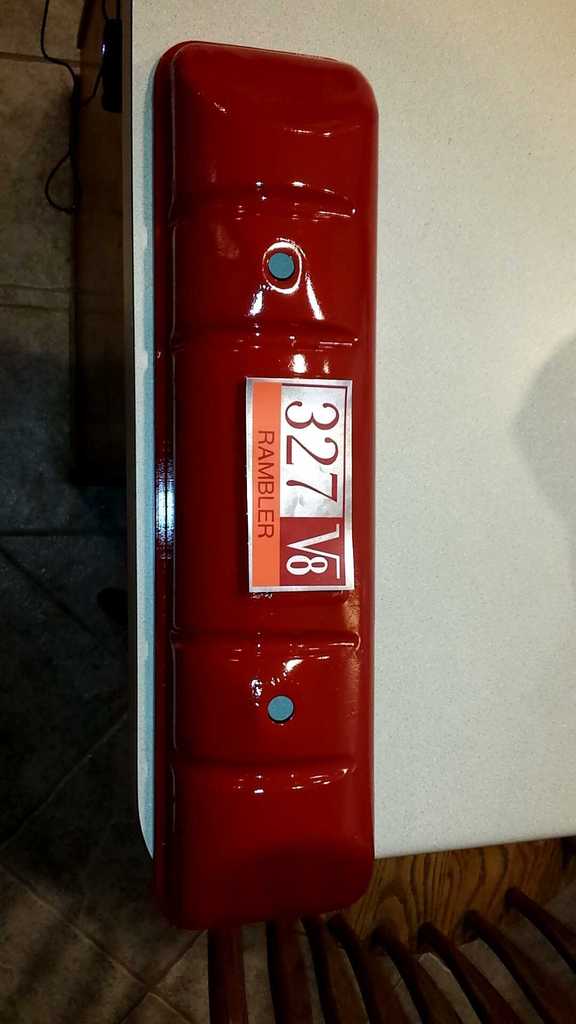
Finally applied the decals and everything was done with paint (there are some small holes in one of the valve covers, but nothing that can't be patched from the back side):
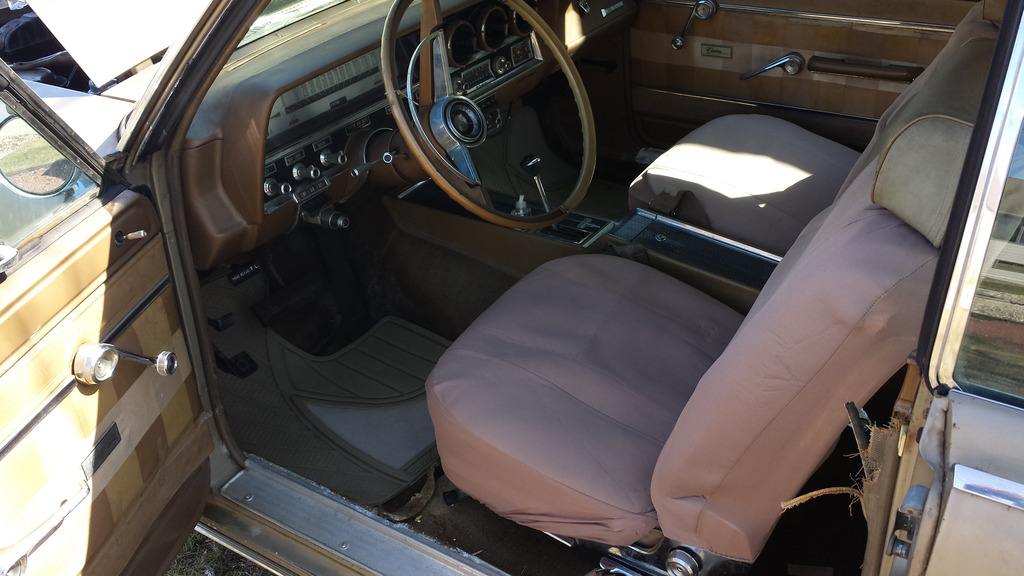
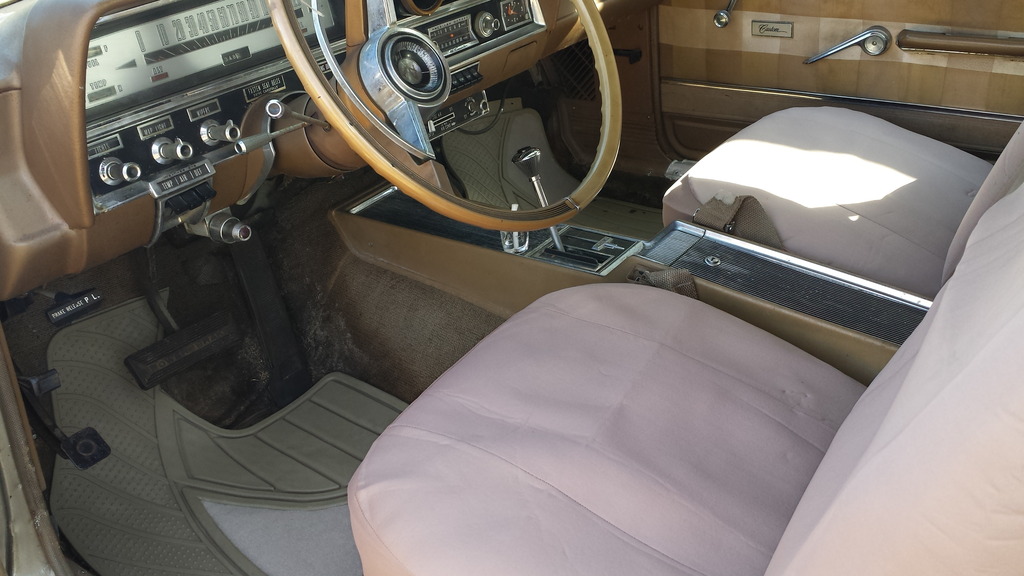
I also put in some seat covers for the time being and cut some floor mats to fit:
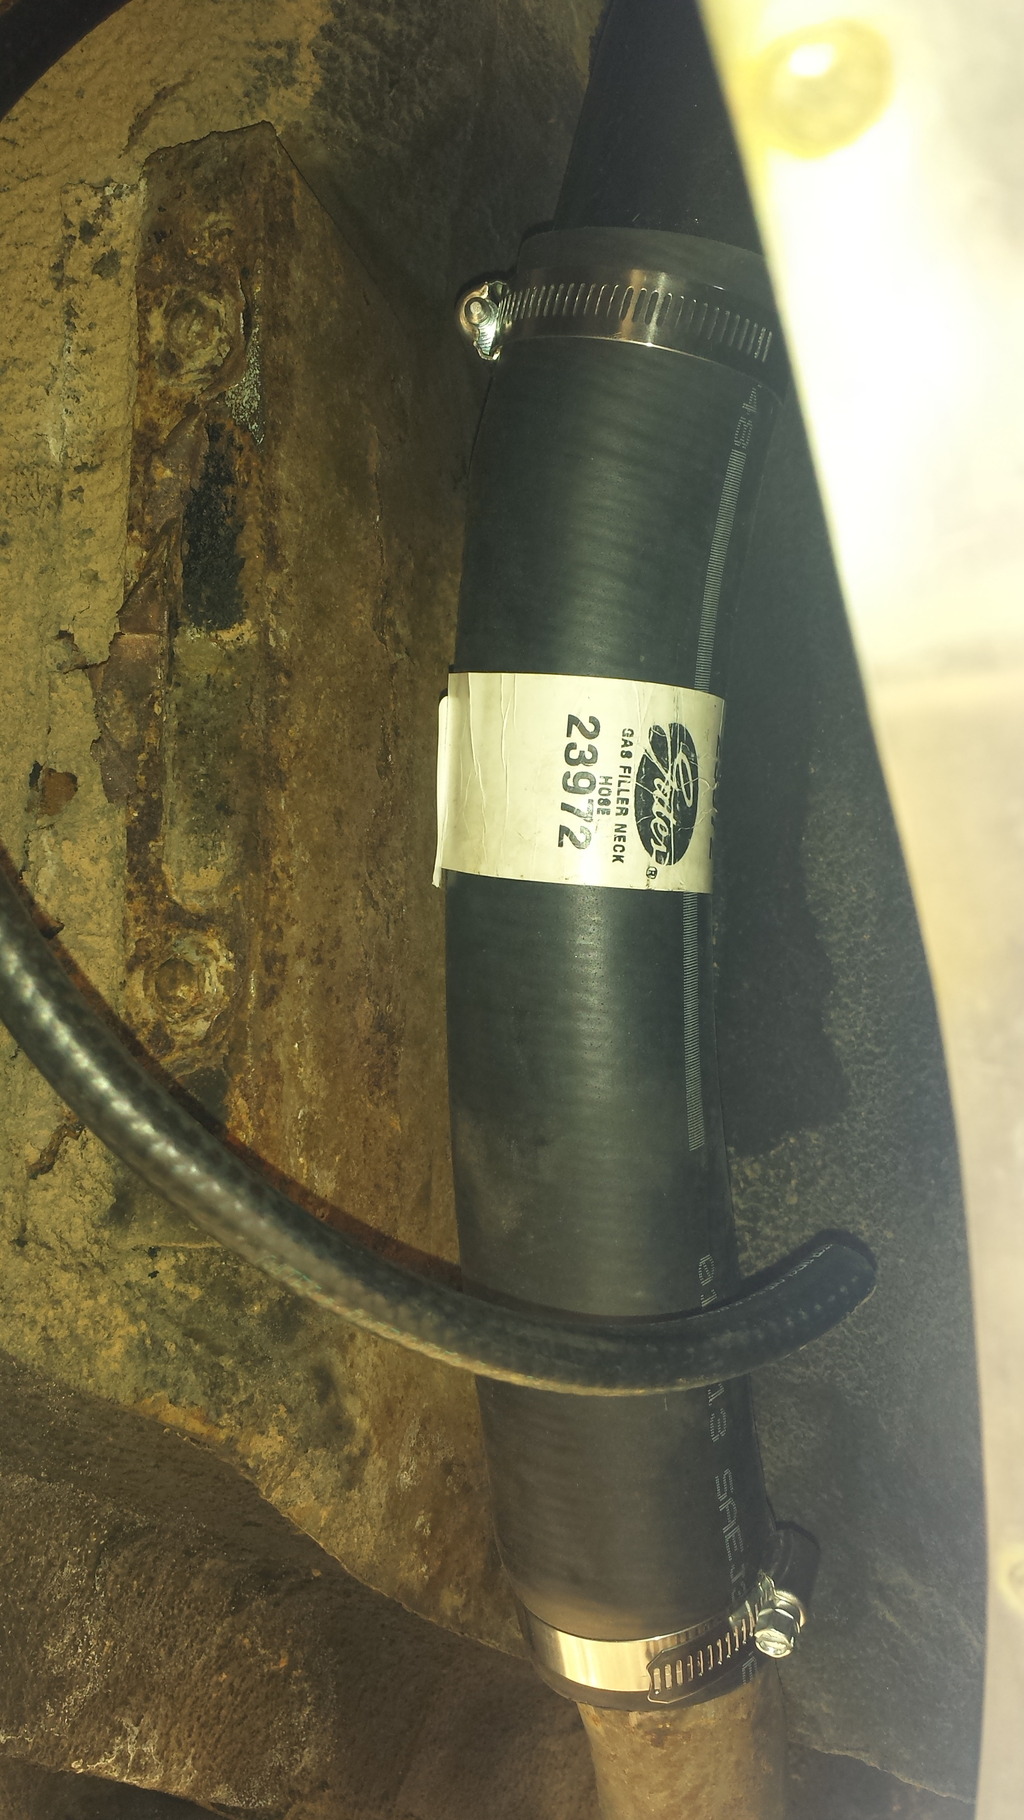
I then installed the fuel filler neck and filler tube, so I could finally get some gas in. (I know there's suppose to be a plate covering this, I had to cut off the original and will be fabricating something to take it's place)
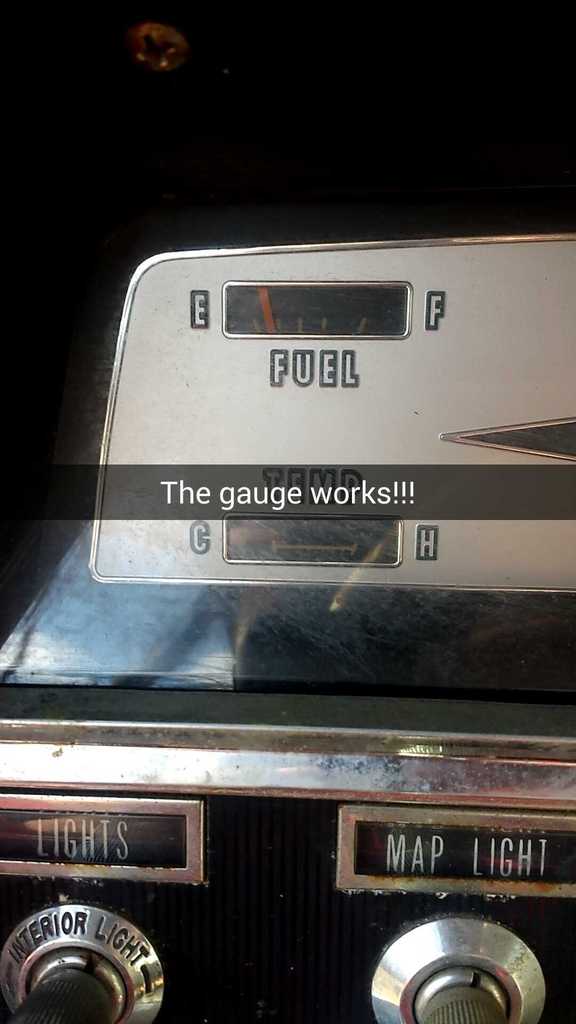
~6.5 gallons later:
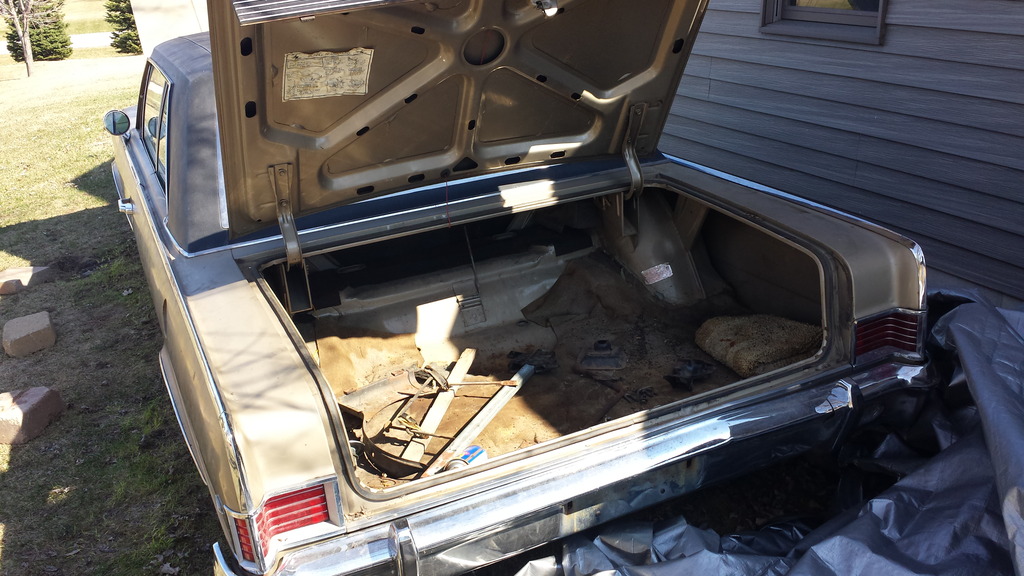
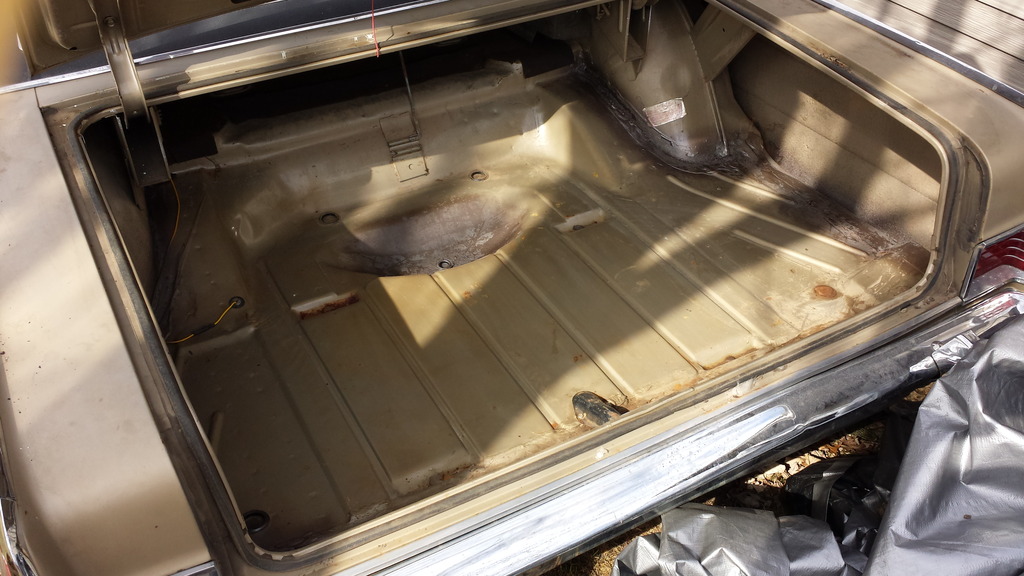
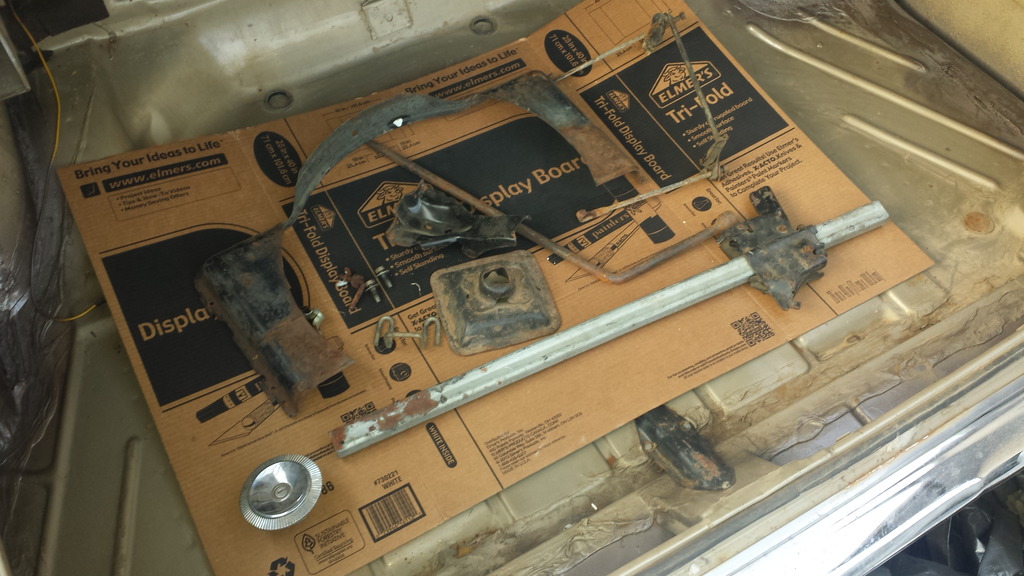
AND... finally got the trunk open.. unfortunately there wasn't much to be found in there. There was a nasty crusty towel and the original jack stuff, so I cleaned it up and put the jack stuff back in there. I'll have to find a spare and some carpet to line the trunk. I also sprayed the edges with some rustoleum, just to keep it clean and rust-free.
Oh also... THE HORN! (click for vid)

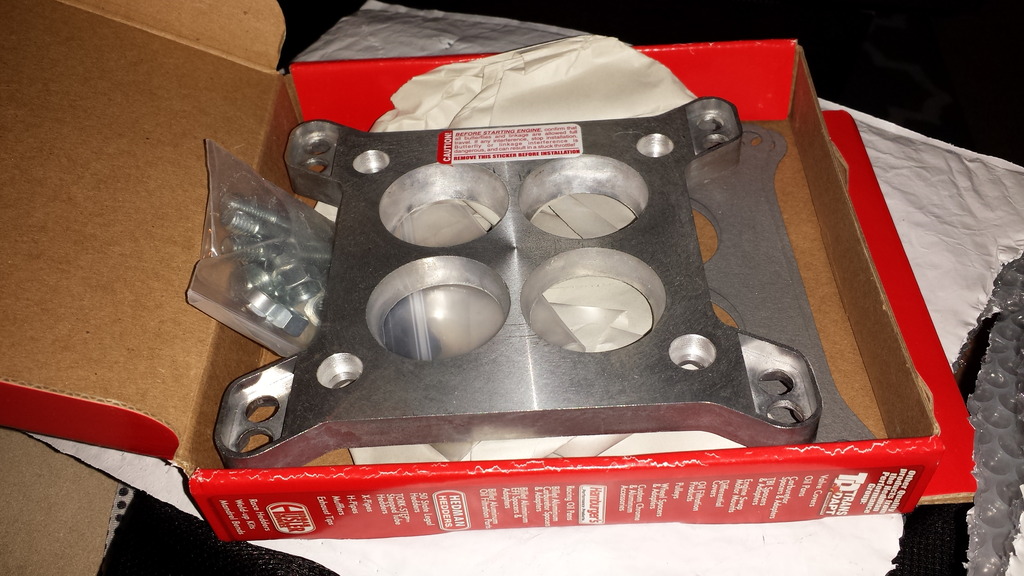
Since my intake looks to be for a '57 327 that got the Rochester carb with a smaller bolt pattern, I will be needing the following spacer/adapter:
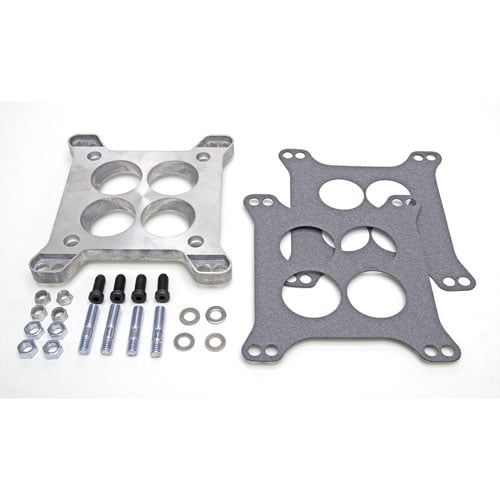
Along with a phelonic spacer for vacuum to the brake booster. Once I get these parts together and make sure I have everything, I will be pulling apart the top end so I can put in the upgraded carb, intake manifold, exhaust manfiolds, ignition (electric ignition, upgraded coil) with new plugs and wires (currently on stock wires).
Still working through title issues, but once that is solved, I will be getting tires and then getting some exhaust work done. Following that I will be touching up some of the engine bay, like the brake booster and such, with some g2 brake kit epoxy, along with the front calipers. When it is all torn down I will also be looking to paint the block.
Lastly, the rust spots and interior flooring will be getting a coat of POR 15 after I patch the hole in the floor.
Enjoy! I will be posting updates in about a week and a half
After some further searching, it does appear that my intake is slightly different and is said to possibly be off an older 327 or similar that had a rochester carburetor. I am now having to search for an adapter from a rochester up to a Holley. Any leads for that? I'm guessing I'll have a hard time having the studs, whereas most adapters look to use bolts.
With that being said.. I was able to get some updates in:
I started sandblasting and got everything taken care of aside from the exhaust manifolds so far:
The intake manifold, horn, fuel filler neck and valve covers then got paint:
The intake was also cleared, it's a nice gloss aluminum finish.
Mocked up the decals:
Finally applied the decals and everything was done with paint (there are some small holes in one of the valve covers, but nothing that can't be patched from the back side):
I also put in some seat covers for the time being and cut some floor mats to fit:
I then installed the fuel filler neck and filler tube, so I could finally get some gas in. (I know there's suppose to be a plate covering this, I had to cut off the original and will be fabricating something to take it's place)
~6.5 gallons later:
AND... finally got the trunk open.. unfortunately there wasn't much to be found in there. There was a nasty crusty towel and the original jack stuff, so I cleaned it up and put the jack stuff back in there. I'll have to find a spare and some carpet to line the trunk. I also sprayed the edges with some rustoleum, just to keep it clean and rust-free.
Oh also... THE HORN!
(click for vid)Since my intake looks to be for a '57 327 that got the Rochester carb with a smaller bolt pattern, I will be needing the following spacer/adapter:
Along with a phelonic spacer for vacuum to the brake booster. Once I get these parts together and make sure I have everything, I will be pulling apart the top end so I can put in the upgraded carb, intake manifold, exhaust manfiolds, ignition (electric ignition, upgraded coil) with new plugs and wires (currently on stock wires).
Still working through title issues, but once that is solved, I will be getting tires and then getting some exhaust work done. Following that I will be touching up some of the engine bay, like the brake booster and such, with some g2 brake kit epoxy, along with the front calipers. When it is all torn down I will also be looking to paint the block.
Lastly, the rust spots and interior flooring will be getting a coat of POR 15 after I patch the hole in the floor.
Enjoy! I will be posting updates in about a week and a half


#36
04-08-2015, 10:48 AM
Thanks! Trying to get as much done as I can with the chilly weather yet... too chilly to dig into the engine yet haha


#39
04-09-2015, 08:58 AM
Thanks guys, I try to get as much done with it in the little time that I have with it being at my parents house currently
I'll likely be ordering the carb adapter along with the phelonic spacer today, so I can at least get the top end ready.
I think the water pump may need to go out for rebuild as it was a NOS item. At the very least it needs paint, along with many other things in that bay
I'll likely be ordering the carb adapter along with the phelonic spacer today, so I can at least get the top end ready.
I think the water pump may need to go out for rebuild as it was a NOS item. At the very least it needs paint, along with many other things in that bay
#40
04-21-2015, 11:09 AM
Small updates... So I did get some stuff done this weekend... hoping to get more done next weekend, but here's what I have for now.. also, I have a couple of questions at the end that I could use some guidance on.
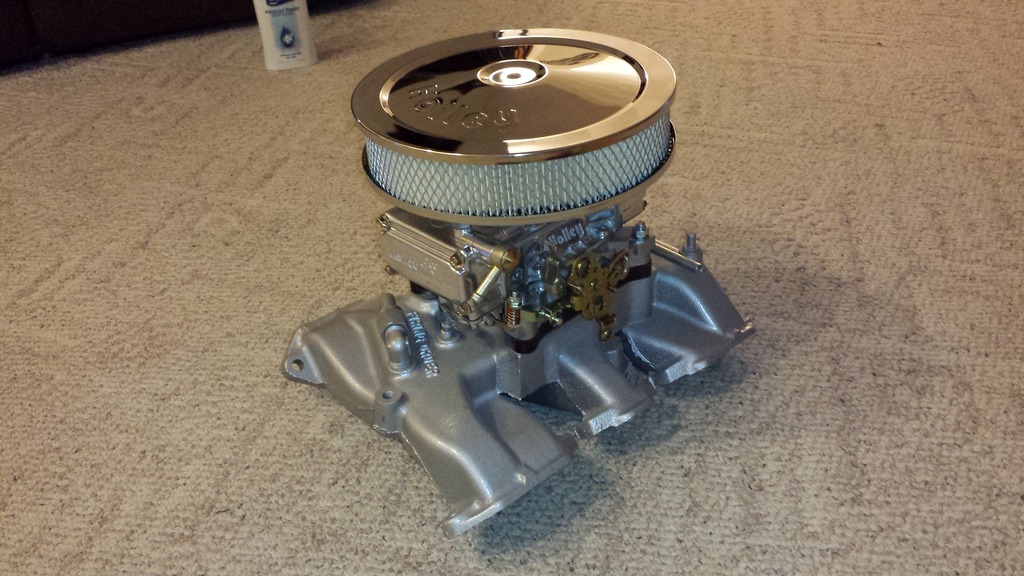
I got the Rochester to Holly adapter:
Go my peholonic spacer in, this spacer was for a Holly, so I did need to do some slight modifying, but it does work now and everything looks as expected:
I did get my carbide bit in, so I will be opening the 4BBL ports to what my Holly is currently sitting with, this should free up some air and I'll do the runners while I'm in there.
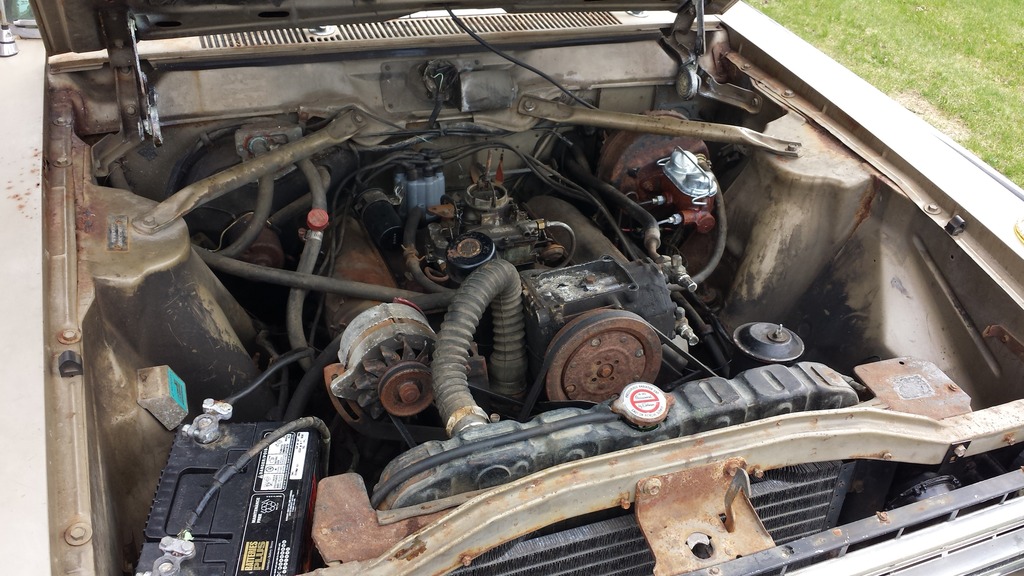
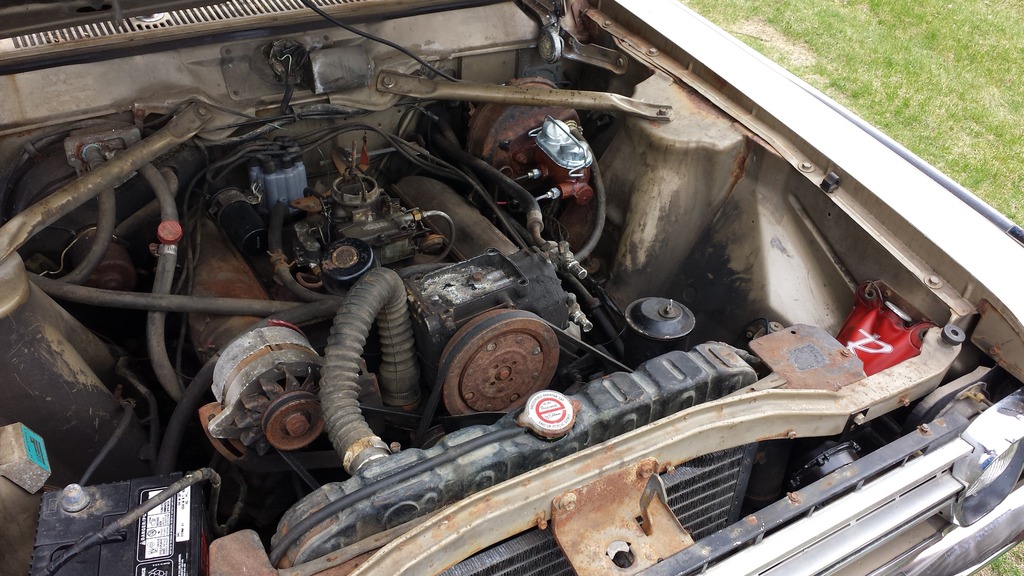
The Rambler did have a flat tire (expected with 40 year old tires) but I was able to get it out from the side of the garage under it's own power and the tire took air again, so I got it down and started spraying out the engine bay a bit, it's going to take some real soaking of simple green followed up with some real scrubbing, but it'll get there eventually..
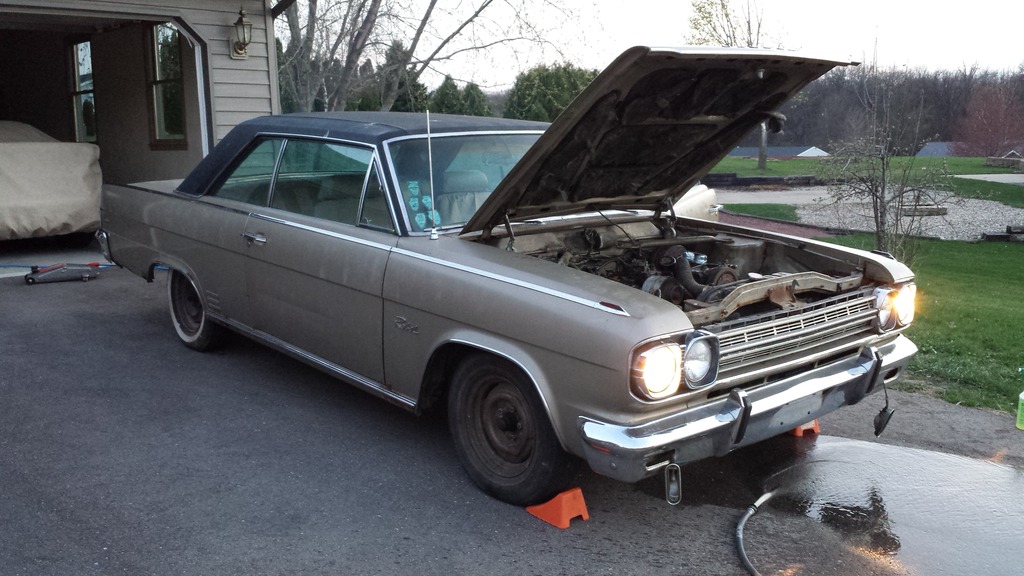
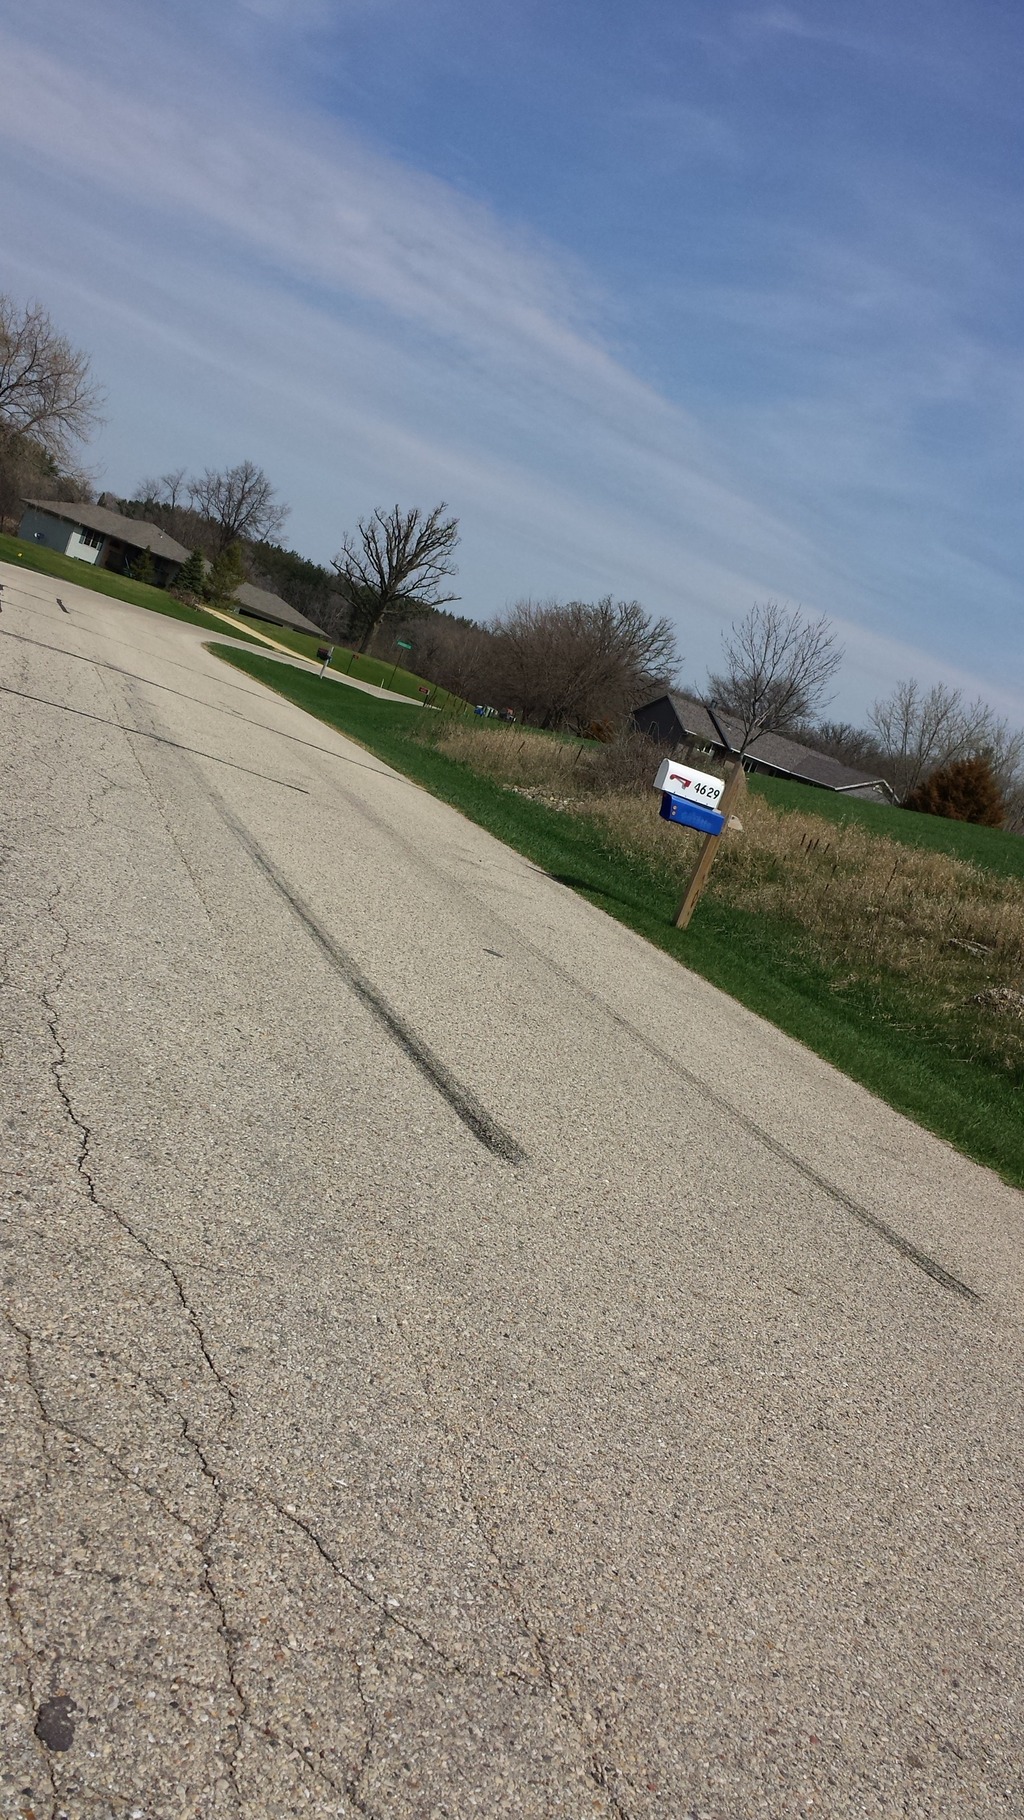
Saturday I was able to get the car out and take it over to a friend's.. just down the road, since I don't actually trust the car on public roads yet with other people around.. a little bit of brakes with a little bit of throttle and she has no problem with power...
As you can see, the bay didn't get too clean, but I did clean the washer fluid bladder... that thing's really cool looking:
I was running out of time, but I also started trying to buff out some of the paint... I'll continue next week, but I did the top of the fender and part of the hood... the color is really coming back and there's a bit of shine:
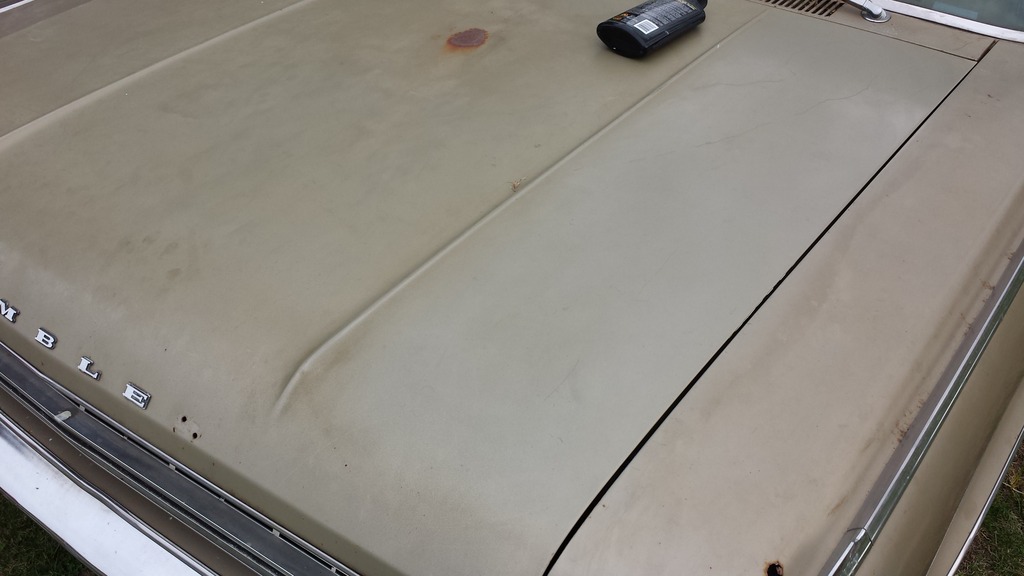
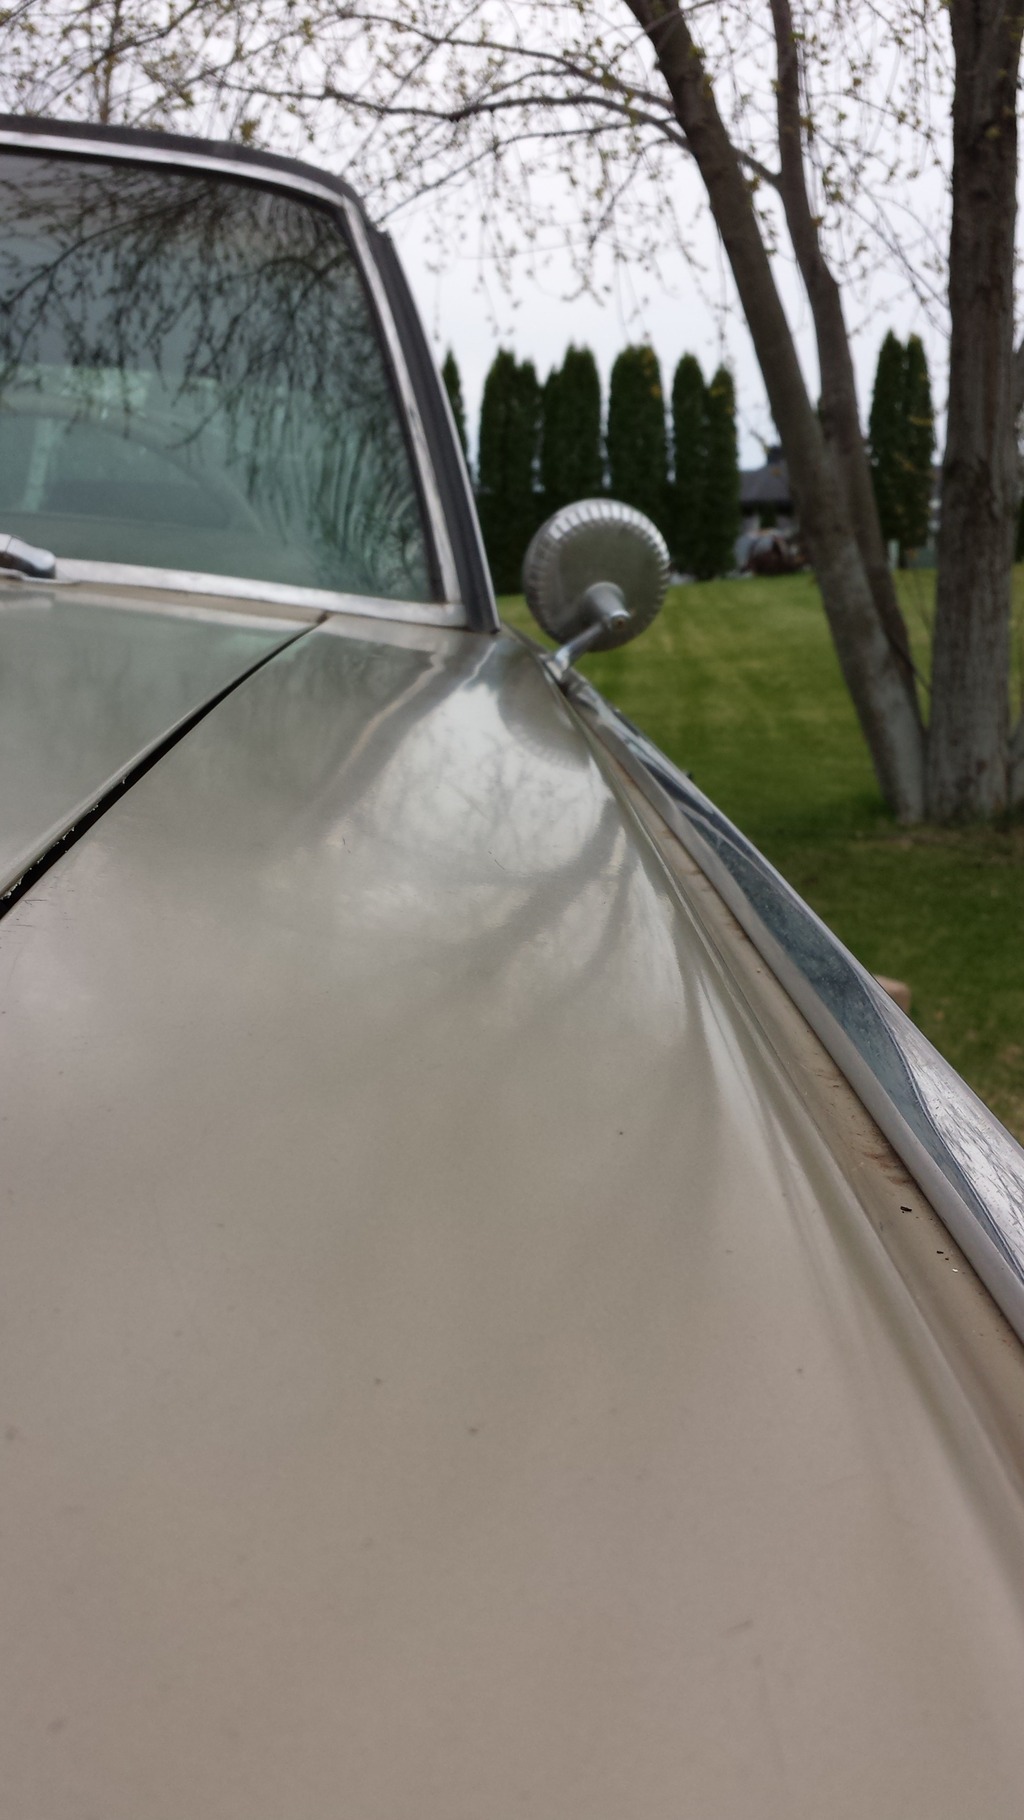
That was using a Meguiars drill attachment... not the best method, but it worked somewhat decently. I'll use the actual buffer next weekend and see what it looks like.
I did a small walk around, she seems to be running good, a little miss at idle, but stock wires I'm guessing would be the cause of that. I have new wires and everything, just waiting for a good time to start tearing the top end apart.
The car was also overheating.. the top radiator tube wasn't warm, so I pulled the thermostat... I could compress the thermostat by hand, but for some reason it wasn't opening by itself.. I'll just have to get another, but other than that it seemed to be running properly.
(click for vid)

As for the questions... I just have a couple..
1.) For those of you that upgraded to a 4BBL, what did you use for the TV cable? I obviously need this, but it appears that to do it correctly I would almost need to swap the bracket from the 2BBL or find one from a 4BBL?
2.) Are the front turn signals on a different relay or fuse than the rear turn signals? I'm not getting any power at the front harness and if I turn on the turn signal the rear light stays solid. Also, if I turn on the hazards, the rears work, but they blink pretty fast... any thoughts?
I got the Rochester to Holly adapter:
Go my peholonic spacer in, this spacer was for a Holly, so I did need to do some slight modifying, but it does work now and everything looks as expected:
I did get my carbide bit in, so I will be opening the 4BBL ports to what my Holly is currently sitting with, this should free up some air and I'll do the runners while I'm in there.
The Rambler did have a flat tire (expected with 40 year old tires) but I was able to get it out from the side of the garage under it's own power and the tire took air again, so I got it down and started spraying out the engine bay a bit, it's going to take some real soaking of simple green followed up with some real scrubbing, but it'll get there eventually..
Saturday I was able to get the car out and take it over to a friend's.. just down the road, since I don't actually trust the car on public roads yet with other people around.. a little bit of brakes with a little bit of throttle and she has no problem with power...
As you can see, the bay didn't get too clean, but I did clean the washer fluid bladder... that thing's really cool looking:
I was running out of time, but I also started trying to buff out some of the paint... I'll continue next week, but I did the top of the fender and part of the hood... the color is really coming back and there's a bit of shine:
That was using a Meguiars drill attachment... not the best method, but it worked somewhat decently. I'll use the actual buffer next weekend and see what it looks like.
I did a small walk around, she seems to be running good, a little miss at idle, but stock wires I'm guessing would be the cause of that. I have new wires and everything, just waiting for a good time to start tearing the top end apart.
The car was also overheating.. the top radiator tube wasn't warm, so I pulled the thermostat... I could compress the thermostat by hand, but for some reason it wasn't opening by itself.. I'll just have to get another, but other than that it seemed to be running properly.
(click for vid)
As for the questions... I just have a couple..
1.) For those of you that upgraded to a 4BBL, what did you use for the TV cable? I obviously need this, but it appears that to do it correctly I would almost need to swap the bracket from the 2BBL or find one from a 4BBL?
2.) Are the front turn signals on a different relay or fuse than the rear turn signals? I'm not getting any power at the front harness and if I turn on the turn signal the rear light stays solid. Also, if I turn on the hazards, the rears work, but they blink pretty fast... any thoughts?

Thread
Thread Starter
Forum
Replies
Last Post